
Upgrade Your Ice Maker Supply Line
Updated: Jul. 29, 2019Replace that inexpensive plastic water line.
Replace plastic water line
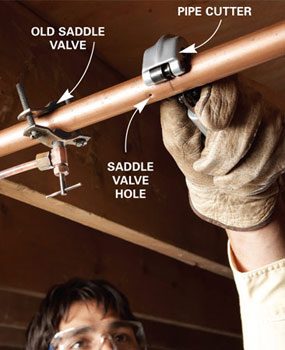
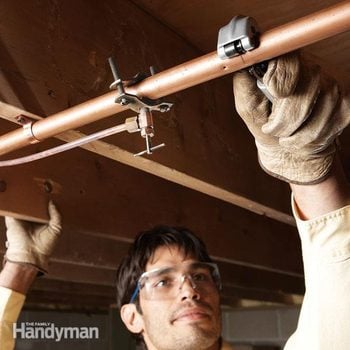
Photo 1: Turn off the water and cut the water line
Unscrew the valve and slide it aside. Cut the water line to make room for a new tee fitting.
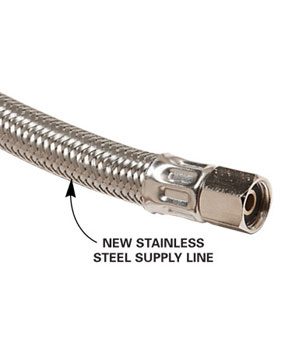
Close-up of braided steel water line
Braided steel is a tough and better alternative than plastic water line.
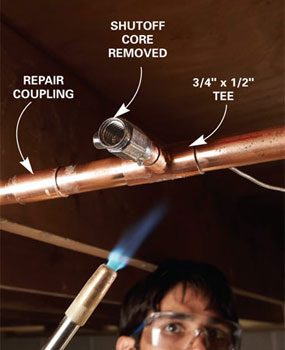
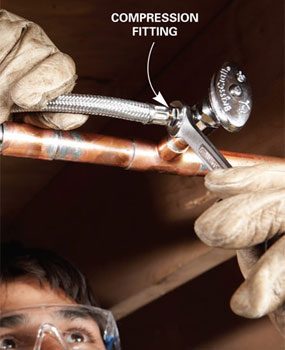
Photo 2: Clean and assemble copper fittings
Clean, flux and assemble the copper fittings and the shutoff valve, then solder the joints.

Inexpensive plastic water lines and saddle valves sold for icemakers can eventually clog or leak, causing water damage.
You can replace your plastic water line with a copper tee fitting, a high-quality shutoff and a braided steel supply line in a half hour—and never have to worry about leaks again. Braided steel is a tough, non-kinking alternative to 1/4-in. flexible copper or plastic.
Turn off the house water supply and drain the water from the entire system. Remove the saddle valve and cut out the copper underneath it (Photo 1). You may need to cut more, depending on how much play you have in the water line, to make room for a repair coupling and additional copper if needed.
Unscrew the packing nut from the shutoff and remove the handle and core before soldering. Jiggle the water lines to get all the water out, then clean and flux the fittings and solder everything together (Photo 2).
Allow the pipe to cool for several minutes, then reattach the shutoff handle. Close the shutoff and turn the house water back on to check for leaks. Attach the braided water line (Photo 3), then run the water into a bucket or sink for a few minutes to flush out any corrosion or bits of solder. Finally, fish the water line through the floor or wall to the back of the refrigerator (Photo 4).
Required Tools for this ice maker tubing project
Have the necessary tools for this DIY project lined up before you start—you’ll save time and frustration.
- Soldering torch
- Wrench set
Required Materials for this ice maker tubing project
Avoid last-minute shopping trips by having all your materials ready ahead of time. Here’s a list.
- Braided Steel Water Line
- Copper Flux
- Copper Repair Couplings
- Copper Shutoff Valve
- Copper Solder
- Copper Tee Fitting
