This month-long series of blog posts will explain author websites and offer tips and writing strategies for an effective author website. It alternates between a day of technical information and a day of writing content. By the end of the month, you should have a basic author website up and functioning. The Table of Contents lists the topics, but individual posts will not go live until the date listed. The Author Website Resource Page offers links to tools, services, software and more.
Install WordPress on Your Site
It’s time to install Your WordPress site.
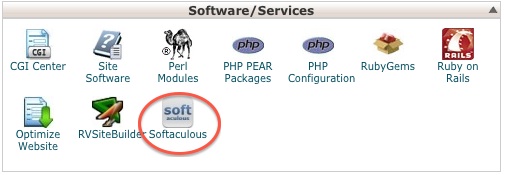
Login to your CPanel. Choose Softaculous and then choose to install WordPress onto your site.
There are three places where you need to be careful about settings when you set up your WordPress:
- Directory: The program will automatically fill in something here, but most people will want to want to put the WordPress installation in the main directory. So, leave this blank. You cannot undo this later; the only way to correct it is to delete the WordPress installation and reinstall it. So, make a wise decision here.
- Database Name: Let the software fill this in automatically.
- Admin Name: This is the name with which you will login. Be sure to set the name/password and contact email with appropriate settings, because the admin name can’t be changed either. You can add yourself as a user, but it’s far easier to set this up right the first time.
Don’t worry about the Advanced settings. You can add an email at the bottom and the program will email you the details of the installation.
Click Install and let the program work.
Now, log out of the CPanel and then log into your WordPress site at this address:
http://FamousAuthorWebsite.com/wp-admin
(Change “FamousAuthorWebsite” to the name of your domain; use the login name and password that you created when you installed the program.)
NOTE: As of 2013, WordPress is set up to do automatic updates as new versions are released. You don’t have to do anything, the program just does it for you. If you get an email notice that your site has updated, just check and make sure everything looks fine. It probably will. And then, go on with life. If the backend of your WordPress tells you that you need to update WordPress, do that now.
————-
Setting up the WordPress Backend
Here’s what the default site will look like:
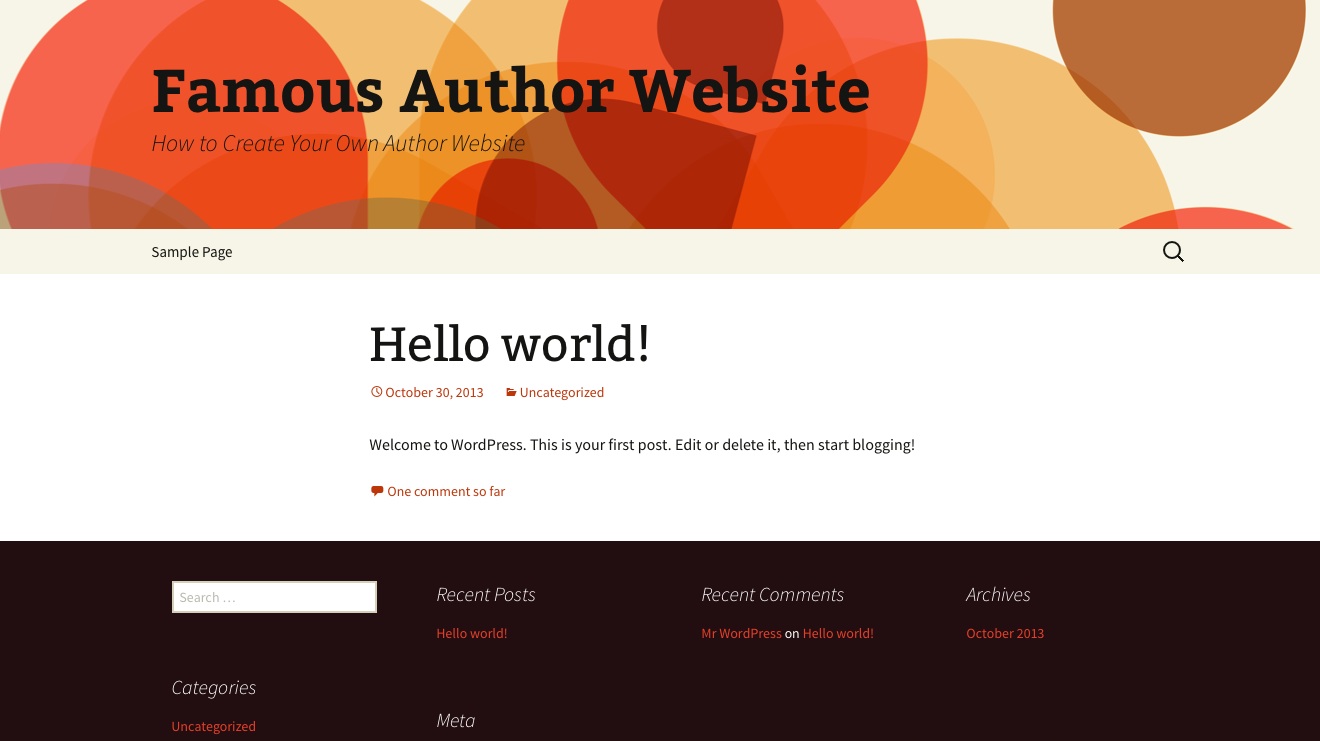
Don’t worry, yet, about how it looks. First you want everything under the hood to work right. So, there are some setting you should take care of first.
Here’s what the Dashboard will look like the first time you log in:
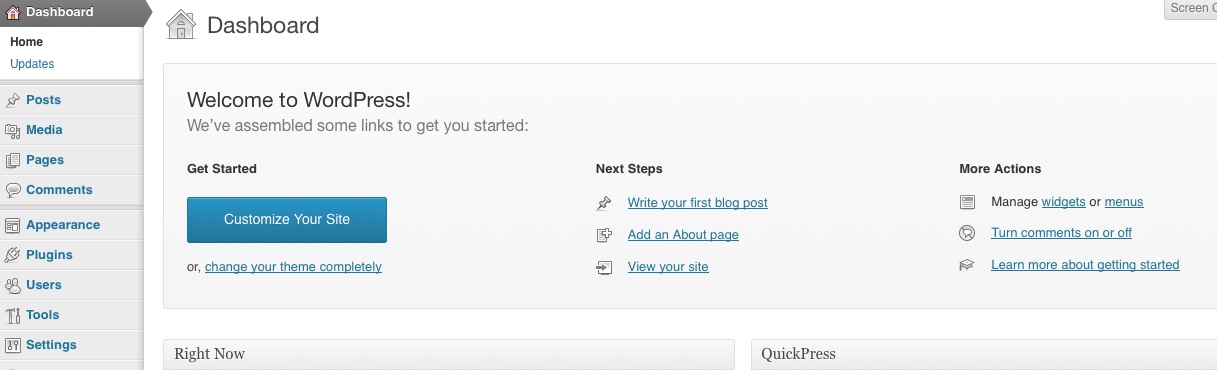
It has suggestions on how to get started and you can play around with that if you want. But first, you’ll want to take care of some basic settings. On the left-hand column, click on Settings.
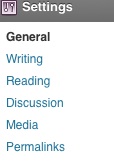
GENERAL
Here is where you can change the name of your site and tagline.
You won’t need to change anything on the WordPress Address, SiteAddress.
Here is where you can change the administrator’s email address, if needed.
For now, leave UNchecked, “Anyone can register.”
For now, leave the New User Default Role as “subscriber”
Change the time zone, date format, time format and week starts on to your preferences.
READING
Right now, while you are playing around with the site design and such, you probably don’t want search engines to find you! It’s sort alike someone seeing you in your underwear.
For Search Engine Visibility, check the box for “Discourage search engines from indexing this site”
(NOTE: if you forget to switch this back after you’ve got it all set up, your site won’t get much traffic. I’ll remind you, but be forewarned that this is a very important step in your website’s launch.)
PERMALINKS
The default is for WordPress to assign each post a number, something like this: www.FamousAuthorWebsite/?128 . But that sort of URL is hard to follow. I usually click on Post Name; then click save. That means your post URL’s will be “pretty” and easy to follow, something like this: http://FamousAuthorWebsite.com/famous-post
That’s enough for now. We’ll come back later and change a couple other things. But that’s all for now.
PAGES V. POSTS
This is also a good time to look around the back end of the site, because this is where you’ll spend a lot of time writing content for the site. First, an explanation of Pages and Posts.
WordPress is a content management system (CMS). It consists of a database and a template and it generates webpages on the fly. When someone comes to your site, the template says, “Hey, Database. I need information to slot into these places.” The database provides the information and the program/template generate the page immediately.
This is very different from the old html sites of a decade ago, which had a discrete file for each page. If you wanted to change the logo on a 100-page site, you had to change 100 pages.
Now, the template has a slot for the logo and there’s one place in the database that it is located. You simply change that one piece of the database and the template updates it on the fly in all 100 pages. Using a CMS saves lots of time!
Note: Techies will find this explanation simplistic and it is. But it’s enough info to help you understand what WordPress does and to get started!
WordPress organizes its templates/database into two separate sections, posts and pages.
- Posts. WordPress posts are displayed in reverse chronological order, in other words, as a blog. The most recent post is on top and it goes backward from there.
- Pages. These are static pages that are displayed where you tell them to display. In other words, pages act more like a traditional website. If you only use pages, then you must add menus to tell people what is available on the site and how they can get to it.
In reality, most people blend posts and pages into a website/blog for their author website. We’ll talk about the settings for that later. For now, just look around and see what’s there.
Assignment: Write a Page and a Post
I know, I know. You are anxious to “fix” how your site looks. Be patient a little while longer. We still have a couple more things to do. If you really want to get started on How the Site Looks, then transfer a couple of the pages you’ve written to your WordPress site; we’ll spend a couple days next week doing this formally, but if you want to get started now, go on. Fixing the theme will be easier if you have a couple of posts and a couple pages to look at. So, spend that extra energy and write a couple.
WordPress has extensive documentation on how to use the software in the WordPress Codex (http://codex.wordpress.org) . Believe me, the Codex is your friend. Any questions, go there first.
Here are Codex instructions on:
How to Write a Post: http://codex.wordpress.org/Writing_Posts
How to Write a page: http://codex.wordpress.org/Pages
Write a couple pages and a couple posts. Don’t worry. We’ve asked search engines not to index the site yet, so there won’t be any traffic until we change that setting. You can’t break the software and you don’t need to worry about “dumb” posts. Just do something for now and get comfortable with the software.
TIP: Show the Kitchen Sink When you are editing a post or page in the WordPress editing screen, you can easily format the text. By default, there are only a few options and your editing choices look like this:
![]()
Hover the cursor over the last option on this editing bar and it will say Kitchen Sink. If you click on it, the Kitchen Sink reveals many more choices for editing your text.

If you know html code, you can also edit in text mode, which means you are writing html code.
Have fun playing around with posts, pages and editing. If you’re still looking around for themes for your site, use the Resource Page.
Thanks, for the info, Darcy. I’m planning on moving from Blogger to WordPress in the near future and I’m bookmarking all these posts.
Thanks, Ken. I hope the techie advice on WordPress helps! The writing advice, though, is for any site, regardless of the platform.
Thanks for stopping by and bookmarking!
Darcy
Thanks for this, Darcy. My old dinosaur of a website was one of the casualties of our latest move. I need to get going on this.
Hi Darcy, I’m really enjoying this series and have been diligently working through all of the lessons. However, I haven’t used WordPress before and although I bought a theme via elegant themes and am hosting with dreamhost/dreampress, setting up how the site looks is taking a lot more input from me than I was hoping. (The previous template I bought for blogger was complete and I had only to write the content.) I’ve been using some online tutorials, but it’s slow going. Are there tutorials or sites you recommend for learning WordPress efficiently? Thanks so much for your response and your great, very helpful, site.
Hi! Glad the series is helping.
Some themes come out of the box perfect and some take tweaking. Most these days have a wide range of options you can customize. What I do is when I need a tutorial, I just search for the specific thing I need. Overall the codex.wordpress.org is a good place to start. After that, it’s a matter of searching.
That may sound like I’m trying to put you off but I’m not. It really depends on the SPECIFIC thing you need. It’s easy to find general tutorials that won’t help. But it’s equally easy to find one specific thing explained in a blog post.
Darcy
Hi Darcy,
Thanks for responding to my comment about themes and tutorials. I may be more comfortable finding a theme that’s more complete out of the box, as you say. I will definitely research that.
One other question: I’ve gone through your Plugin lesson and am using JetPack, which is easily available via WP. However, I love the “Sharing is Caring” social media icons you use. Would you mind sharing which plugin those are or if they were designed for you, etc.? Thanks again!
Hi again.
I found the Shareaholic link and a better template. A bit disappointing that the free one is a better fit for me than the paid one, but I’m very glad to be moving forward with the site.
Thanks so much for this series!
Best,
Angela
Angela:
Glad it’s helping! That’s what I hoped for.
Darcy