The Ultimate Exterior Spring-Cleaning Guide: How To Clean the Outside of Your Home
Ready to get Your New Windows?
Window World offers free in-home consultations! Click below to schedule today!
Get started!
How to clean the outside of your house, and where to start.
Just like cleaning the inside of your home, the best way to attack things outside is to start at the top and work your way down. The guide below will help bring your house from grim to glam just in time for spring. Now pull on your boots, throw on those old work clothes, and let’s get started!
Roof
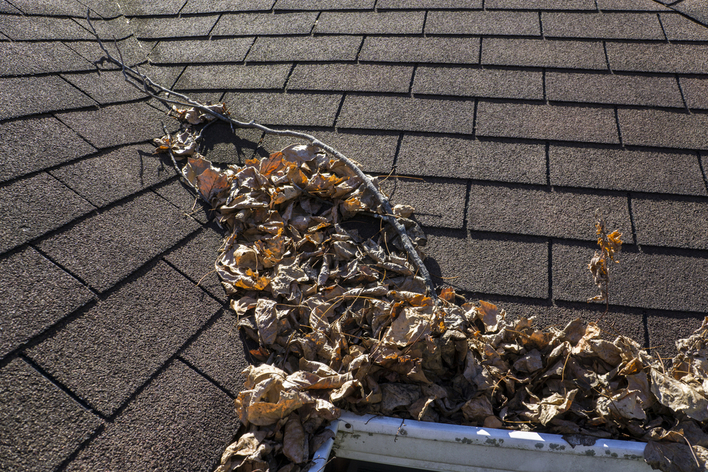
While there are many different types of roofing material used across the country, asphalt shingles are by far the most popular choice. The cleaning tips below focus on traditional asphalt roofing, but the general process can be followed no matter what protects the top of your home.
- Assess the situation with binoculars or use a ladder to climb up for a bird’s-eye view.
- REMEMBER: Always follow the proper safety rules when setting up and using your ladder.
- Look for any cracked or missing shingles that need to be replaced. Any “sliding shingles” that appear to have shifted may require new fasteners. If numerous places in your roof are in need of repair, it may be best to wait for warmer weather when asphalt shingles are more supple and less likely to crack.
- With everything sturdy and secure, start cleaning the roof by blowing off leaves with a leaf blower and removing loose debris and sticks by hand.
- Never use high-pressure water when cleaning your roof. The force involved with pressure washing can easily tear or remove loose shingles. Stick with a “high volume, low pressure” approach.
- If your roof sits under trees or in the shade, you may need to employ a soft wash to get rid of any algae, lichen, or moss without damaging your shakes, shingles, or tiles.
Gutters
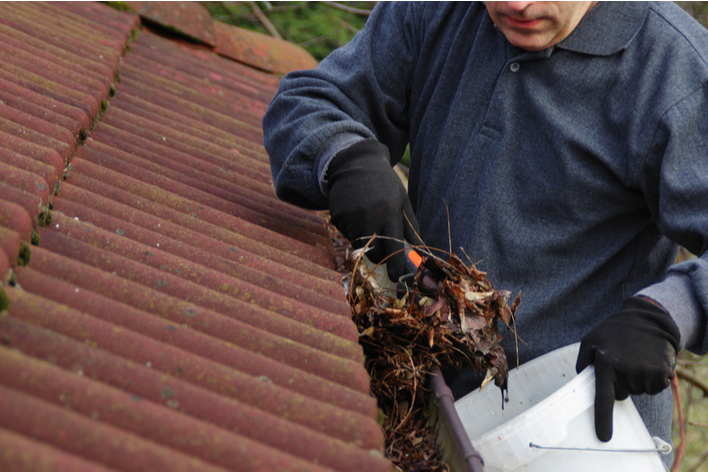
Frequent gutter cleaning is an essential part of home maintenance. Clogged or backed up downspouts and gutters can lead to damage to your roof, fascia, soffits, and siding. If left unattended for extended periods, clogged gutters can even harm your decking, rafters, and foundation.
- First, assemble the tools needed for the job: a ladder, a hose, a bucket, and a scoop or trowel. Gloves will also keep your hands tidy when digging in nature’s treasure chest.
- Start by clearing leaves, twigs, and branches with your hands. Then, use your trowel or scoop to remove the gunk that lines the bottom. You might find that your hands are the best tool for the job here as fishing debris out from around gutter fasteners can be a chore when scooping.
- Next, using the spray nozzle on your garden hose, flush out your gutters with water. Choose an end that is opposite of your downspout to begin.
- Finally, adjust your hose to full force and direct the flow of water into your downspouts. If you notice any clogs, climb down the ladder and feed your hose up the downspout from ground level. Any remaining blockage may require a plumber’s snake to remove.
Siding
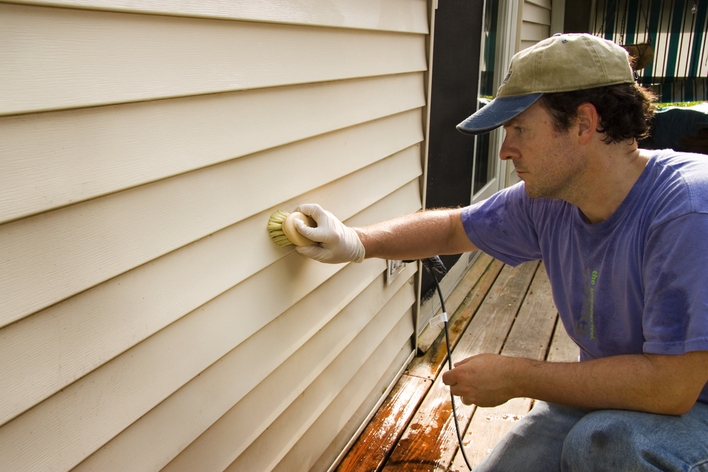
Prized for its low cost and easy maintenance, vinyl siding remains the most popular type of cladding material in America. Not only are there numerous benefits to choosing vinyl for your home, but maintaining it is simple with regular care and proper technique. Leave your pressure washer in the garage for this one. They can damage siding by creating holes or forcing water where it’s not intended to go, leading to mold and rot issues down the road.
- Start by mixing 70% water and 30% white vinegar to create your own cleaner. If your siding is especially dirty, consider adding household bleach to the mix for extra mold-fighting power. There are numerous store-bought solutions available, too.
- Cover any shrubs or flowers that you want to protect and remove anything that might get in the way of your hose and ladder.
- With windows and vents closed, spray siding down with water to get the area ready to clean.
- Next, apply your cleaner using a pump sprayer and follow with a soft bristle brush to remove dirt and mold from textured surfaces.
- Instead of working from top to bottom, the Vinyl Siding Institute says that starting from ground level will help prevent streaking. Remember to rinse away any residue as you go.
Windows
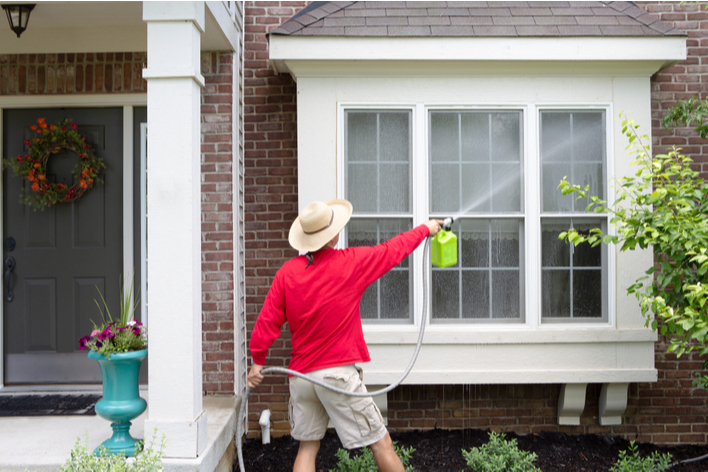
Windows can become extremely dirty throughout the year as pollen, dust, and debris of all shapes and sizes cling onto the glass and become ingrained in those little nooks and crannies. With your roof and siding already clean, this is the perfect time to give your windows some attention.
- Start with a general rinse of the windows using a garden hose. This dislodges most stuck-on dirt and grime. Anything left over can soak while you mix up your cleaner.
- Fill a bucket with clean water and a few drops of your favorite liquid dish soap.
- Depending on its size, dip a microfiber cloth or mop into your mixture and scrub the entire surface. Remove any extra stubborn stains by soaking the area with cleaner and then scrubbing with a gentle brush. Never use steel wool.
- Next, clean the glass using your favorite store-bought solution or create your own with a mixture of water, vinegar, and rubbing alcohol. Paper towels will certainly do the job, but a microfiber cloth will perform even better and leave less waste in the process.
- Don’t forget the screens! Once removed, spray them with a vinegar-water solution and then rinse with plain water. Be sure to dry properly in a dust-free environment before re-installing.
- Remember, these same tips can be used for vinyl patio doors as well!
For a closer look at cleaning the windows inside your home, check out our guide.
Porch/Deck
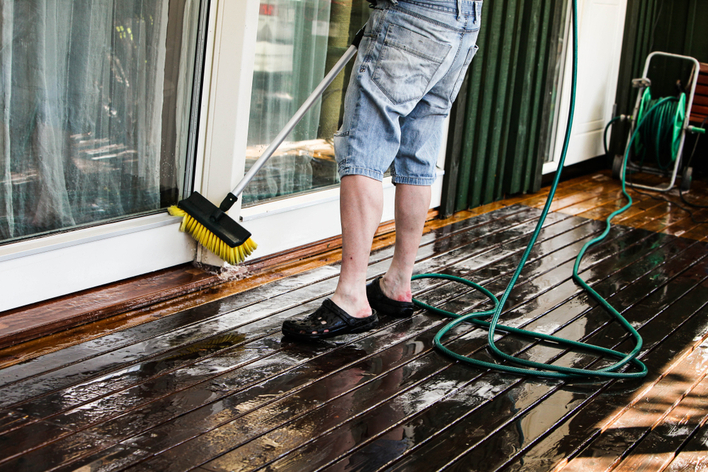
Now that you’ve knocked all the crud and gunk down to floor level, it’s time to attack those decks and porches. Grab your materials, cover up any precious foliage, and let the cleansing begin!
- First and foremost, be careful with the pressure washer. If you’re going to use high-pressure water on wood surfaces, be aware that you could potentially gouge the wood in the process. To stay safe, stick to brushes and cleaners on wood and save the pressure washer for stone, tile, and concrete surfaces.
- Before you start, remove any large debris with your hands and clean out the gaps between decking boards with an old putty knife.
- Blow off any remaining dust or dirt with a leaf blower. Or, sweep the area with a good, stiff brush.
- Next, wet everything down with a garden hose and apply the proper cleaner. There are a variety of options available, depending on the material you’ll be cleaning. Always follow the manufacturer’s instructions.
- Now that everything is soaked and ready, scrub the deck all over with a long-handled brush. Stiff bristles work best.
- Rinse the deck thoroughly with water and allow it to dry.
- If your deck or porch needs sealant, now is the time. Most environments require sealing every one to three years, but some areas may call for more regular treatments.
Congratulations! You’ve done it. Now you can sit back and enjoy your newly cleaned and protected home for many months to come. If you find that a good tidying is no longer enough to make your house shine, consider replacing your windows, patio doors, siding, or shutters for a substantial increase in curb appeal, not to mention peace of mind.


