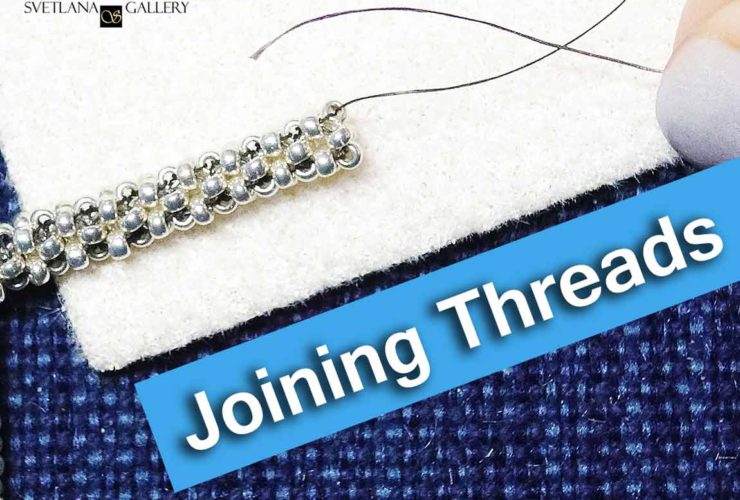
Cubic Right Angle Weave is called “the most versatile stitch” for a reason. I can’t imagine a thing this stitch couldn’t do. Serving many functions in beaded jewelry, CRAW is capable of adapting to numerous different beadwork applications. Ever since I learned it, I keep redesigning my already existing jewelry pieces in my mind using this particular stitch.
No matter how exciting any new stitch may sound to many students, CRAW intimidates some of them. Let’s try learning it the way I always do: teaching yourself with the help of others.
How to Teach Yourself CRAW Stitch
1. Select your resources
2. Choose the most comprehensive explanation
3. Follow the selected tutorial and implement the lesson
4. Analyze your mistakes or difficulties
The most important step in your learning process is to be able to notice your mistakes or distractive tendencies. Some tutorials might seem easy to follow, but everybody teaches their way. Will you be able to use the new stitch in a different beading environment? Will you be able to use different beads?
Let me illustrate it with a short story about my experience.
How I learned CRAW
I had to learn CRAW stitch for a beading workshop (scroll down to see the result). I could follow the instructions of the designer and learn it in the class, of course, but I was sure I would be left behind focusing on the stitch instead of the design. Even though I love dimensional beading, I wanted to become comfortable using the stitch before the workshop. I watched videos and browsed through magazines. Learned it, used it in a new piece of jewelry I created for myself and collected many compliments for it. But! When I started beading in the class, I had to use only one color of beads, and this made me feel quite uncomfortable. Practicing the stitch, I used two colors of seed beads to make my learning process easier. I wanted to avoid confusing the “floor” with the “walls.” Now that all of them were one color, I was lost for a while. I regretted not trying the stitch the with one color beads. After all, I this is how it is usually used in beaded jewelry design.
Of course, I overcame this problem quickly and completed a lot in the class, but this made me think of more organized ways of teaching yourself a new stitch. This way might help you, too!
Let’s try it together!
Beads For Practice
Before you begin, choose the beads you are going to be practicing with. I recommend round seed beads size 8 (or even 6). Miyuki, Toho or Czech seed beads that are not listed as shaped (such as triangular or cube), are all suitable for this purpose. I also prefer beads of a matte color, no color inner lining and with a round hole. Do not choose shiny or transparent beads. You might tire your eyes very quickly.
Basic CRAW Stitch
Depending on how you like to learn a new stitch, you may choose a written instruction or a video.
This written instruction is the only free one I found. It is very detailed! Print it, keep it and use it in case you need to refresh your memory in the future. It is perfect for those who love learning to look at diagrams. We thank Valorie Clifton for this tutorial!
This video tutorial explains the basics of CRAW stitch with help of perspective.
Not sure about the colors of beads? I certainly recommend starting with two colors because it will be easier for you to see the blocks of your rope. It is just for learning purposes. Feel free to use any leftover beads size 8 you have.
Basic CRAW Using Colors
After you understand the basics of the stitch, you may advance to using two colors of same size beads. At this point, you can switch to seed beads size 11. Choose colors you like and practice the stitch until there is enough rope for you to make a little bracelet for yourself. I used Artbeads CRAW Mini Tutorial for this purpose.
Another way to practice the stitch and make a new jewelry piece is to make a bracelet following this tutorial.
Experimenting With CRAW
The best way to assimilate your newly learned skills is to create your own piece of jewelry using the new stitch. Even though I learned this stitch to use in a workshop, I also wanted to see if the new technique will help me solve some design problems. And it did!
Some time ago I purchased a thick top-drilled blue lace agate pendant. I didn’t have any idea how am I going to use it or dress it up with beadwork. It wasn’t suitable for bead embroidery. It wasn’t perfect for stringing either due to its thickness. The only obvious way for me to wear it was to hang it on a slim chain. Not so much fun for a creative person, I thought! I almost regretted purchasing it.
Until CRAW came along!

I was able to repeat the shape of the pendant, embellish it and make it sturdy enough to hold it inside. All – thanks to CRAW. As much as I love bead embroidery, this was a clear bead-weaving case.
Getting Comfortable With CRAW
I am sure there are more exciting design solutions incorporating CRAW into your beadwork or using it as a core. I liked the idea of hiding the thread and embellishing the CRAW bracelet at the same time.
One of the very explanatory tutorials for this stitch is also a tutorial for an embellished bangle bracelet. In it, you will get familiar with very helpful terms for CRAW such as “the wall,” “the ceiling” and “the floor.”
When I took the class I have learned the CRAW stitch for, Helena Tang-Lim, our teacher, and designer, used the same visual “anchors” to explain and demonstrate the stitch. I found it very useful!
The result of the class was this beautiful, very thoughtfully designed pendant.

I am looking forward to many more designs with CRAW and, I hope, so do you. One of my recent designs using CRAW was for a bracelet with labradorite beads.

Just in case, you thought this stitch is too difficult to master, try it again. Give yourself time to understand it. Start simple. One step at a time. Complicate only if you feel comfortable enough to continue.
If you need a relatively small project for CRAW stitch, try Argylla pendant tutorial. With help of two free video tutorials, you will be able to complete this project in a couple of days.
Great things require lots of practice. If you read this post till this sentence, I have no doubt you will master the stitch!
Happy beading!