Video Editing Quick Tip: Using Command + Drag in Premiere Pro
Supercharge your workflow and spare your sanity with this quick shortcut that lets you manipulate play time and add transitions to multiple clips in Premiere Pro.
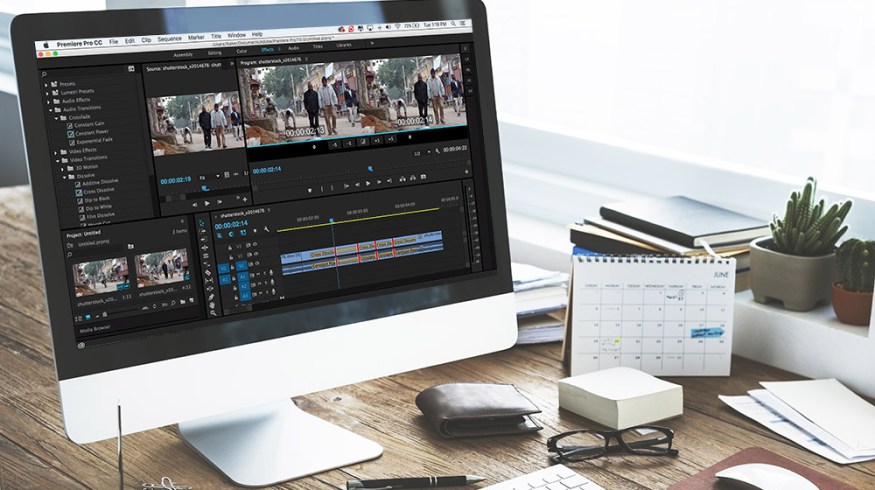
Top image via Shutterstock
Whatever the subject matter of your video project, meticulously going through your timeline to add transitions and move multiple clips around can be very frustrating and feel like a waste of time — luckily, there’s a solution.
This one-step motion is guaranteed to speed up your workflow. Check it out.
Moving Multiple Clips
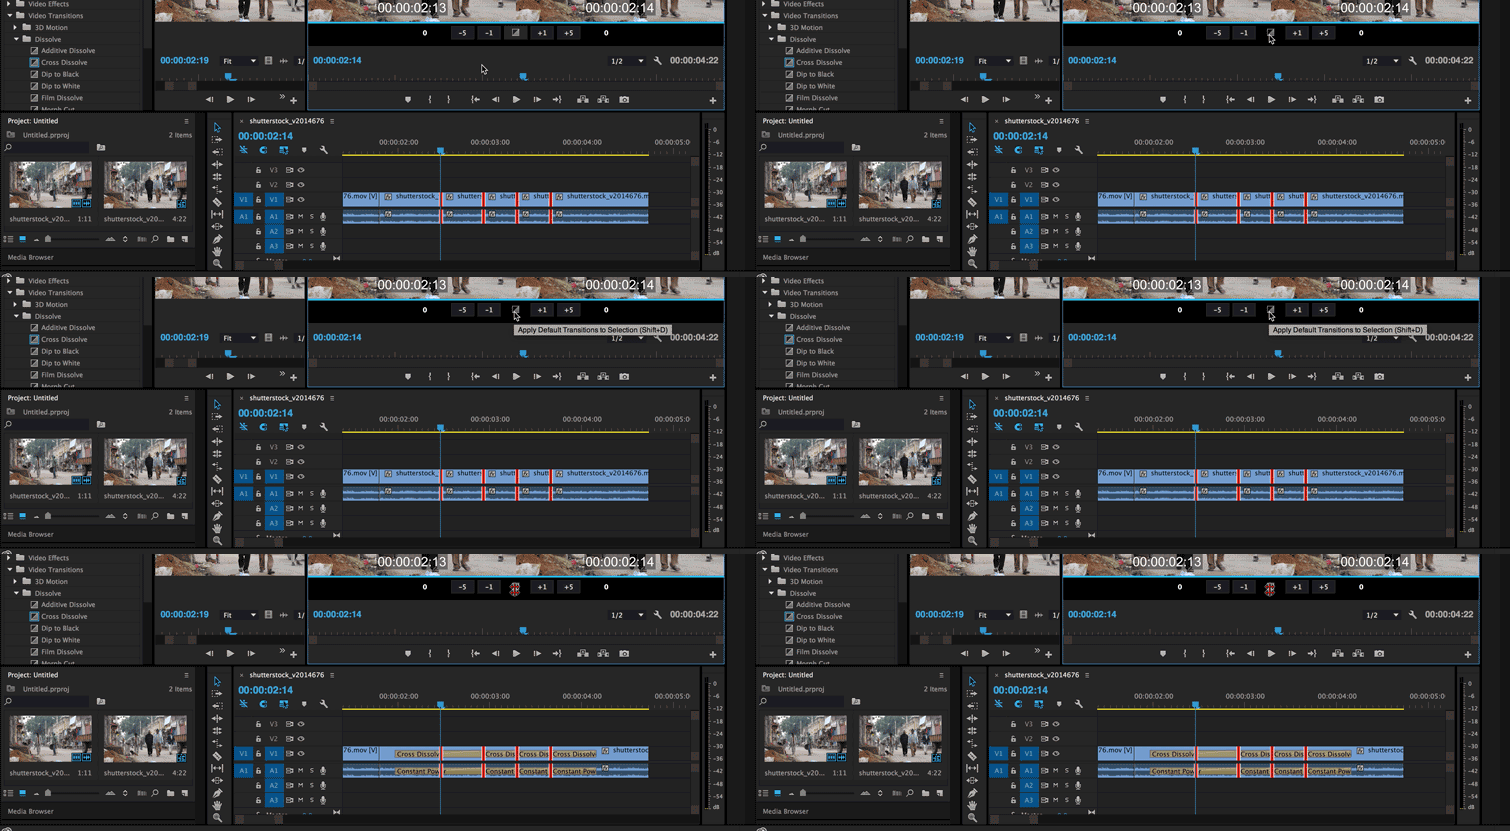
By holding Command (Mac) or Ctrl (Windows) and dragging your mouse over the desired clips in your timeline, you’ll open up a window below your monitor that allows you to perform a couple of different actions. One of those actions is the option to move the selected clips — as a whole — forward or backwards by one or five frames.
Applying Multiple Transitions
Using Command/Ctrl + drag also lets you apply a default cross-dissolve transition to all of the selected clips at once. To change the duration of the default transition, go to Premiere Pro > Preferences > General (Mac) or Edit > Preferences > General (Windows). As you can see in the GIF above, this only adds video and audio cross dissolve; you will be limited to this specific transition.
Looking for more Premiere Pro knowledge? We’ve got you covered.
Got any slick Premiere Pro quick tips? Share them in the comments below!


