
In this tutorial, I'll show how to make such reflective sheen in 3ds Max, such as seen in laptop and mobile phones commercials.
I'll show you how to render it as a separate pass so that you can control its intensity in multi pass compositing easily.
The Result

1. Preparing the Scene
Step 1
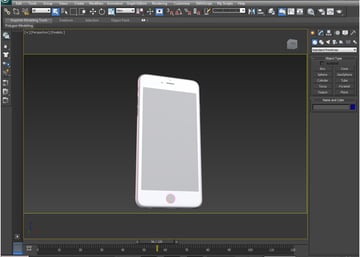
Open 3ds Max. Open the smart_phone.max file which has been
provided with the tutorial.

Step 2
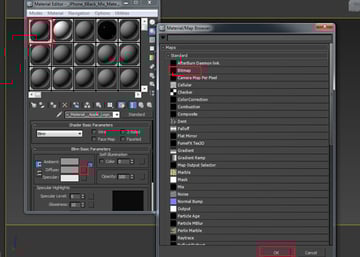
- Press M to open the Material Editor. Select an empty material slot.
- Click on Diffuse channel. It opens the Material/ Map Browser window.
- Select Bitmap and click on OK.

Step 3
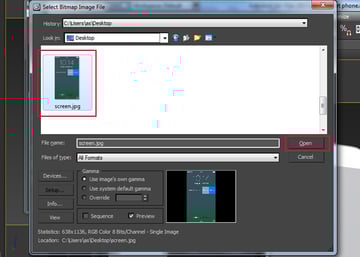
Select screen.jpg image. This will be used as the texture of the
mobile screen.

Step 4
I have used several omni lights in the scene.


Step 5
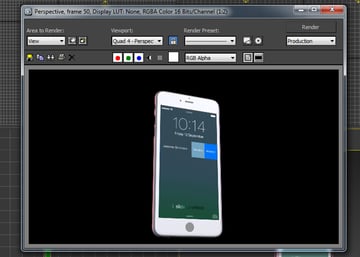
Press Shift-Q or F9 to render the frame. This looks good but there is no reflective sheen on the screen right now.

2. Creating the Reflective Sheen
Step 1
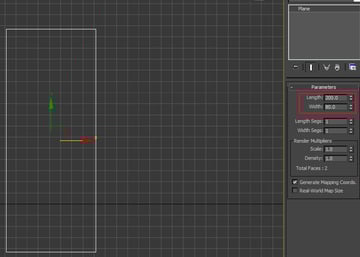
Create a plane with the length and width as 200 and 80
respectively.

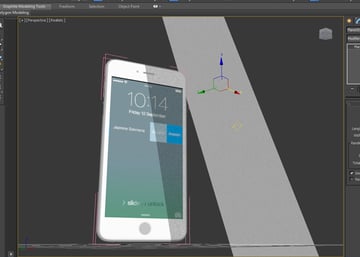
Step 2
Put this plane in front of the mobile phone as shown in the following image.


Step 3
- Press M to open the Material Editor
- Select an empty material slot
- Set the Diffuse color as grey
- Increase the Self-Illumination level to 100%
- Apply this material onto the plane


Step 4
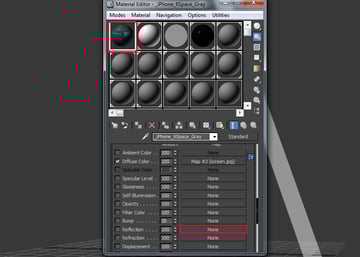
With the screen material slot selected, click on Reflection channel.

Step 5
It opens the Material/Map Browser window. Select Raytrace
and click on OK.


Step 6
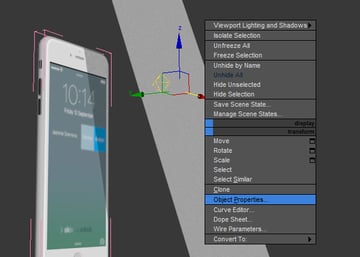
With the plane selected, do right click and select Object Properties.

Step 7
It opens the Object Properties window. Turn off Visible to Camera option. Click on OK.


Step 8
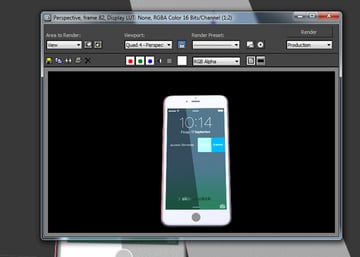
Press Shift-Q or F9 to render the frame.
This time you get
the sharp reflective sheen on the mobile phone’s screen. The reflective plane
is there but you don’t see in the rendered frame because you have turned off Visible
to Camera option.

3. Reflective Sheen Pass Rendering for Compositing
Step 1
If you want to control the visibility or intensity of the reflective sheen,
you need to render it as a separate pass, so that you can control it later in
the compositing software.

Step 2
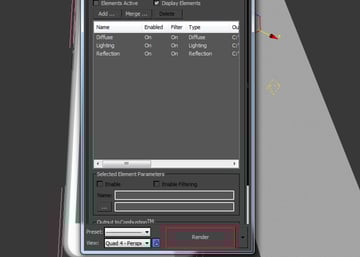
Press F10 to open the Render Setting window. Click on Render Element tab.


Step 3
Click on Add button. Select Diffuse, Lighting and Reflection.
Click on OK.


Step 4
Click on Render button.

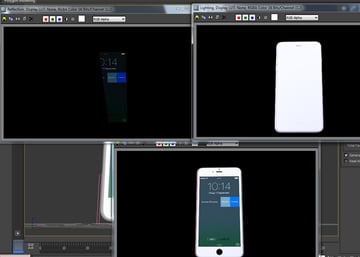
Step 5
You get three different passes as Diffuse, Lighting and Reflection. Save each of them in the TGA file format.

4. Compositing in After Effects
Step 1
Open After Effects.


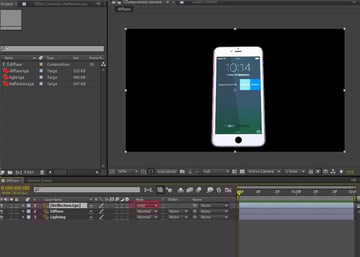
Step 2
Import all 3 passes one by one and put them in order on the timeline.


Step 3
Put Reflection layer on the top of the Diffuse layer. It looks dark.


Step 4
Change the blending mode of the Reflection layer to Add. Now you get the reflective sheen on the screen. Since this reflective sheen pass is a separate layer so you can easily control it without affecting any other layer.

Conclusion
Reflective sheen pass adds beauty to the final output. There is quite an easy set up for it. If you use it as a separate pass, you can control it quite easily in post production software.


