


1. Creating a Basic Scene
Step 1
Open
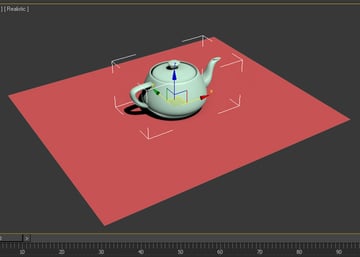
3ds Max. Draw a plane in the
perspective viewport.


Step 2
Make a teapot and put it on the plane.

Step 3
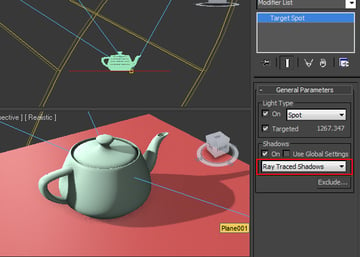
I've applied several lights in the scene. I've chosen Ray Traced Shadows as the shadow.

Step 4
Press M to open the Material Editor. Select an empty slot. Click on Reflection channel.
It opens the Material/ Map Browser. Select Raytrace and click on OK.


Step 5
Apply this material to the plane.


Step 6
Increase
the Specular level and Glossiness of the teapot.


Step 7
Render the scene. You get one rendered frame. In this rendered frame, you get Diffuse Color, Shadow, Specularity and Reflection.
Right now, you can’t control individual channel. It will affect the entire frame. You'll need to render each and every pass separately.


2. Multi Pass Rendering in 3ds Max
Step 1
Press F10 to open Render Settings window. Click on Render Elements tab.


Step 2
Click on Add button. It opens Render Elements window. Select Diffuse and click on OK.


Step 3
Following the same way, click on Add button and add Reflection, Shadow and Specular.


Step 4
You
have successfully added these 4 passes in the Render Element list.


Step 5
With
Diffuse pass selected, click on Browse tab.


Step 6
Save the file as Diffuse.TGA.


Step 7
It opens Targa Image Control window. Choose 32 Bits-Per-Channel option. Click on OK.


Step 8
Following
the same way, save the Reflection, Shadow and Specular files in TGA format.


Step 9
Click on Render button.


Step 10
You
will get 4 different rendered frames for each individual pass.


Step 11
This is Diffuse pass.


This is Reflection pass.


This is Shadow pass.


This is Specular pass.


3. Compositing in After Effects
Step 1
Open
After Effects.


Step 2
Import all passes inside After Effects and put them on the timeline in order.


Step 3
To get all passes at the right place, you need to put them in order. Keep the order of the passes as shown in the following image. With the Reflection pass selected, change its blending mode to Screen.


Step 4
Now you get the final composited scene.


Step 5
The beauty of this process is that, you can control each individual pass separately. If you want your shadow a bit light, you can decrease the Opacity value of the Shadow layer, and it will affect the shadow only. All other layers/ passes will be unaffected.


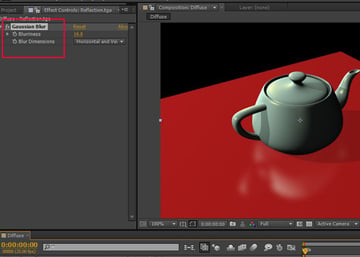
Step 6
If you want to make the reflection blurred, just apply Gaussian Blur effect to the Reflection layer. Play with the blur value, and it will affect the reflection only.

Conclusion
Multi pass rendering and compositing is a great time saver technique. It not only saves the time, but also enables the compositor to work more efficiently and independently on the compositions.
In the next part of the tutorial series, I'll show you some more important passes in 3ds Max, RLA, RPF and Open EXR format which make the compositing process even much better.


