How to Increase and Manage iCloud Storage from Your iPhone or iPad

Image via iCloud
Toggle Dark Mode
As an iOS device owner, you’re more than likely an iCloud user, too — and if you’re an iCloud user, then you’re almost certainly aware that Apple has gifted you with 5 GB of free storage in “the cloud.” That may seem like a pretty decent amount of free storage, but when you’re snapping photos, using apps, and downloading files all day long on your various iOS devices, you’d be surprised at just how quickly those kilobytes turn into megabytes, and megabytes into gigabytes. If you’re saving your photos, videos, content, files, and app data via iCloud, too, you’re likely to be maxed out at this point.
Upgrade Your Available iCloud Storage
The first, and perhaps most viable, course of action would be to simply go in and upgrade the amount of iCloud storage available to you. The benefit to going this cost- and time-effective route would enable you to preserve the entire breadth of your digital data, across your entire range of iOS and macOS devices, regardless of how often you upgrade or flip-flop between them. And the cost isn’t particularly a deterrent, either. To evaluate your options, you can start by navigating to..
- Settings.
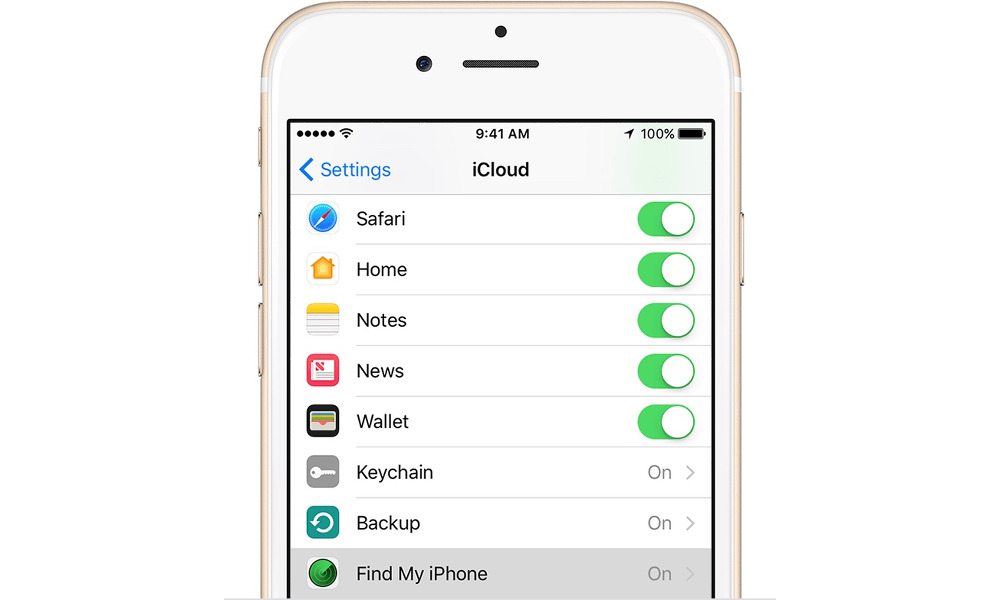
- Scroll down and tap iCloud, or tap on your name and then tap iCloud.
- Tap Storage.
- Finally, tap Buy More Storage.
From here, you can upgrade your storage 10-fold to 50 GB for less than $1 per month; or choose between 200 GB, 1 TB, or even 2 TB of storage for $2.99, $9.99, or $19.99 per month, respectively, which can be billed directly to your Apple ID. This option is ideal for those with limited storage on their devices, who may have a lot of data saved, and who want to be able to retain that data and digital content in the cloud — without having to max-out the available onboard storage on their iOS device, itself.
Delete Old Backups and Data
Another option would be to go in and manually choose what app data is and is not stored to your iCloud account. This option won’t necessarily affect the pre-existing app data on your iOS device, but, for example, if you were to upgrade to a new iPhone, whatever app data is not saved won’t be automatically transferred to the new device — albeit by not saving certain data on your current device, you’d free space from your available iCloud storage allotment. To manage storage across your iCloud-connected devices, or for individual apps, simply navigate to..
- Settings.
- Scroll down and tap iCloud, or tap on your name and then tap iCloud.
- Tap Storage.
- Finally, tap Manage Storage.
From this menu, you’ll be able to see what iCloud-connected devices are associated with your iCloud account. You can always delete older devices, or older backups of them, by tapping on the device and selecting Delete Backup. This would come in handy if, for instance, you had backed an iPad from a few generations ago that you’re no longer using — you won’t be able to determine what data was saved in that particular backup, but chances are that won’t be too important if you’ve already moved onto and restored your data to a newer iPad, right?
From this Manage Storage menu, you’ll also be able to view and manage/delete the documents and data associated with your various iCloud-connected apps — for example, your iBooks data, Microsoft Word documents, and the broader ‘Other Documents’ folder. You can play around with these a bit from this menu and either preserve or delete any files that you’re no longer actively using. Alternatively, you can transfer these documents, files, and even your photos to your Mac or PC — where you’re likely to have much more free storage space available, and, in turn, be able to free up space on your iOS device.


