
Like all mechanical, civil, and aerospace engineers, I learned how to analyze structures early in my engineering education. Determining the size and direction of compressive or tensile forces acting on each piece of a construction is called statics. With this basic bit of knowledge, we can figure out the right sizes, shapes, and thicknesses to use in building things.

In statics, we learn about architectural elements such as arches, beams, buttresses, trusses, and vaults. The truss is one of the most important, and it’s widely used in construction. In its simplest form, a truss is a rigid framework of bolted-together triangles. Triangles are inherently strong and stable, and structures made out of them are also strong, rigid, and lightweight.
Who first figured out the truss? It’s clear that the classical Greeks, for all their genius, knew little or nothing about building with triangle trusses. The Romans dabbled, but examples of Roman structures that use trusses are few and far between.

Medieval cathedral and church architects understood the technique empirically, if not scientifically; in plenty of early European buildings, wooden triangular trusses hold up the roof. Still, the best-known use of trusses is in building bridges.
For that, we can thank New York civil engineer Squire Whipple (1804–1888), who developed the first scientific method for analyzing and designing trusses. In 1847, Whipple published A Work on Bridge Building, which revolutionized civil engineering. No longer would builders use “rules of thumb” to guess at how big to make a strut or girder. Because of Whipple’s work, they knew exactly. Whipple figured out how to analyze trusses with a graphical method of lining up force vectors that he called “the polygon of forces.” This allowed engineers to safely and economically design viable truss bridges without knowing even a bit of calculus or trigonometry.

Whipple’s Bowstring Arch bridge, made with cast-iron trusses, became the standard for bridges over the Erie Canal. For his contributions, the Society of American Civil Engineers declared Whipple the “father of American iron bridge building.”
Whipple’s book set off a boom in civil engineering. Soon, the great age of iron bridge building was in full swing. The triangle structure is obvious in the beautiful spans of the Navajo Bridge over the Colorado River, the Whirlpool Rapids Bridge over Niagara Falls, and the Quebec Bridge over the St. Lawrence River. But hidden trusses are also important parts of suspension and cantilevered bridges like the Brooklyn Bridge.

The Warren Truss
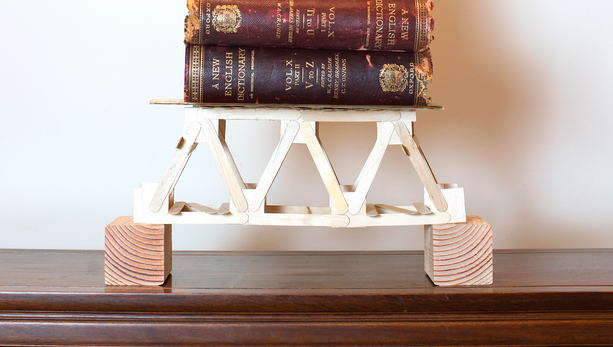
The simplest truss bridges are the Howe, the Pratt, and the Warren, named for the engineers who devised them. In 1848, English engineer James Warren designed the first truss bridge consisting solely of equilateral triangles connected side by side, each triangle inverted in relation to the next. Structural engineering doesn’t get much simpler. The Warren truss is tried and true, providing a bridge that’s easy to build, strong, and relatively lightweight. In 1850, Squire Whipple designed the first Warren truss bridge in America.
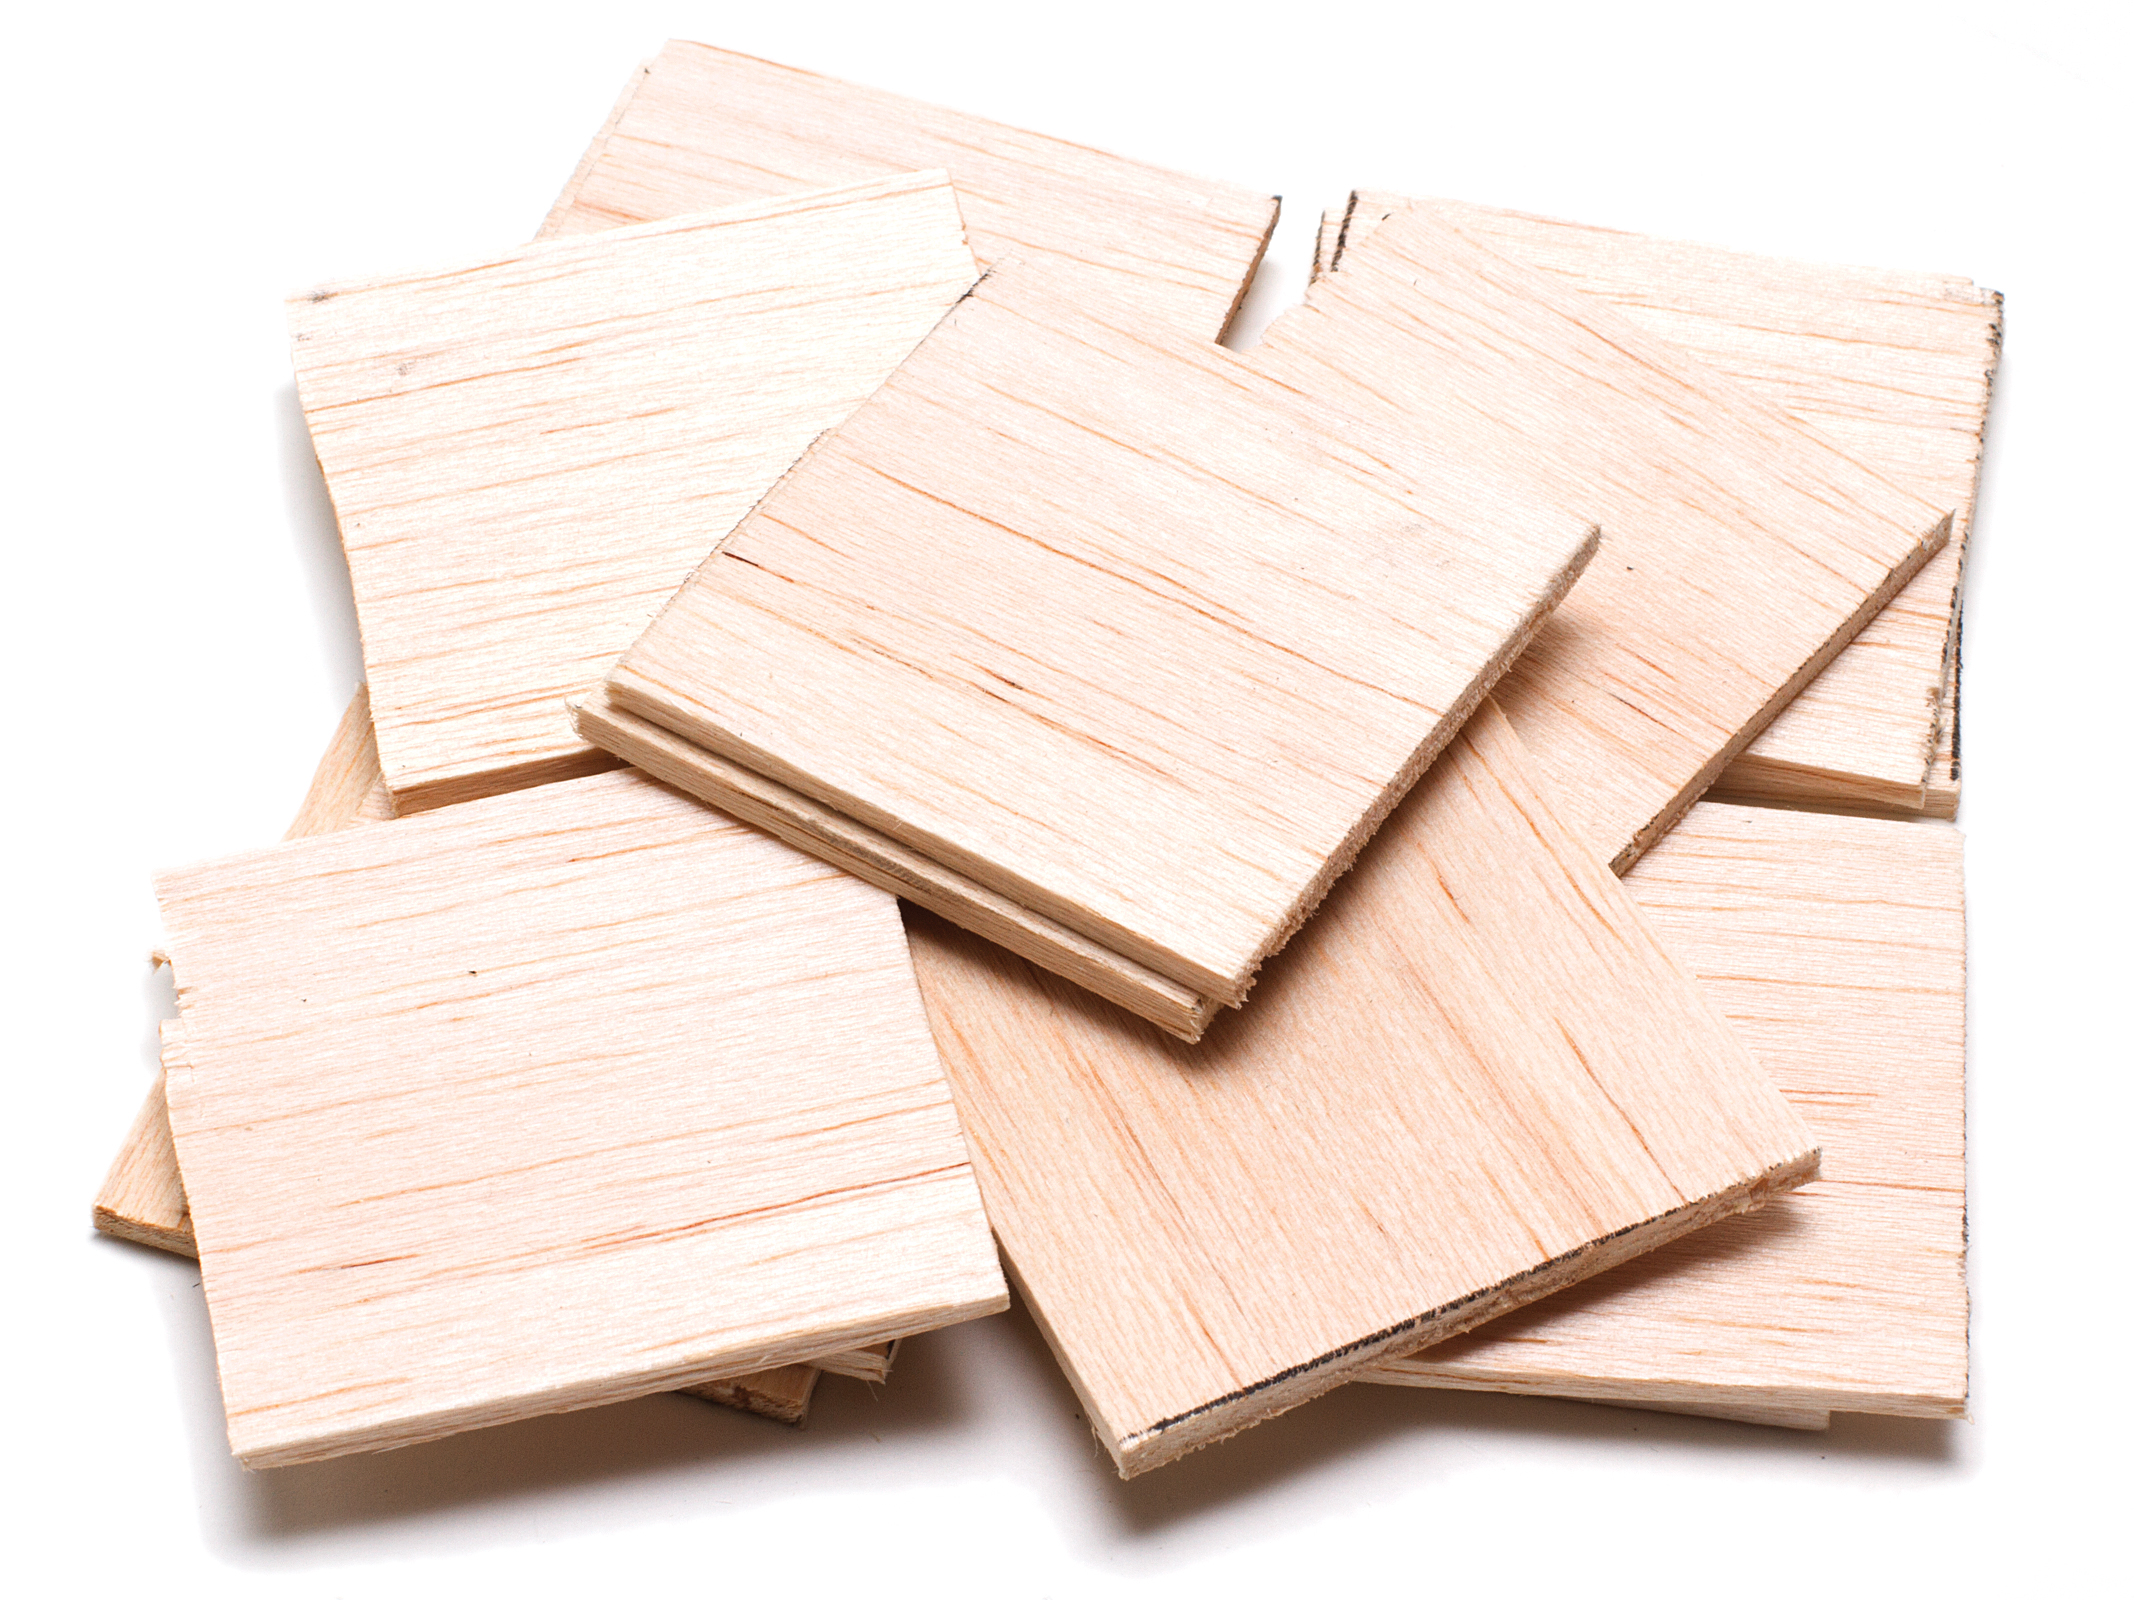
In this project, we’ll make a model Warren truss bridge. Light and strong, it can hold more than 100 pounds.