

Introduction: Let's Build a Test Track!


Alright everyone so last year I was tasked with designing and building an ATV / Side by Side test track for our new dealership location. Let's see how I got this accomplished, some of the main things I had to keep in mind was a used car lot section needed to go in and size limitations of the track itself was 90' x 90'.
What you will need for this Instructable is:
- A wonderful program called Sketchup
- Patience (Lot's and lot's of it too)
- Some hand tools such as dirt shovels, dirt rakes, pick axe
- Some extra hands for all the tools of course, extra people to help is always a good thing and usually pretty easy to find if you let them ride bikes for free. lol
- A small tractor or Bob cat (You could rent one of these it cost us $200 per day, you could also wheelbarrow the dirt around the entire thing if your not in a rush)
Step 1: Aquire and Install Sketch Up
After some research I stumbled upon a great FREE program called Sketchup, which could be found here:
Or more specifically lol
http://www.sketchup.com/download
This program was my saving grace, it allowed me to design the entire thing in 3D and up to scale, with a google map print of the actual property itself for a more realistic visual. Which in return saved us much time and money with the rental tractor we had, we refereed to the 3D map many times during the build and even the machine operator told us he wished everyone would build one of these as to save him some time.
Let's get started on designing and building this thing!!
Alright folks let's install this puppy! (if you haven't already)
Step 2: Let's Get the Sketchuping Basics Down!


Ok so let's open up Sketchup and start a new project.
You shall first get prompted to select a template or start from blank, for simplicities sake I'll just go with the feet and inches grass template.
The first time you launch the program an instructor window opens up which will allow you to click on all the different buttons on the top bar and explain each one very well. Go thru them all trust me it's worth it!
The basic controls of the program are on the top bar, there are many other features but I only really just learned to basics in order to get the track built. But if you really stick to this modeling powerhouse of an application, it can pay off big time for many different projects, or applications.
There are tons of video tutorials on different things to achieve, the program itself has a very useful tutorial on the basics and very helpful support and tutorials on their website itself. Then once your done the tutorial go over to youtube and check out some more videos, this could be a very frustrating program to learn but once you get it a whole new world opens up!
Step 3: Let's Lay the Ground Work


Now that you have a basic understanding of the program let's begin by laying down a google image of the property as a base so we know exactly where to build the track itself.
To achieve this you need to click on the "Add geo location button" as highlighted in the image. Then type your location and crop out exactly what your looking for as the back ground layout.
Once you have the background on the layout, you will want to right click the image and unlock it in order to adjust the map and line it up with the little man they put on there to scale things up. Right click and lock up the image once you have it were you want it, trust me you'll want to do this so you don't accidentally click and move the background.
Step 4: Grid It Out

Ok so now we need to measure the widest bike we are thinking of putting onto the track and measure it all out all.
I went with 12ft sections because we have anything from a wide side by side to a small ATV on there, so 12ft gave me a nice 5ft buffer so the customers don't accidentally go off the track.
When you grid out the entire track area, you will now know how wide to build and design your obstacles.
Step 5: Building Your Obstacles


Now for the fun part we need to build dirt obstacles for use to run over with the bikes.
First open up a new layer and name it something like "Dirt jump" this is so you can edit or hide only certain layers as you work.
I recommend getting in the habit of making new layers per new element you add, this helps to simplify things when you're trying to work on only certain parts of your track. This also eliminates the entire track being one giant object.
You can download per-designed jumps, table tops, berms, corners, tires etc...and just drag and drop them onto the map but for my purpose I custom built each piece and saved them as individual obstacles.
I uploaded a few of the steps to making your own jumps and corners, you need to think in terms of cubes, cylinders and arcs. Using the push pull tool allows you to make the shapes 3D, I recommend watching video tutorials on advanced shapes because there are so many ways to achieve different results with this program.
Step 6: The Track Is Borne!


So we made a corner then copied it out three times, I made a jump shape and pulled it out into the on single corner to make the fun box you see at the front.
In the center I measured out a car tire and made stacks of single, double and triple tires to simulate off road bumps and test out the bikes suspension.
The center also doubles up as a couple of table tops, the whole design turned out great for a small track which is more along the lines of a skate park / obstacle course for ATV's, Dirtbikes and Side by Sides (UTV's) to test out their different features.
Step 7: Give It Some Life!


This step is optional if you want to give your track a bit of life you can upload pre-made 3D models from the 3D warehouse button.
I chose to add bikes in order to make it more realistic and it allowed me to move them around the track and see how a bike would react on the track setup the way it is.
I also added a storage compound on the side of the track for our department, just downloaded storage container models and fencing took all of 10 minutes with the pre-made 3D models.
Step 8: Let's Make This Design a Reality!


First a few words on dirt, its can get expensive for just a couple of loads and trust me you'll need more then a couple. We managed to score free dirt for a near by construction site that was excavating, a nice mix of clay and top soil too but it did have some rocks and construction debris in it so I had to keep an eye out while the Bobcat was working and clean out the garbage and the rocks that were to big..
(Don't be afraid to ask the construction supervisor if they could drop a few load where you want them, odds our you'll save them time and money driving all the way to their dump site if your location is closer)
As for the equipment we rented a small Bobcat for a couple of days, make sure it is the track kind. It really helps to crawl over the loose dirt and drop buckets exactly where you want them, the other nice thing with tracks is you can utilize them to pack down your dirt obstacles as you build them.
A couple of Safety tips with the heavy equipment,
#1 Rule safety first please give the operator a good couple of car lengths around the machine. The visibility inside the Bobcat is poor all around except the front.
#2 Have a someone outside as a spotter or safety person if possible, or mark off the work area so no one just wanders in the site and in the way of the machinery.
#3 Get the operators attention and a thumbs up from them if you're going to be working in the same area, don't just walk in there and start picking out rocks you might get run over or dropped on.
#4 Don't rush take your time and take it easy, when you slip and fall is when most accidents happen.
#5 If you're not familiar with the equipment get an operator who is, it can take an inexperienced operator a few days and a lot of frustration when an experienced one could probably do it in a few hours and safely.
#6 Have FUN!
Bobcat Track Building Tips
#1 Use your shovel on the Bobcat to pack the dirt down as you drop it in place, you don't want it to be loose when you ride the bikes over the track. Also it will allow you to build a nice large foundation for your taller obstacles.
#2 Use your Shovel to scrap and level the obstacles after you pack them down and build them up to size, don't try to build them perfectly straight and square right off the get go.
#3 Utilize your tracks in the corners (Berms) to pack them down in the right shape, we tried using the shovel but it was to wide so the operator found that running the tracks up and down work perfectly.
(This was also why I recommend renting a tracked unit, the tire ones would just leave ruts everywhere.)
#4. Use a combination hand tools and Bobcat, if the dirt got to packed down during the initial drops and the machine is spinning out trying to scrap level the top of the obstacles. Instead of letting it spin and ruin the rest of the obstacle, get your outside spotter to go in front and loosen it up the dirt with a pick axe.
#5 Take your time, faster isn't better it just means you're going to screw up quicker if you do! BE SAFE!
Finally Test your track while you have the equipment on site to ensure your design is performing how you want, also that you can ride all the bikes you want through there comfortably. We ended up having to make a few corners wider for the larger bikes.
**Check out the videos I uploaded down below**

Step 9: Final Grooming

So once the bulk for the work has been done with the heavy machinery here comes the fun part.
Get out your hand tools, such as rakes, shovels, pick axe and start fine tuning the track.
This is when we buried a layer of car tire across the two table tops to simulate rough road conditions, we also buried logs at the back between the two corners so people could run them over just like they would off-roading.
(Originally this was to be all tires, but we managed to get a lot of free dirt so we went the single layer route instead.)
We also got a few loads of nice beach sand to spread all over the track and raked it so it wasn't all just a hard clay surface, this also helped when it rained to add more traction because the clay gets really slick when wet.
We cut a couple of tires to wrap around the light post that unfortunately ended up in the track site area, Safety first!
(If you have any trees in the way instead of cutting please try to just wrap them with tires if they'll fit or tie mattresses lol I don't know just try not to cut them out of the way just to ride bikes.)
Step 10: Some Videos and Pictures of Us Utilizing the Test Track


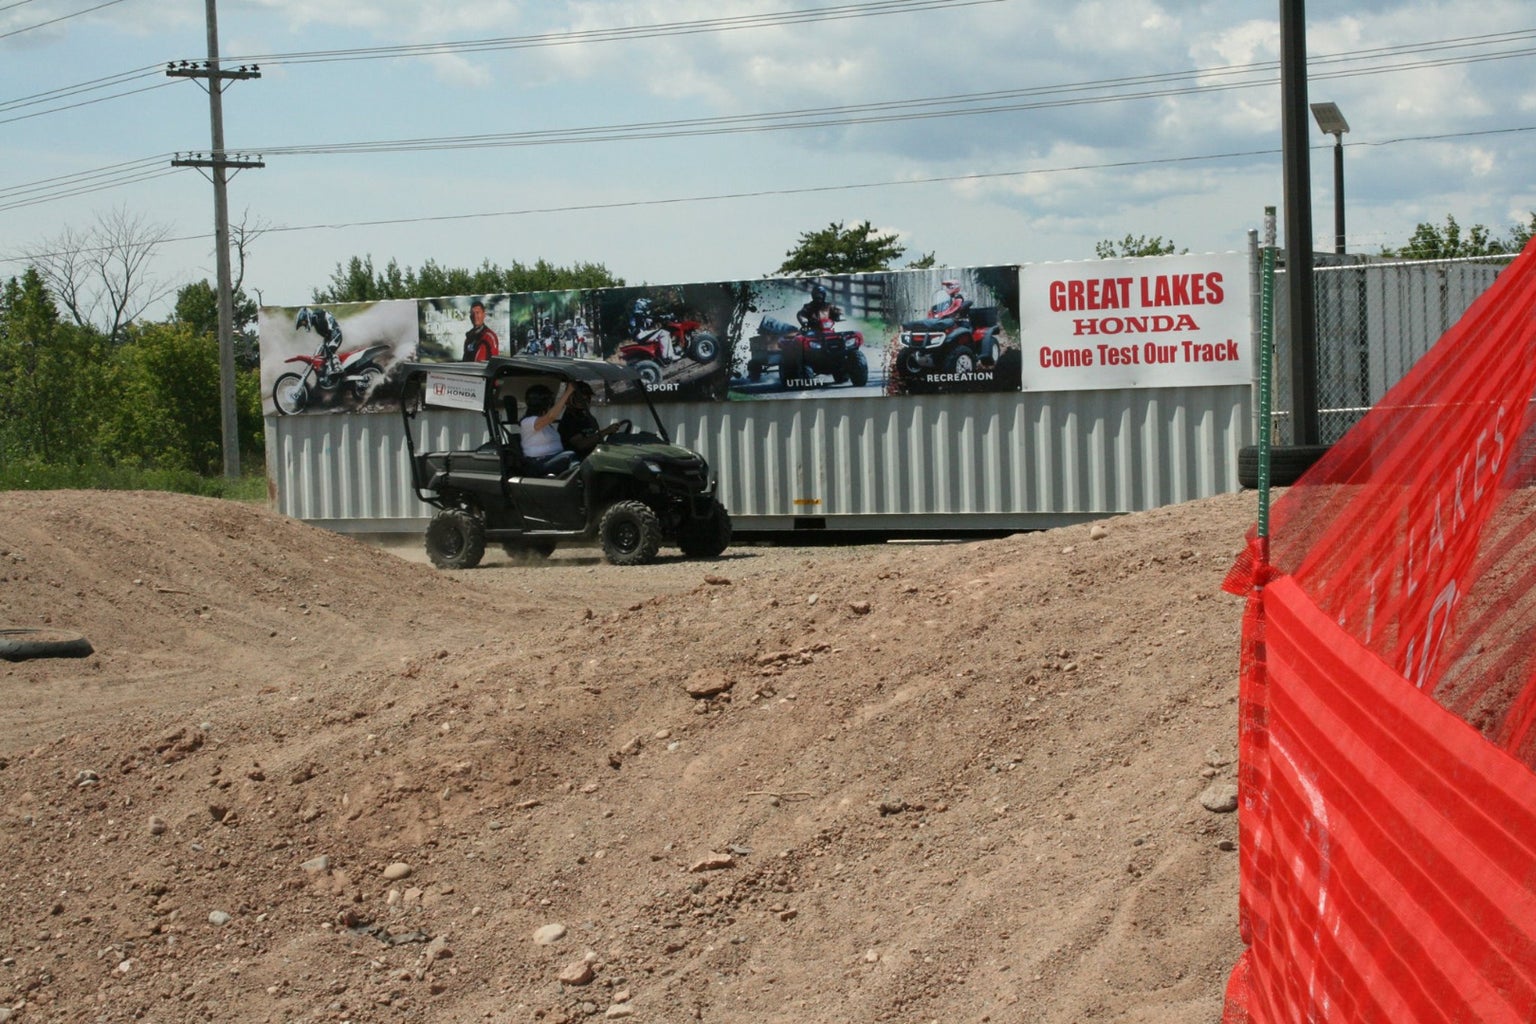


Talking about the differences between ATV's and Side by Sides on the test track
Suspension demonstration utilizing the test track.
Utilizing the track in the winter!
More winter track use with ATV's

Participated in the
Move It

Participated in the
Mind for Design


