
In this tutorial, we will show you how to install and set up Nginx on CentOS 7. Nginx is a high-performance, open-source software for web serving. It can be used as a proxy server for email (IMAP, POP3, and SMTP), as a reverse proxy and load balancer for HTTP, TCP, and UDP servers. It can also be used as a media streaming server. It features an event-driven design, which can make better use of today’s computer hardware than Apache’s process-driven design. Nginx is often seen as the “faster” alternative to other web servers such as Apache, being able to handle a higher load of concurrent connections while using less resources. Installing and configuring NGINX on CentOS 7, is fairly easy task and it shouldn’t take more then 10 minutes to finish it.
1. Install EPEL Repository
To install Nginx on CentOS 7 server you will need the EPEL repository. To install EPEL repository, run the following command:
sudo yum install epel-release
2. Install Nginx on CentOS 7
Now that the EPEL repository is installed on your server, you can continue and install Nginx, using the following command:
sudo yum install nginx
3. Enable Nginx to start when your server boots
Set up Nginx to start automatically at a server boot. You can do this by running the following command:
sudo systemctl enable nginx
4. Start Nginx service
Nginx does not start on its own. To start Nginx, type the following command:
sudo systemctl start nginx
5. Verify the Nginx Installation
Make sure the service had no errors by running:
sudo systemctl status nginx
You should get something this:
● nginx.service - The nginx HTTP and reverse proxy server
Loaded: loaded (/usr/lib/systemd/system/nginx.service; disabled; vendor preset: disabled)
Active: active (running) since Sat 2018-03-31 10:47:55 CDT; 8s ago
Process: 29137 ExecStart=/usr/sbin/nginx (code=exited, status=0/SUCCESS)
Process: 29134 ExecStartPre=/usr/sbin/nginx -t (code=exited, status=0/SUCCESS)
Process: 29131 ExecStartPre=/usr/bin/rm -f /run/nginx.pid (code=exited, status=0/SUCCESS)
Main PID: 29138 (nginx)
CGroup: /system.slice/nginx.service
├─29138 nginx: master process /usr/sbin/nginx
├─29139 nginx: worker process
└─29140 nginx: worker process
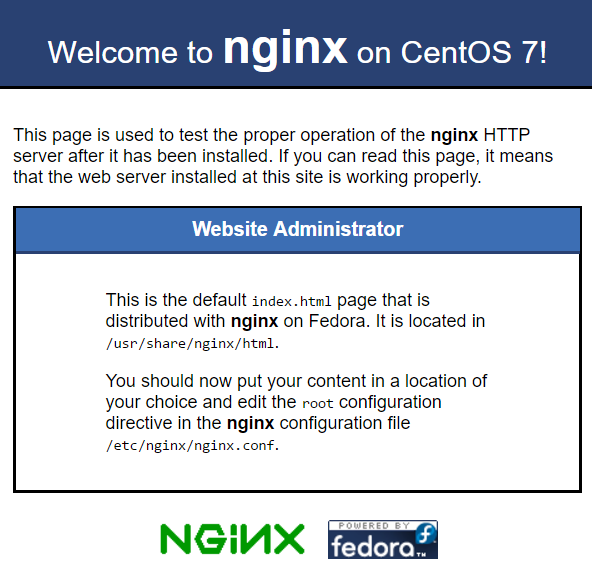
If you open a browser and type your domain or IP address
http://your_domain_name_or_your_server_IP/
You will see the test page of Nginx, which is default CentOS 7 web page used for informational and testing purpose. The web page should look similar like the one bellow:
6. Configure Nginx on CentOS 7
The primary configuration file is /etc/nginx/nginx.conf. This file is maintained by Nginx package maintainers and it is recommended that avoid editing this file.
Nginx does not have Virtual hosts, it has “Server Blocks” that can be added by creating new configuration files in /etc/nginx/conf.d. Files that end with .conf in that directory will be loaded when Nginx is started.
7. Check for syntax errors
It is very important to check for any syntax errors when configuring Nginx. This can be done by issuing the following command:
sudo nginx -t
8. Restart Nginx server
When you are editing the Nginx configuration file, it is necessary to restart Nginx server, for the changes to take effect..
sudo service nginx restart
Of course, you don’t have to install and configure Nginx on CentOS 7, if you are user of one of our Nginx VPS Hosting services, in which case all you have to do is simply ask our expert Linux admins to install and configure Nginx on CentOS 7, for you. They are available 24×7 and they will take care of your request immediately.
PS. If you like this post, on how to install and configure Nginx on CentOS 7, please share it with your friends on the social networks using the buttons below or simply leave a comment in the comments section. Thanks.