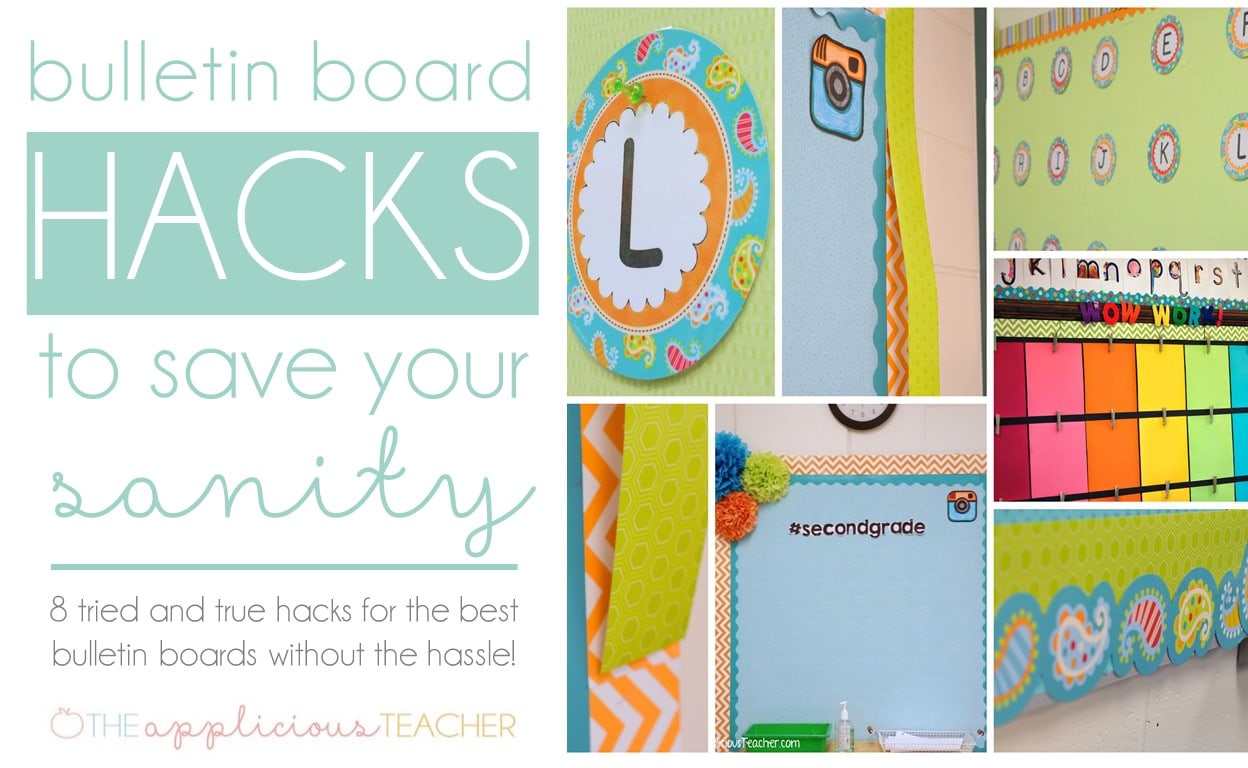
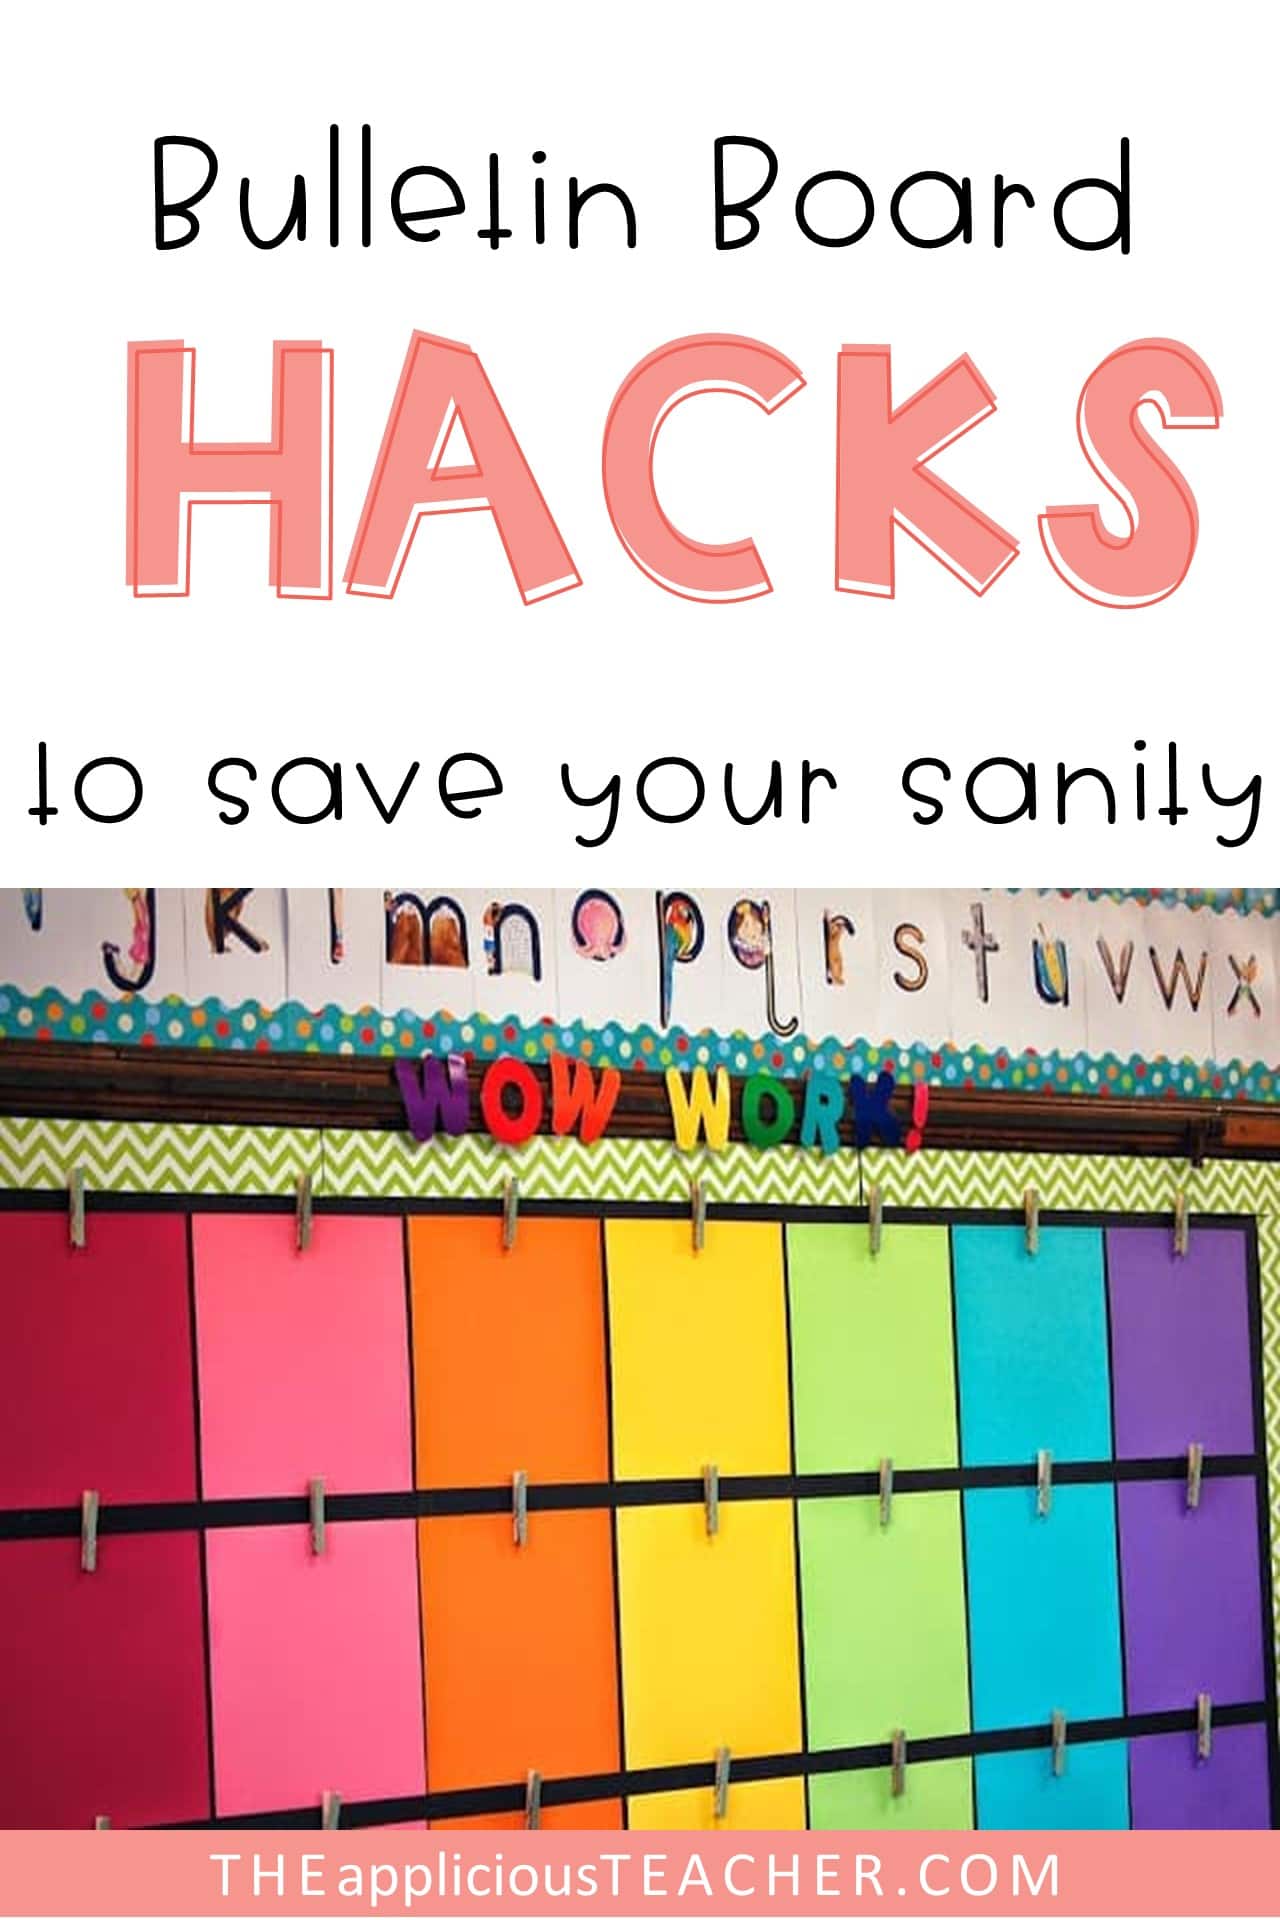
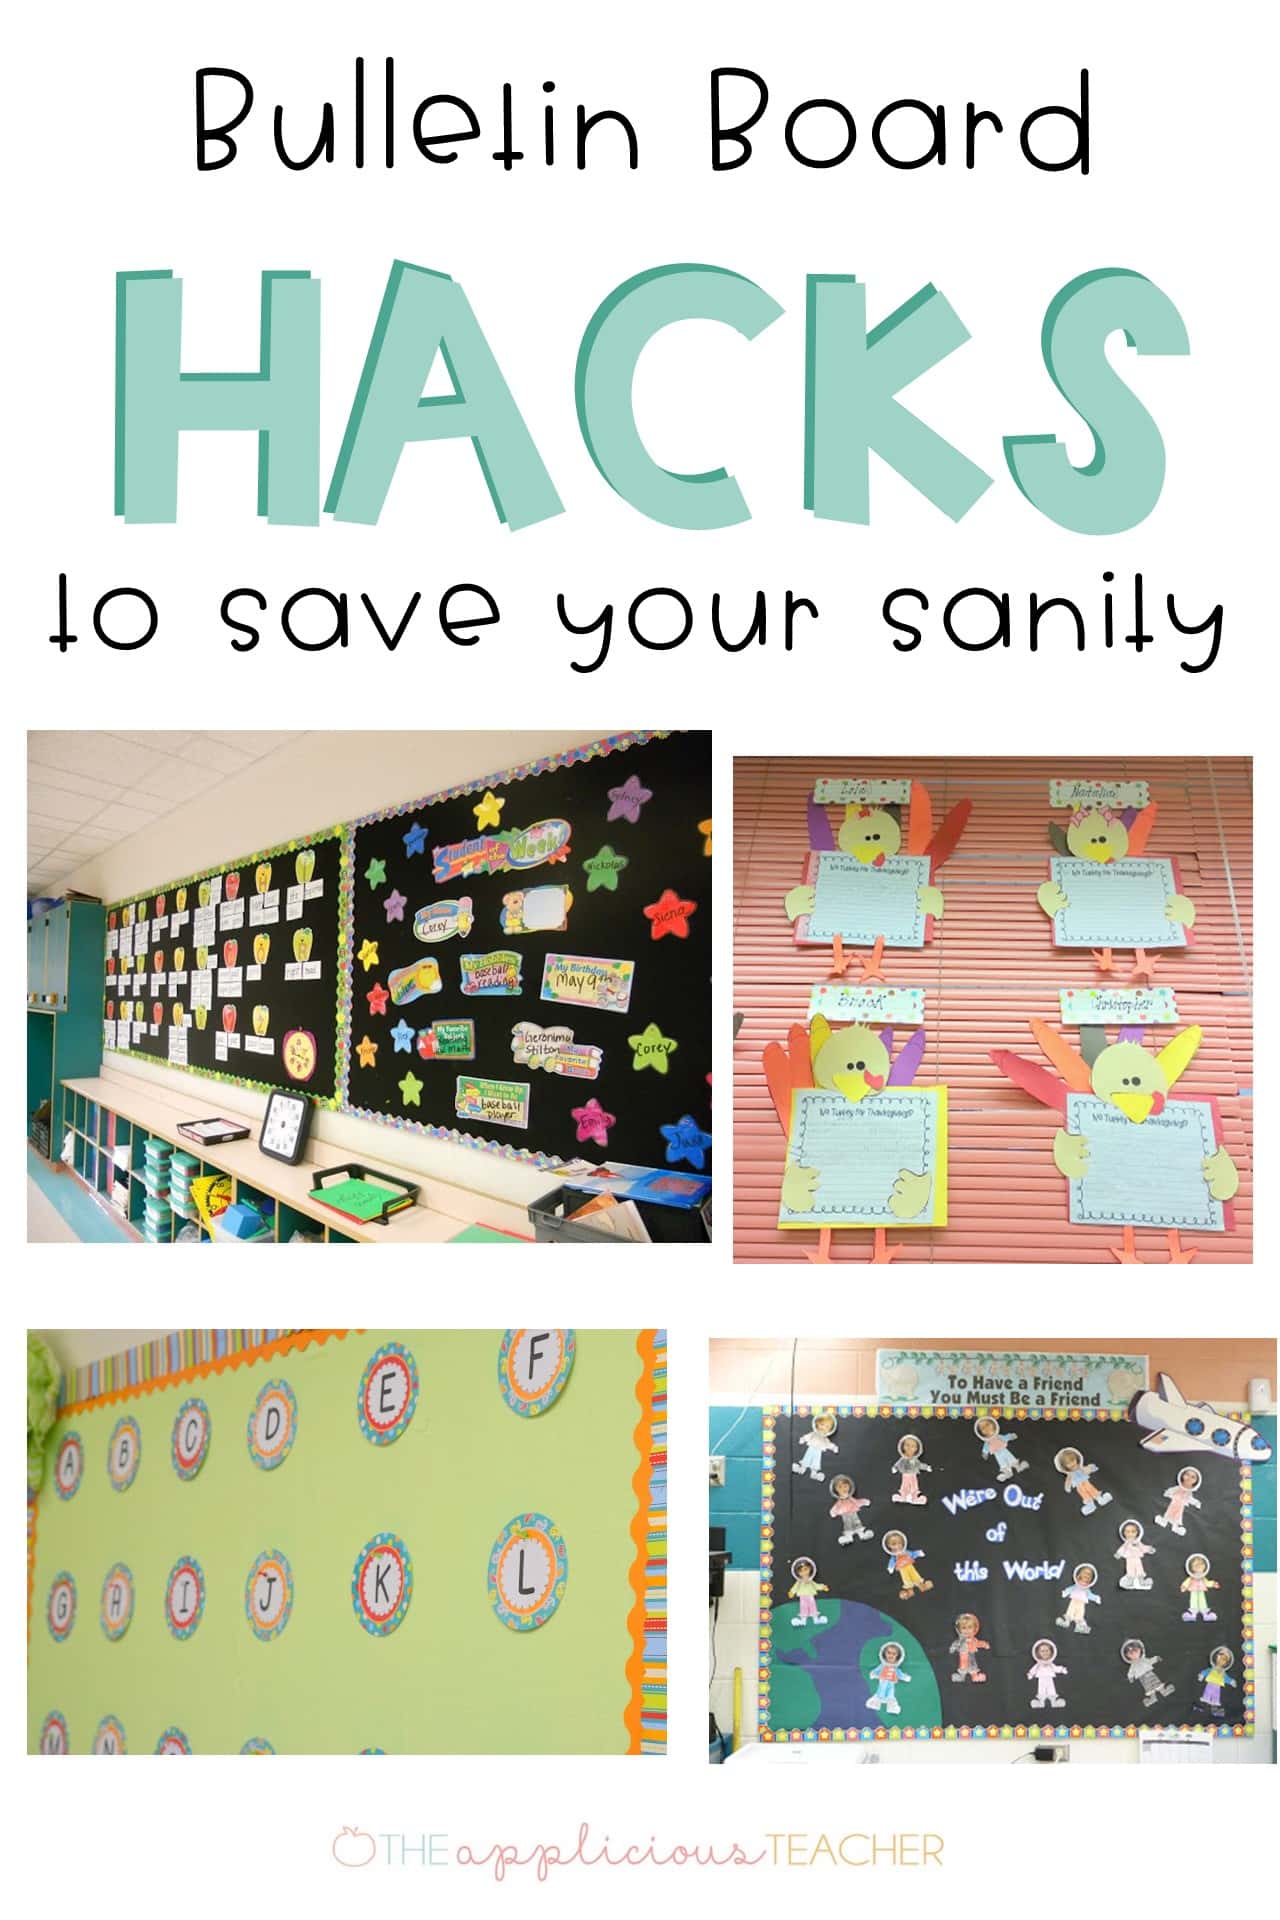
Ok… I love bulletin boards. I do. But, maybe it’s more like a love/hate relationship. They brighten a room like nothing else can. My old room had HUGE bulletin boards. It allowed for so much creativity. I had a few that I kept the same all year, then I had a few that I would change seasonally. This seemed to be a good balance.
Now, at my new school, I don’t have such an abundance of bulletin board space to fill. I also don’t seem to have an abundance of energy to expend on filling said bulletin boards (I think I am getting old… either that, or my toddler is sucking away my energy…).
But whether you’re full of energy, or dragging a little bit like me, no one likes to waste time. We teachers don’t need to spend more time at school than we need to.
Right?
RIGHT.
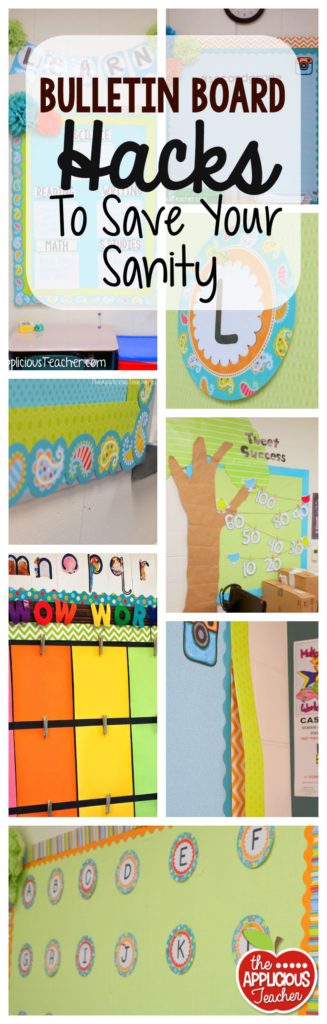
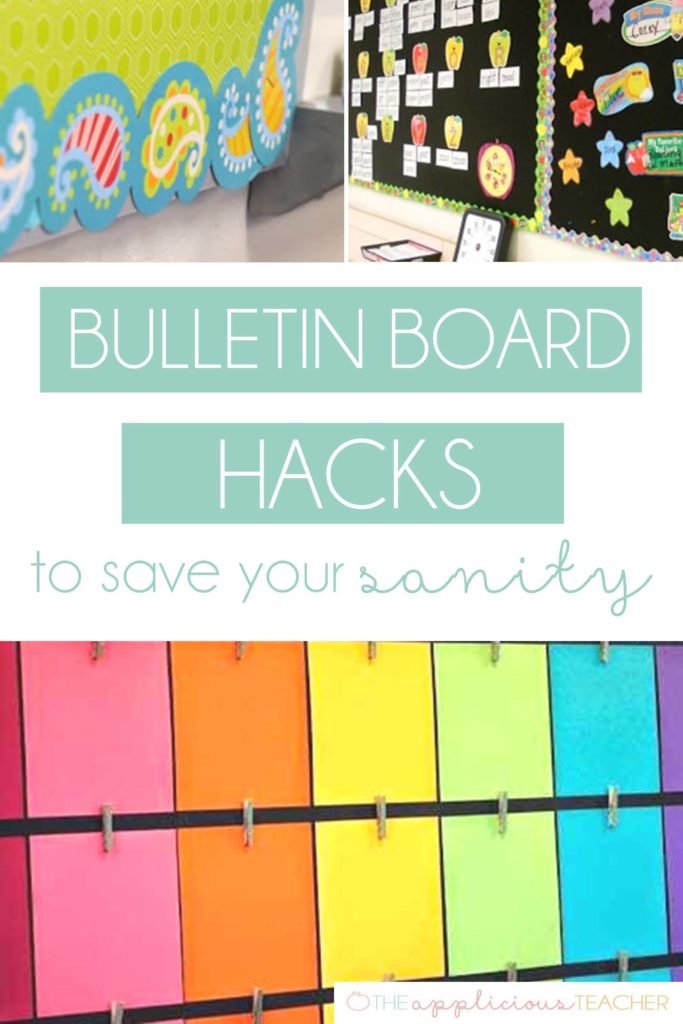
So, here are a few hacks to help you save your sanity on your bulletin boards!
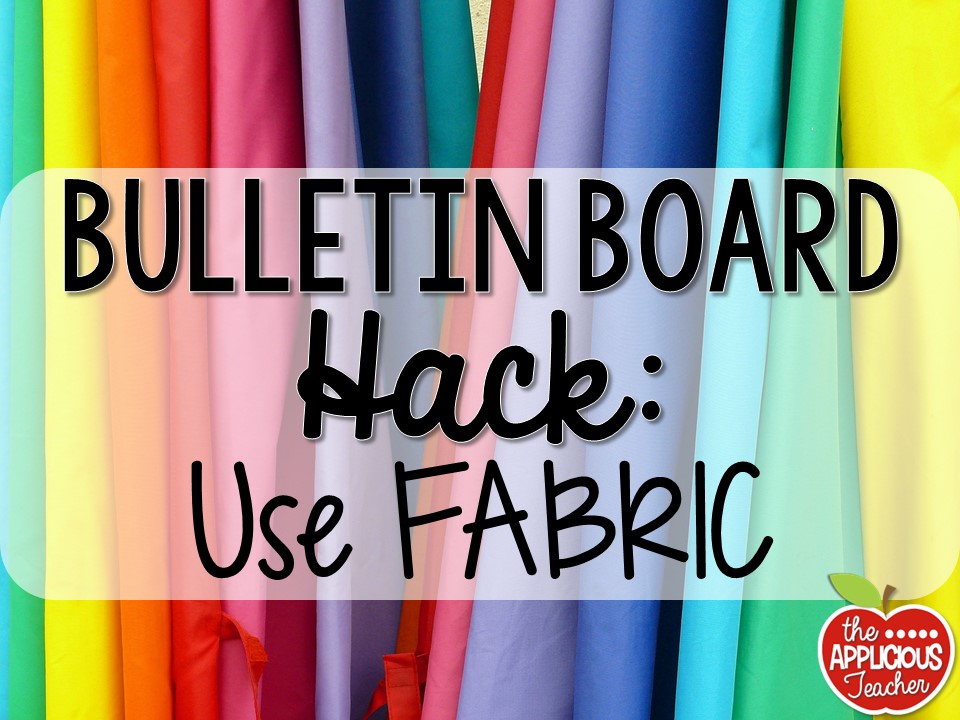
Bulletin Board Hack 1: Use Fabric on Your Bulletin Board
First up, your base. It’s all about that base!
I’m not sure where I picked up this hack… but, it is a total GAME.CHANGER. And I’m not just saying that!
Use fabric instead of paper to cover your boards. This little hack will save you YEARS of a headache. Measure once, cut, staple and done. Fabric doesn’t fade like paper. Doesn’t rip or tear. When you change your content – month to month, or year to year – you don’t have to worry about the background. Chances are, it’s in good shape. I like to use a fine print fabric base, but large prints can be fun too! I’ve found some great bargains on fabric in the clearance sections of Walmart and Hobby Lobby.
If you’re really into the black chalkboard look, I suggest using black felt. It is a heavier weight fabric and a little more pricey, but the payoff is worth it. That black will stay black for years to come! I had it on my large word wall for 6 years in my old classroom.
Ok… the second hack…
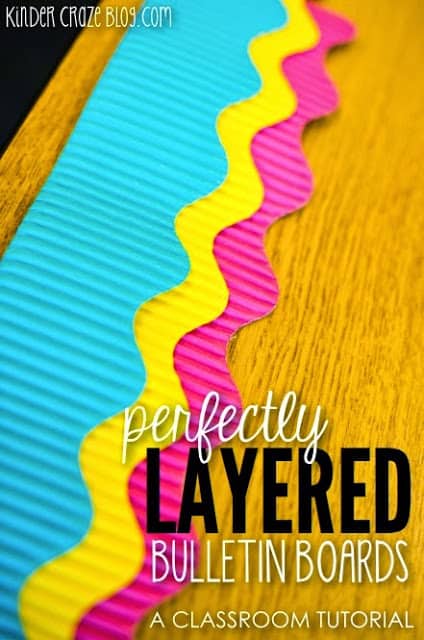
Bulletin Board Hack #2: Double the Border
Double, or even triple, your border. If Melanie from SchoolGirl Style has taught us anything about bulletin board style, it is to layer your bulletin board border. This not only adds visual interest, but it also takes up visual space. This makes it so you don’t have to put as much on the board. I call that a teacher win!
Layering border can be a little tricky… but, Maria from KinderCraze has your back. She shared this genius bulletin border hack for the perfectly layered border.
Just be warned… doing this will commit your borders to be layered like that FOREVER.
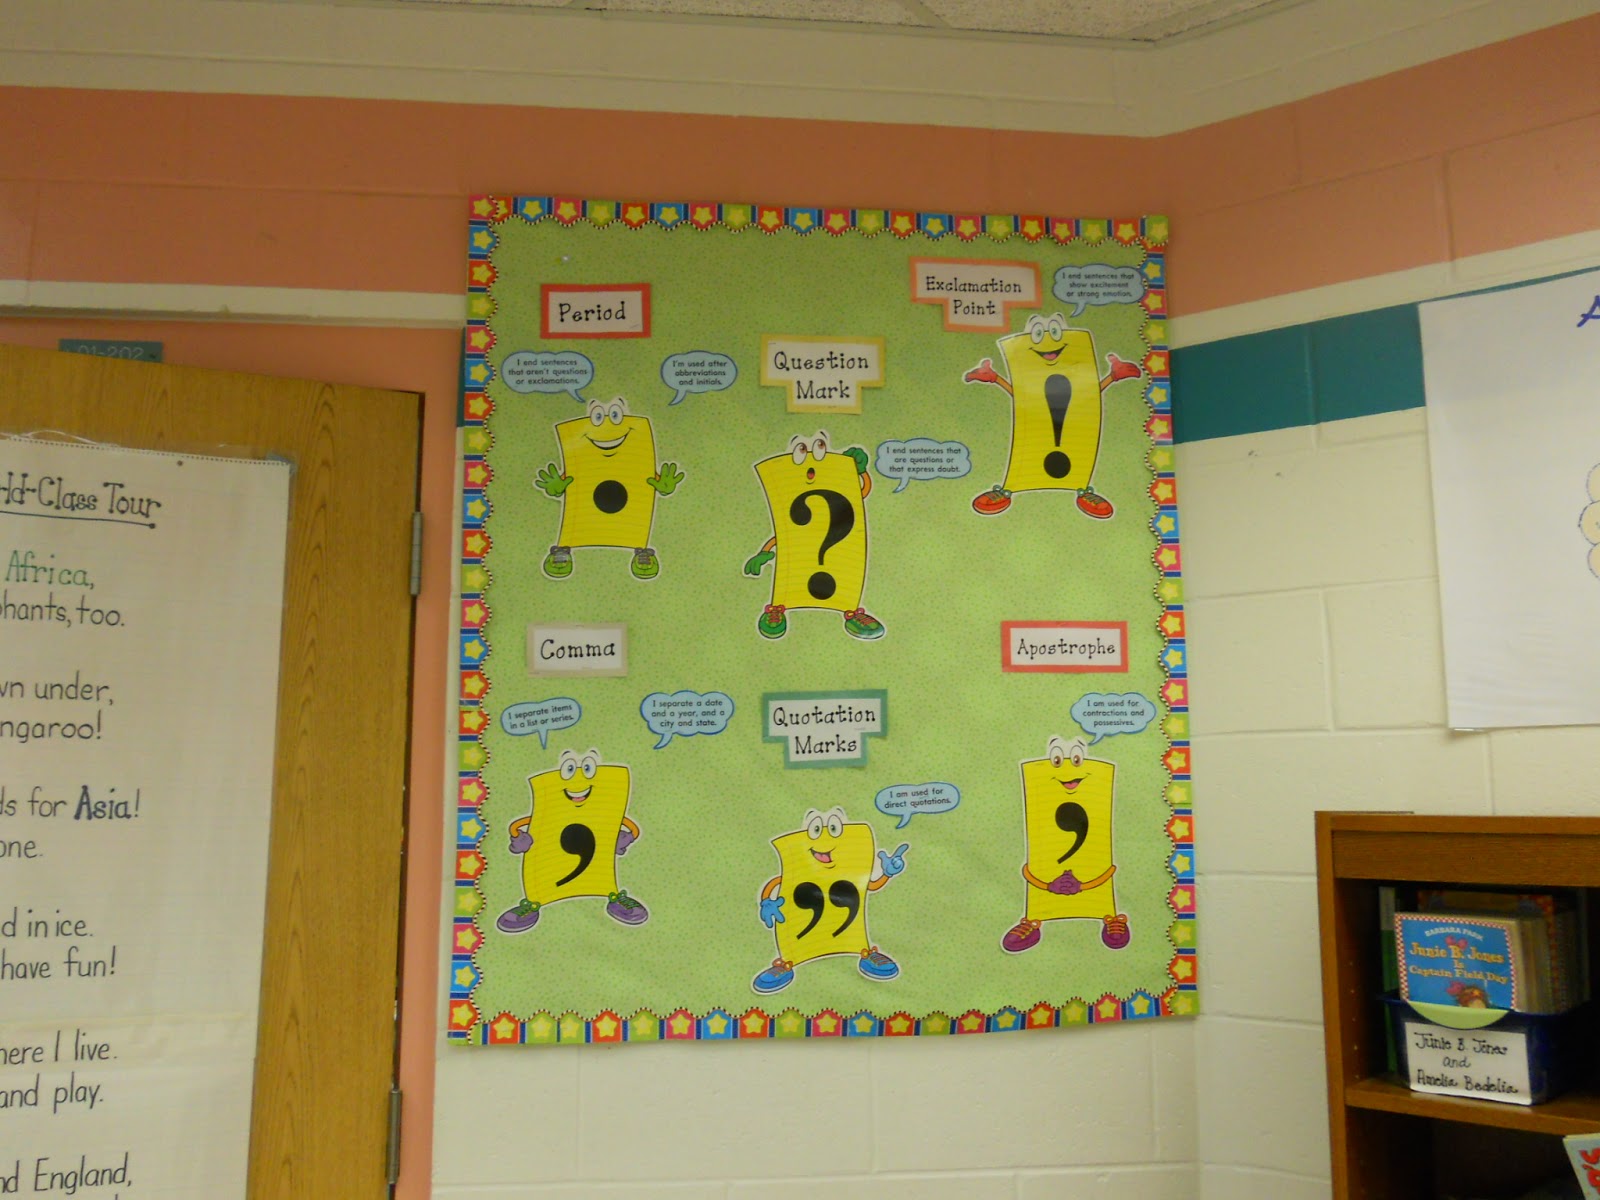
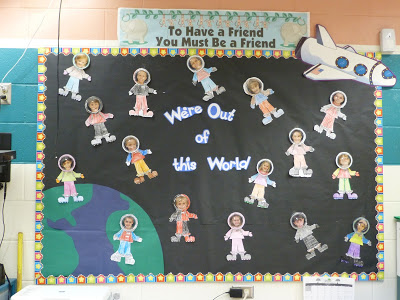
Don’t be afraid to get creative with layering your border! Mix different edges to create a fun look. I love straight-edged borders with a fun scallop! Click to see some of my favorite borders HERE!
On to the next hack…
Bulletin Board Hack #3: Never (EVER!) Cut Your Border…EVER!
Serious here, folks! Listen to me – don’t cut your borders! If you like to change borders more than once a year, or you plan to use those border pieces for more than one board, don’t trim your pieces!
Just leave them at their 3-foot length, and layer as needed. It can be a little trickier with scalloped borders, but I line up the edges as much as I can, then fold or tuck the excess down. This allows you to keep your pieces intact and able to be used later for different boards without having to piece together a whole bunch of smaller pieces (which I can’t stand, btw- the patterns NEVER match up properly! Virgo problems…).
This next hack is for the *slightly* lazy teacher… like me *cough*…
Ok… maybe lazy isn’t the right word for this time-saving hack. “Efficient” is a better word! This is for those of us teachers who don’t want to spend extra time doing things like taking down a border just to put it up again the next year, or the next time.
Let me explain. Instead of taking down your border every time you need to change the look, just layer a new border over top and staple. Now you can cover the old one without wasting time taking it down, putting it away, and all that junk.
Efficient.
I did this for years with my calendar board. I liked to change the border depending on the season. So instead of completely redoing the border EVERY.SINGLE.MONTH, I’d just staple it right over the old stuff. The best part? When you’re ready to return to an older border, just peel back the layers to reveal the original one. BOOM. No re-stapling, no positioning. It’s already done for you!
Here are a few disclaimers on this bulletin board hack:
It is best used with same-edged borders. If you start with straight, you can only layer on straight. Scallop with scallop, etc.
You can only layer about 4 borders before your staples start having issues. So, umm… don’t try to layer too many borders on top of each other. Eventually, you’ll have to clear the borders out and start again, but at least you’re not having to do that every time you change!
This is assuming you are already doing hack number one… So, all you need to change is the actual border itself, not the background.
Ok, this next hack is for the perfectionist bulletin board folks.
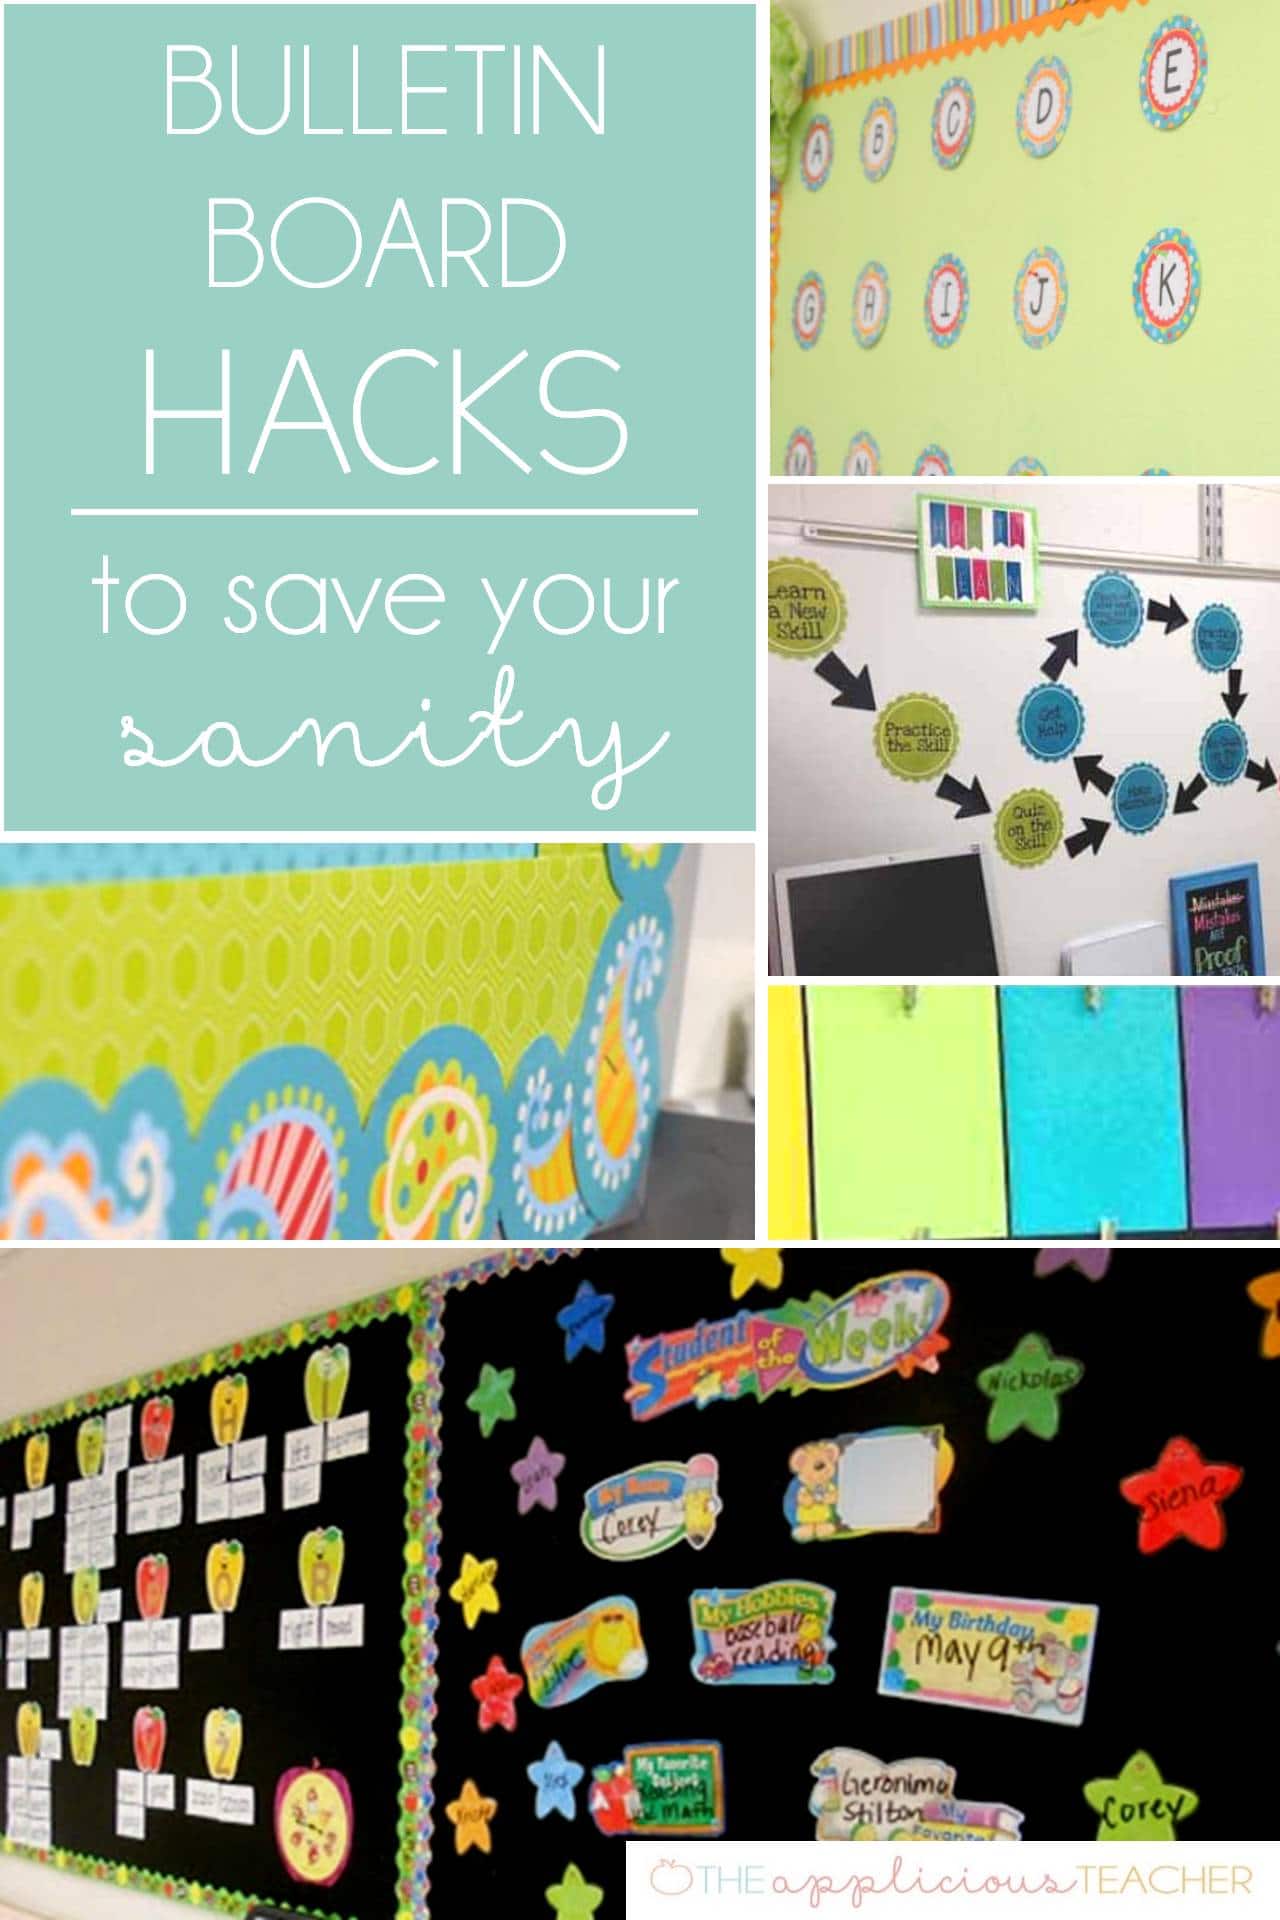
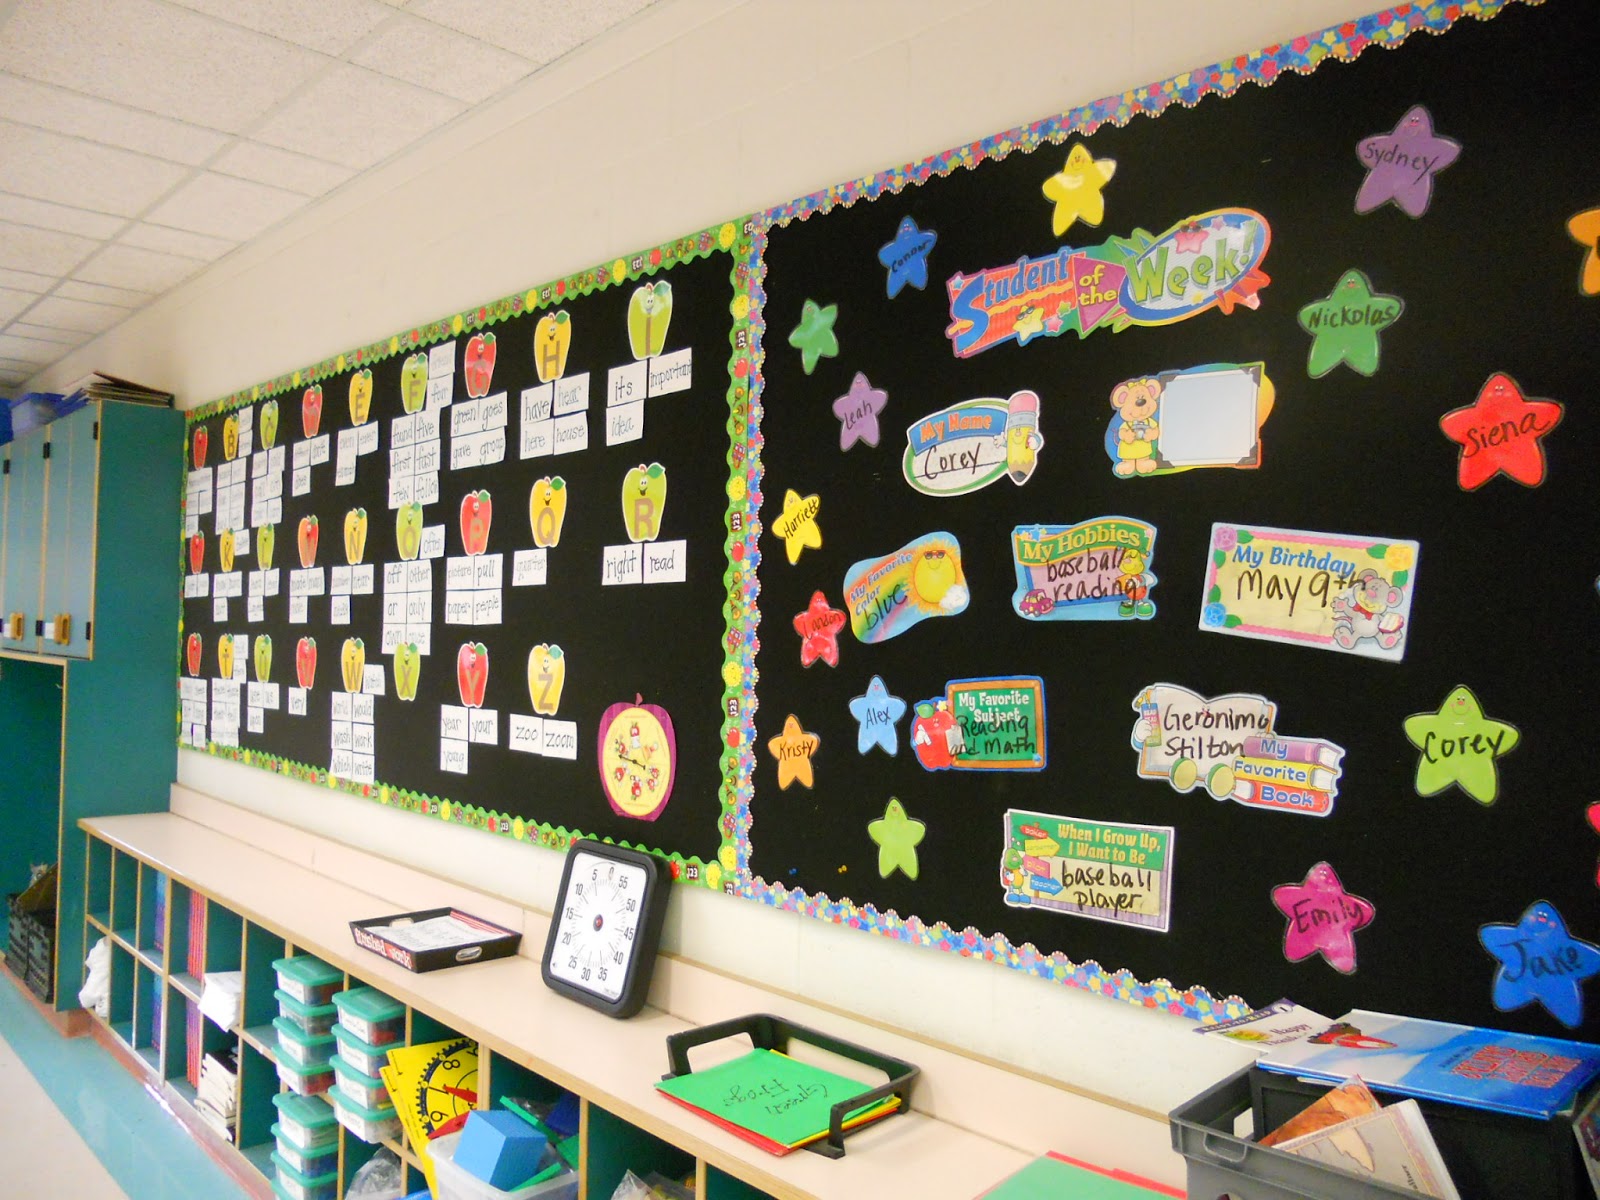
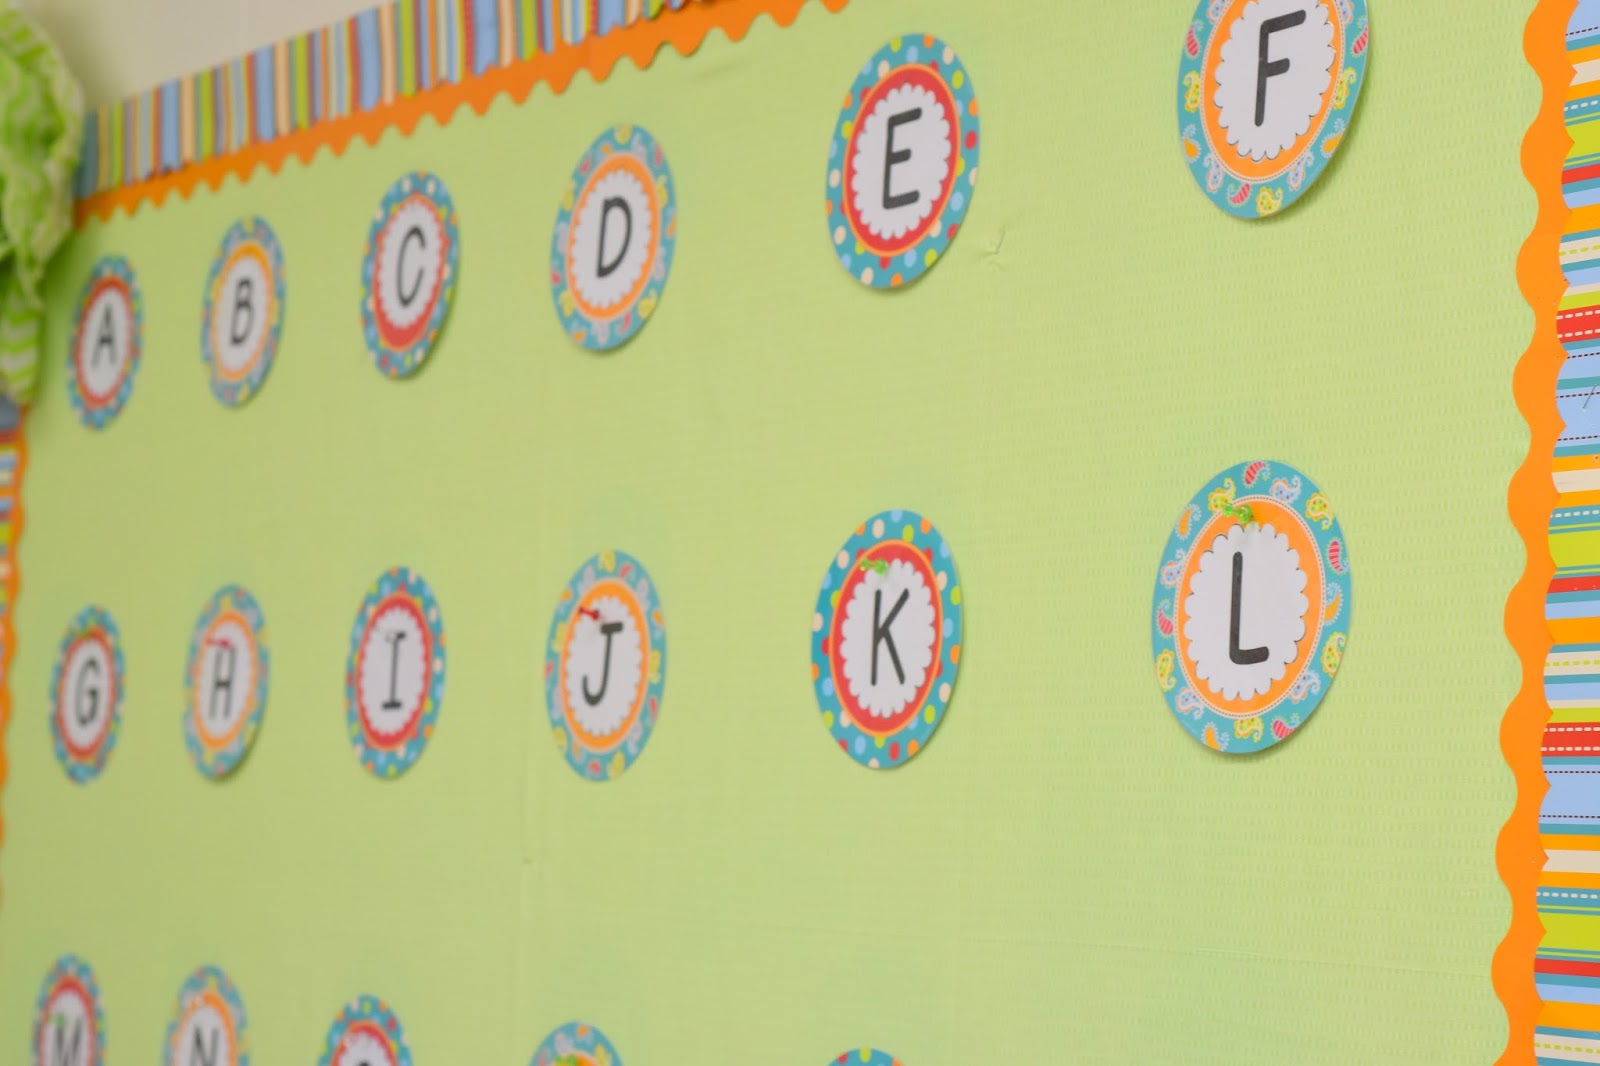
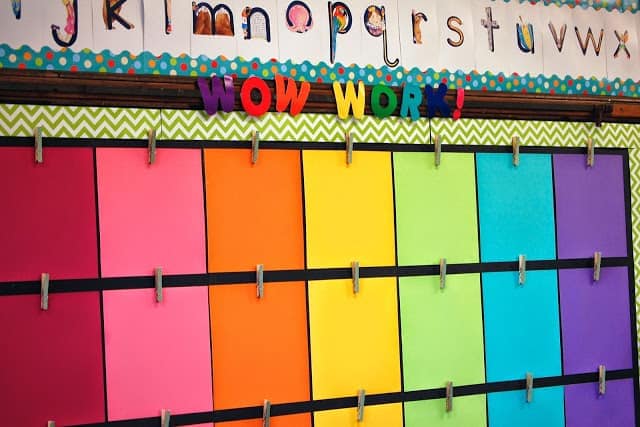
Bulletin Board Hack #5: Tack It in Place
Setting up a board? Use tacks! Tack all your letters and pieces and step back to take a look. This is perfect for large boards, or boards that need to be straight and stuff, like a word wall. If you tack up your pieces, you can easily move them if they’re not quite right. Once you’ve approved the placement, don’t forget to staple in place.
Here’s my word wall for my new second-grade classroom…
You can see at the top, I’ve already “approved” the pieces and stapled, but my second row still needed a little adjusting. Now, I can just move those pieces slightly up or down to make them perfect…
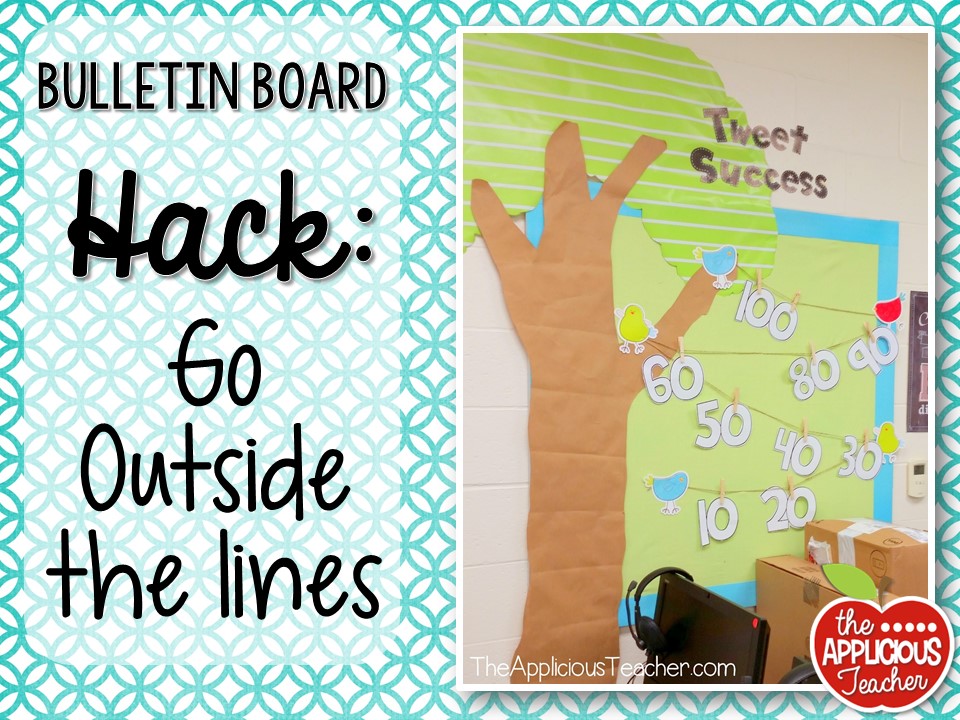
Bulletin Board Hack #6: Take it Outside the Lines
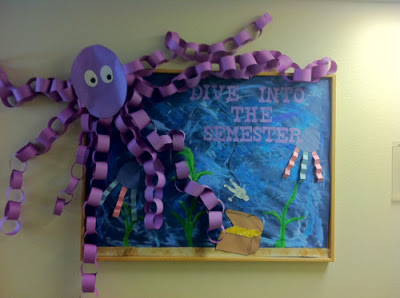
Now, the teacher part of me says… always color inside the lines. But, bulletin boards are the space to get crafty and creative.
So, live a little! Go outside the lines! This little hack can help create visual interest, but also helps to fill in space. Too much white wall is boring, not engaging… but taking your bulletin board outside the actual board? Magic!
Seriously, look how BIG this small board looks. Disclaimer: I would totally link to the creator of this, but the website name it is found on is questionable… so, umm… you can click the pic to find it on Pinterest.
This next hack is all about the board itself… or the lack thereof.
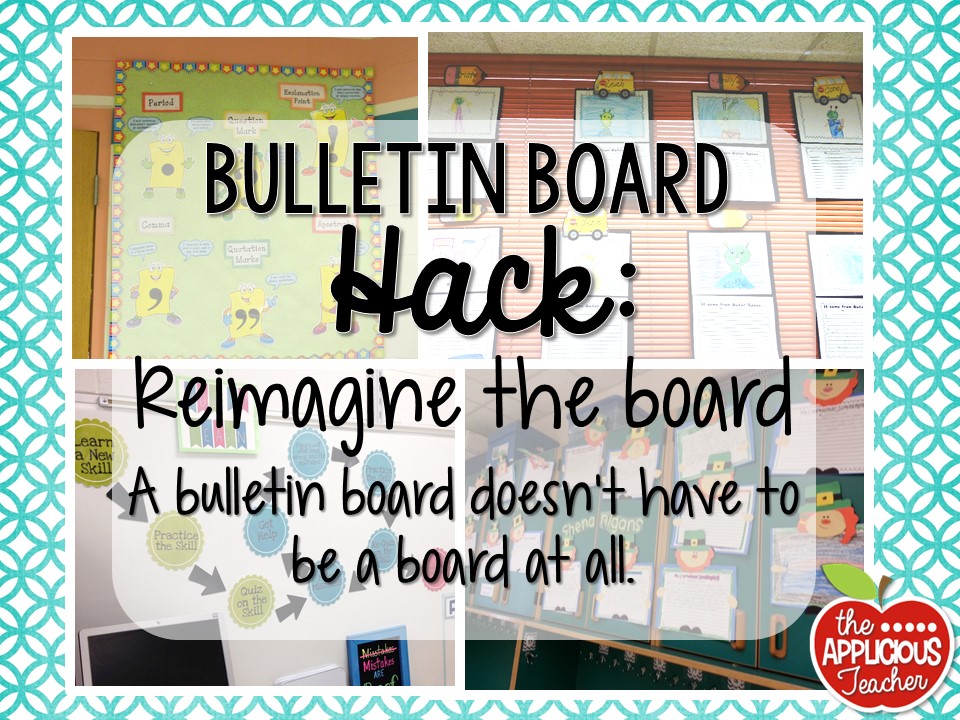
Bulletin Board Hack #7: Re-Imagine Your Bulletin Board
It seems like the newer schools are lacking bulletin board space. My new school has barely any compared to my old school, which was built about 10 years before. I also visited a classroom of a friend who had floor to ceiling bulletin boards, and her school was built in the 70’s… so, yeah…
If you lack bulletin board space, re-think your space. Even something as simple as a clothesline or a tack strip can turn an unusable space into a display space!
This is a tack strip outside my classroom.
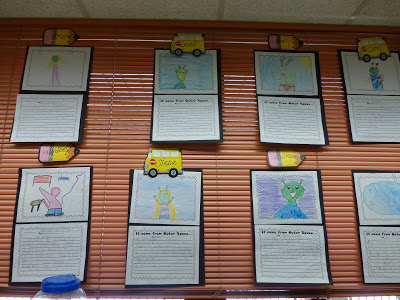
Another favorite non-traditional display space? Classroom blinds!
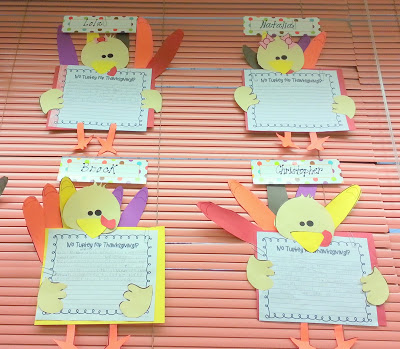
Click the pictures to read more about these activities.
The perfect space to display student work! Just use paper clips…
Keep the paperclips up all year, then you just change out the work ever so often.
Don’t be afraid to re-think everyday items to use as a display space. This board is actually garden lattice that I covered with fabric and added a border…
To mount it to our concrete block, the head custodian drilled holes into the concrete block, and I used screws to keep it in place. A much less damaging alternative are these command velcro strips.
Don’t let their size fool you. These puppies are STRONG! Want to see another DIY bulletin board? Check out this post!
You can also use a normal classroom surface like a whiteboard as a display board…
This last hack I have to share with you is probably my favorite. Anytime I can get someone else to do the work for me, I feel like I’ve gained my time back.
Speaking of getting creative, check out this post on creative storage solutions for teachers!
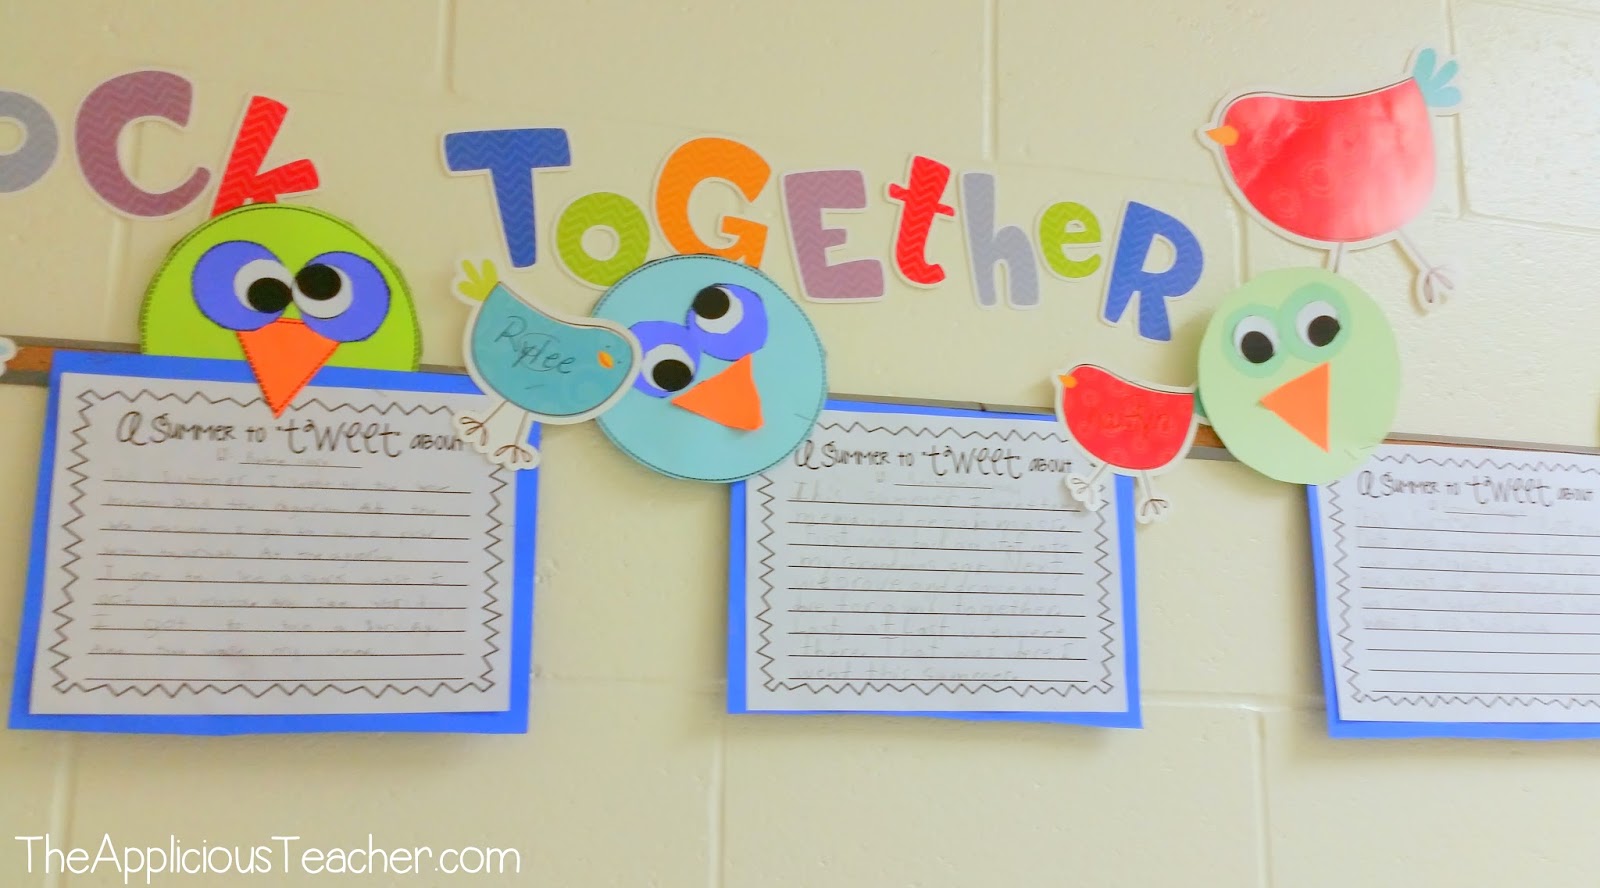
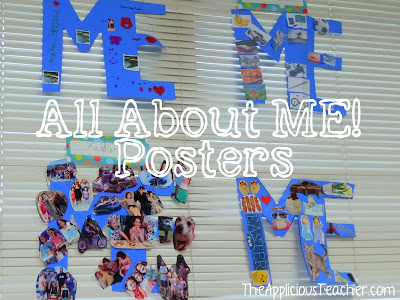
Bulletin Board Hack #8: Make it About the Kids
What better people to do the work than those cuties in your classroom? Make the content on your boards be about your students. Pictures, classroom work, student of the week… it will help create ownership in the classroom!
No matter what you decide, using student work to decorate your classroom will never steer you wrong! So, let’s go forth and create wonderful boards that don’t drive us bonkers!
Well… I hope you walk away from this post full of bulletin board inspiration and ideas for cutting down on the time you spend creating and changing them!
So, what are some other bulletin board hacks? Share your tips below in the comments!
The Applicious Teacher is all about creating hands-on and engaging lessons that align with the standards while still having time for your life. This is your place for ideas, tips, and resources for the REAL teacher!
We use cookies on our website to give you the most relevant experience by remembering your preferences and repeat visits. By clicking “Accept”, you consent to the use of ALL the cookies.
This website uses cookies to improve your experience while you navigate through the website. Out of these, the cookies that are categorized as necessary are stored on your browser as they are essential for the working of basic functionalities of the website. We also use third-party cookies that help us analyze and understand how you use this website. These cookies will be stored in your browser only with your consent. You also have the option to opt-out of these cookies. But opting out of some of these cookies may affect your browsing experience.
Necessary cookies are absolutely essential for the website to function properly. These cookies ensure basic functionalities and security features of the website, anonymously.
Cookie
Duration
Description
cookielawinfo-checbox-analytics
11 months
This cookie is set by GDPR Cookie Consent plugin. The cookie is used to store the user consent for the cookies in the category "Analytics".
cookielawinfo-checbox-functional
11 months
The cookie is set by GDPR cookie consent to record the user consent for the cookies in the category "Functional".
cookielawinfo-checbox-others
11 months
This cookie is set by GDPR Cookie Consent plugin. The cookie is used to store the user consent for the cookies in the category "Other.
cookielawinfo-checkbox-necessary
11 months
This cookie is set by GDPR Cookie Consent plugin. The cookies is used to store the user consent for the cookies in the category "Necessary".
cookielawinfo-checkbox-performance
11 months
This cookie is set by GDPR Cookie Consent plugin. The cookie is used to store the user consent for the cookies in the category "Performance".
viewed_cookie_policy
11 months
The cookie is set by the GDPR Cookie Consent plugin and is used to store whether or not user has consented to the use of cookies. It does not store any personal data.
Functional cookies help to perform certain functionalities like sharing the content of the website on social media platforms, collect feedbacks, and other third-party features.
Performance cookies are used to understand and analyze the key performance indexes of the website which helps in delivering a better user experience for the visitors.
Analytical cookies are used to understand how visitors interact with the website. These cookies help provide information on metrics the number of visitors, bounce rate, traffic source, etc.
Advertisement cookies are used to provide visitors with relevant ads and marketing campaigns. These cookies track visitors across websites and collect information to provide customized ads.