Introduction
Webmin is a modern web-based control panel for Linux operation systems, it allows you to take control of your system through a simple interface. Webmin is largely based on Perl language and running as it’s own process and web server. Webmin has a modular design so it’s very easy to add new functionality.
In this tutorial, we are going to install Webmin from its own repository and we will be using Let’s Encrypt for securing the connection with SSL.
We are assuming that you have root permission, otherwise, you may start commands with “sudo”.

Requirments
You are going to need the following things:
- Apache installed and configured
- An FQDN (Fully Qualified Domain Name)
Installing Apache
You can easily install Apache using “Yum” with the command below:
yum install httpdEnable and Start your Apache service:
systemctl enable httpdsystemctl start httpd
Installing Webmin
We need to add the Webmin official repository so that we can easily install and update our Webmin from the package manager.
Create a file named “webmin.repo” in the following path:
nano /etc/yum.repos.d/webmin.repoPaste the following lines into the file then save and exit:
[Webmin]
name=Webmin Distribution Neutral
#baseurl=http://download.webmin.com/download/yum
mirrorlist=http://download.webmin.com/download/yum/mirrorlist
enabled=1
Add the Webmin’s author’s PGP key so that your system can trust the new repository:
wget http://www.webmin.com/jcameron-key.ascrpm --import jcameron-key.asc
Now you can install Webmin using “yum”:
yum install webminIt’s done, you can use your Webmin control panel by opening your domain name or your public IP address with your browser (Webmin is running on port 10000 by default):
https://domain_or_IP:10000You will be prompt for authentication like the picture below:
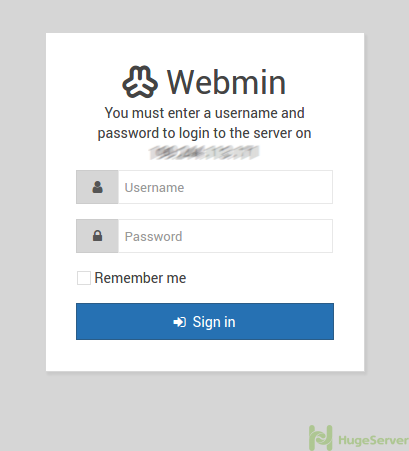
Go ahead and enter your root credentials.
This is how Webmin looks:

Securing the connection with SSL
In this section, we are going to secure the connection between Webmin control panel and clients using Let’s Encrypt. For that matter, you need to have a fully qualified domain name like “test.hugeserver.com”.
- In the main page of dashboard click on the link next to the “System hostname” you will be direct to another page.
- Enter your FQDN in the Hostname field then save.
- In the side bar click on the “Webmin” then enter the “Webmin Configuration” you will see a page like below:
- Click on the “SSL Encryption”
- Select “Let’s Encrypt” from the tabs
- Hostnames for certificate: Enter your FQDN (Fully Qualified Domain Name)
- Website root directory for validation file: Select the “Other directory” and set the path to “/var/www/html”
Click on the “Request Certificate” button.
That’s it you are good to go, you have SSL connection to your control panel!
Also, for more information, you can visit Webmin official website!
Webmin will listen on port 10000. We have to enable webmin Port: firewall-cmd –add-port=10000/tcp