YouTube player

If you’ve seen the Disney hit Big Hero 6 and its star Baymax, you know that soft, inflatable robots are all the rage. Inflatable robots and robotic parts are cheap, lightweight, strong, and collapsible, making them easy to store or carry. And inflatable air muscles allow robots to move in a more natural way than gears and motors.

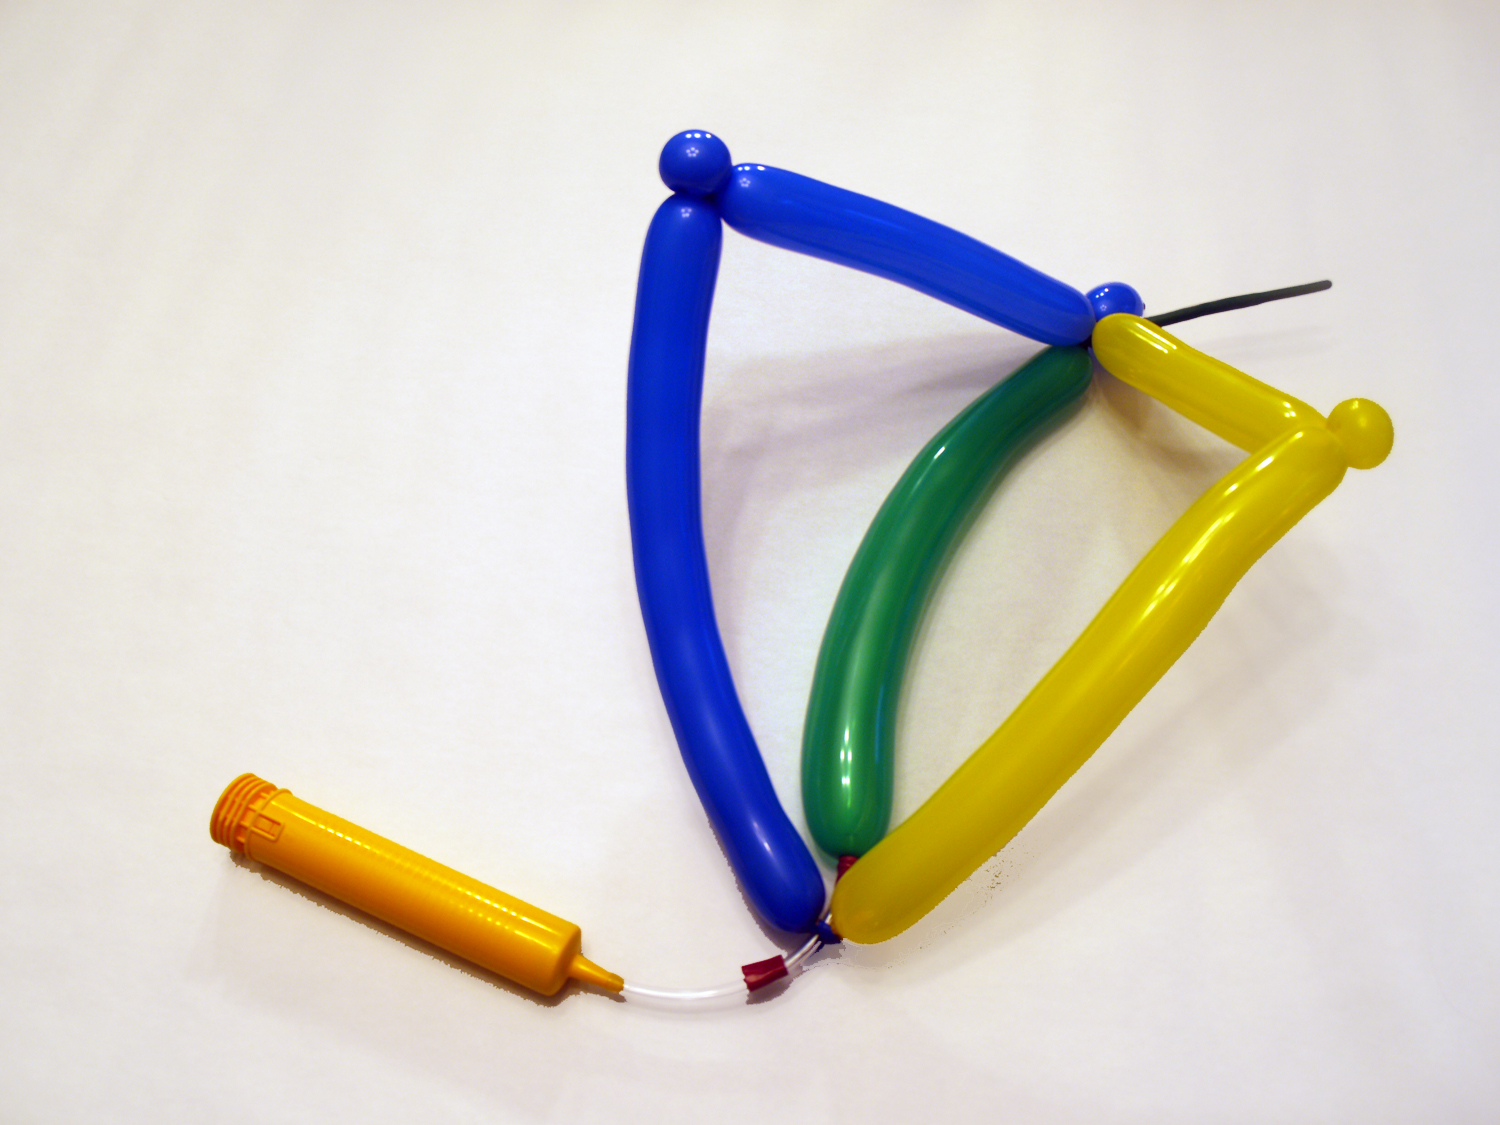
This project is based on a twisty balloon air muscle created by a Brigham Young University mechanical engineering student named Wyatt Felt, and adds a few twists of its own. It opens and closes a Sarrus linkage, a pair of hinges set at right angles to one another, and includes a built-in release valve mechanism. It’s easy to put together and great for showing kids (or adults) how air pressure can be used to actuate robot parts.

The Robotic Balloon Muscle project is adapted from my new book Making Simple Robots: Exploring Cutting-Edge Robotics with Everyday Stuff published by Maker Media. It’s also mentioned in Make: Lots o’ Bots from Scholastic.

Project Steps

Blow Up Two Balloons

Use the hand pump to inflate two balloons, leaving about 4 to 5 inches (10 to 12 cm) uniflated at the end. This is known as the tip of the balloon.

Remove the pump and let out a little air (known in the business as burping the balloon). This bit of slack makes it easier to twist the balloon without popping it. Tie the neck of the balloon in a knot to seal it.

Helpful hint: Before inflating a balloon, stretch it lengthwise a few times.

Connect the Balloons

Take one of the balloons and pinch it gently about 3 inches (8 cm) from the knot. Twist it around three times.

Do the same to the other balloon, then connect the two balloons by twisting them together where they are already twisted.

Make a Hinge in Each Balloon

To make a hinge in the first balloon, bend it in half. At the bend, pinch a golf-ball-sized segment in your fingers.

Twist it around three times, spinning it like a dial. Then circle it around the balloon itself until it reaches its starting point.

The hinge should look like a knee sticking out in front. Do the same with the other balloon.

Tie the Tips of the Balloons Together and Insert the Tubing

Tie the tips of the balloons together using the uninflated extra rubber. Tie another knot about half an inch (1 cm) above the first. The balloons will form a diamond shape with the hinges in the middle.

Now take the 10-inch (25 cm) piece of plastic tubing and the scissors or an art knife. Make a release valve in the tubing by cutting a small slit about halfway down. Don’t let it go more than partway through the tubing. You should be able to bend the tubing back to open the slit without tearing the tubing.

Take a piece of electrical tape about 2 inches (5 cm) long, and fold over a tiny bit at one end. Take the other end and wrap it around the tubing so it covers the slit. Use the folded-over end as a tab that you can pull back to reveal the slit.

Try bending the tubing back so the slit opens up. Then reseal it with the tape. You can test it by inserting the air pump to make sure it is airtight when sealed.

Poke one end of the tubing through the gap between the two knots in you tied with the balloon tips.

Add the Balloon Muscle to the Linkage

Take a third balloon, inflate it, then let the air out. This is your air muscle. Pull the opening of the air muscle balloon over the end of the tubing that pokes out between the knots. The balloon should cover about 1 inch (2 cm) of the tubing. Secure the balloon to the tubing with a piece of electrical tape.

Take the top and the bottom of the balloon diamond and press them towards each other. This is the movement your inflatable hinge will make. Decide how close you would like them to get, and tie the tip of the air muscle balloon to the tips of the other two balloons to hold them in this position.

Insert the end of the air pump into the other end of the clear tubing, as far as it will go. Secure it with more electrical tape if needed.

Use the pump to slowly and carefully inflate the muscle balloon. As it fills with air, it should lengthen and push the balloon hinge open. To let the hinge close up again, open the release valve by unwinding the tape enough to expose the slit, and bending the tubing back to widen the opening. The air should escape and the balloon return to roughly the same length as when it started.

If you’re having trouble inflating the balloon, test out your pump on another balloon fresh out of the package. Cheap pumps break easily. Also check your balloon for leaks.

You can expand on your Robotic Balloon Muscle by making a complete balloon robot body and create your own version of Baymax. Or go abstract and use your muscle to make a mathematical balloon model. Enjoy!