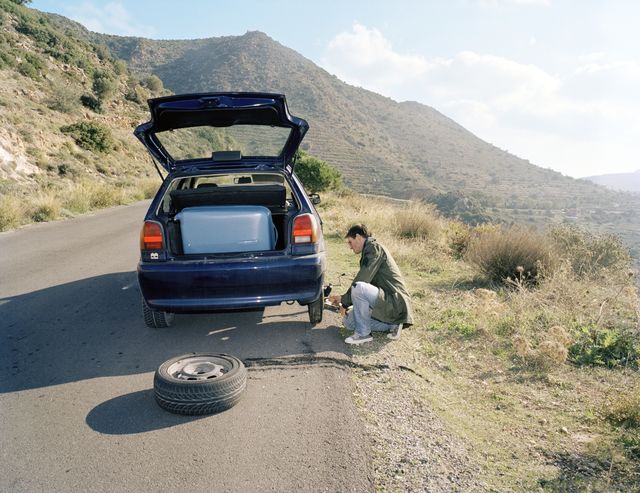
Thump, thump, thump.
That’s the sound of the tire that just blew as you were traveling 70mph down the highway. Now what? Well, hopefully you’re prepared because tires can blow anytime, anywhere.
Step 1: Be Prepared
You should know if your car has a spare tire or a “fix-a-flat” kit. A lot of new cars don’t come with a spare tire for various reasons, so check to make sure you have one.
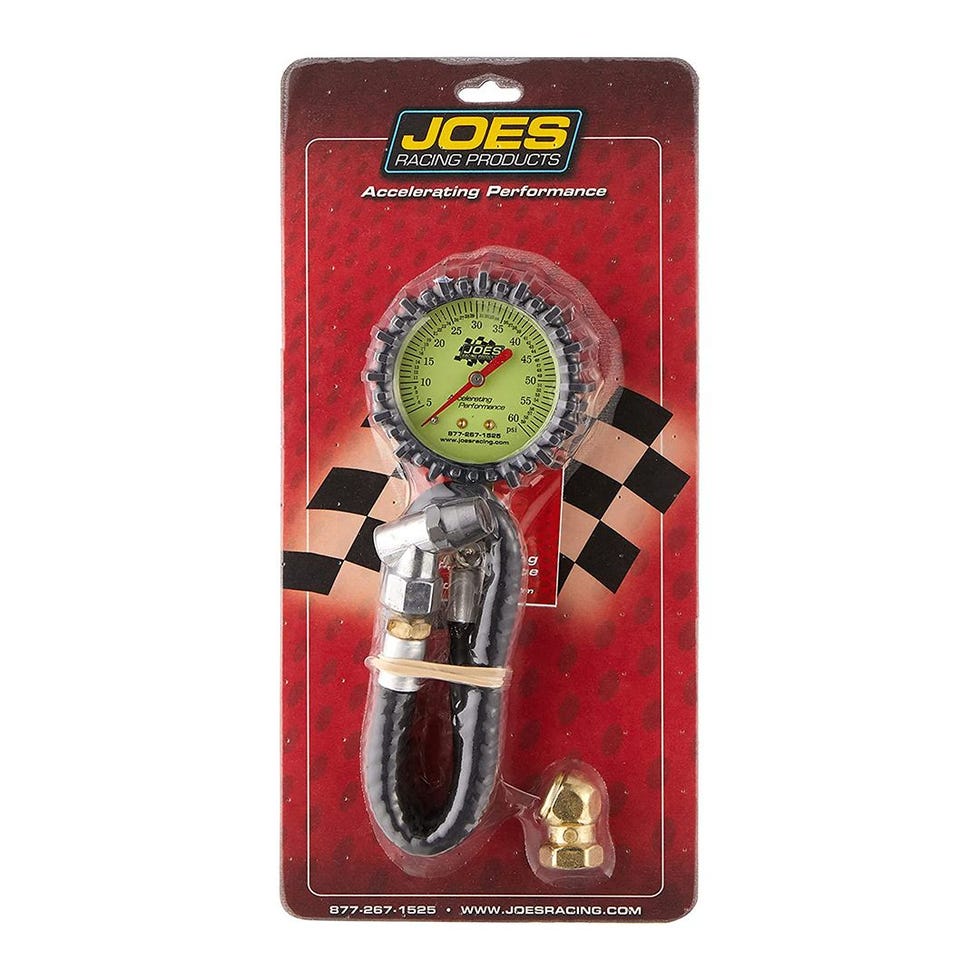
You also need to check this spare tire every semi-regularly. A tire without any air in it does you no good, so check the air pressure and condition before road trips or longer drives. As for items you might want, a flashlight/headlamp, tire gauge, and paper towels should suffice. You can use a floor mat if you need to keep your clothes relatively clean, but don’t expect a roadside tire change to leave you ready for a black-tie event.
Step 2: Pick Your Spot
It’s not always easy to get to a good spot for changing a tire safely. Aiming for a level, hard surface with separation between the road and the car is the best-case scenario. But don’t drive a mile on your rim too long or you’ll be paying for a new wheel, too.
Throw the flashers on while navigating to your chosen spot. Once there, set your parking brake.
Step 3: Check and Remove All of Your Tools
This step is a moot point if you already perform regular checkups on the spare tire and toolkit that comes with it. But if not, make sure all the tools are there and the tire is filled to spec.
Step 4: Get the Lugs Loose
Start by chocking a wheel opposite the side of the car you’re going to jack up. A piece of wood or rock on the side of the road would do if you don’t carry an actual wheel chock in your car. This makes sure the car doesn’t roll anywhere once you have it in the air.
If there’s a second person in the car with you, then they can get out and be your spotter at this point. Changing a tire on the highway isn’t a safe endeavor, and a split-second warning of a vehicle coming your way can be a lifesaver.
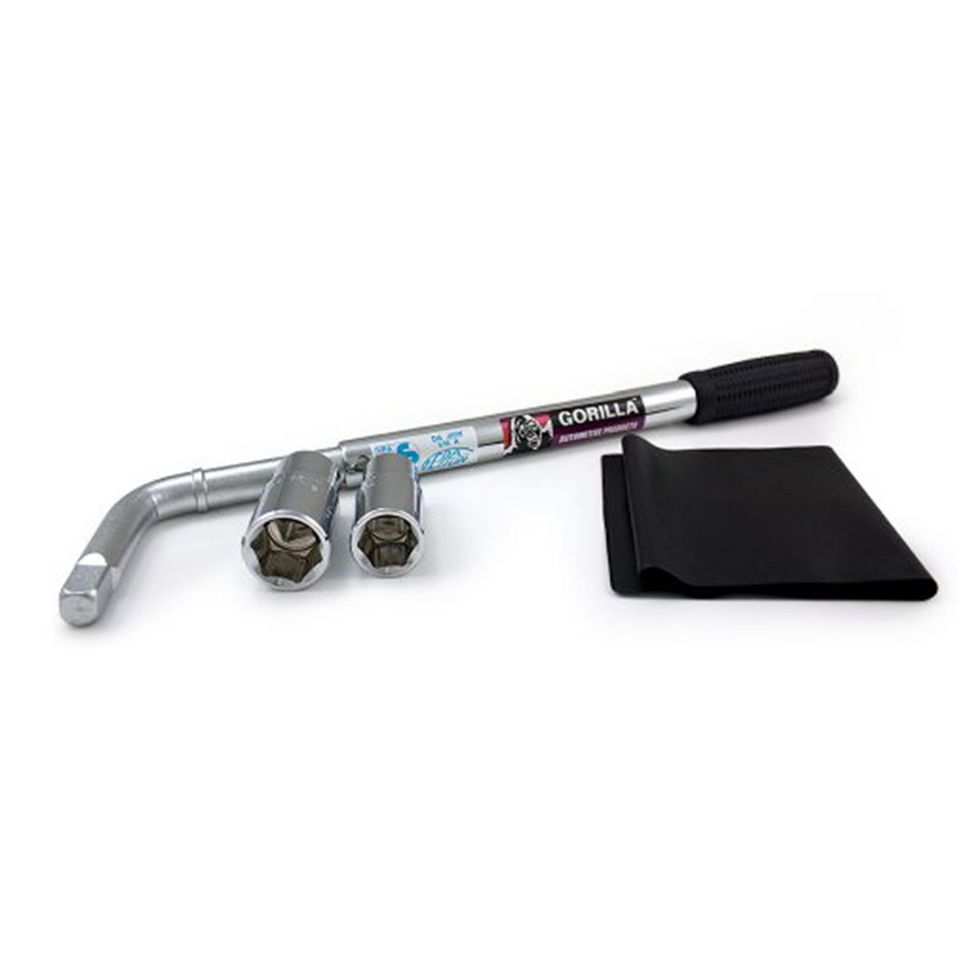
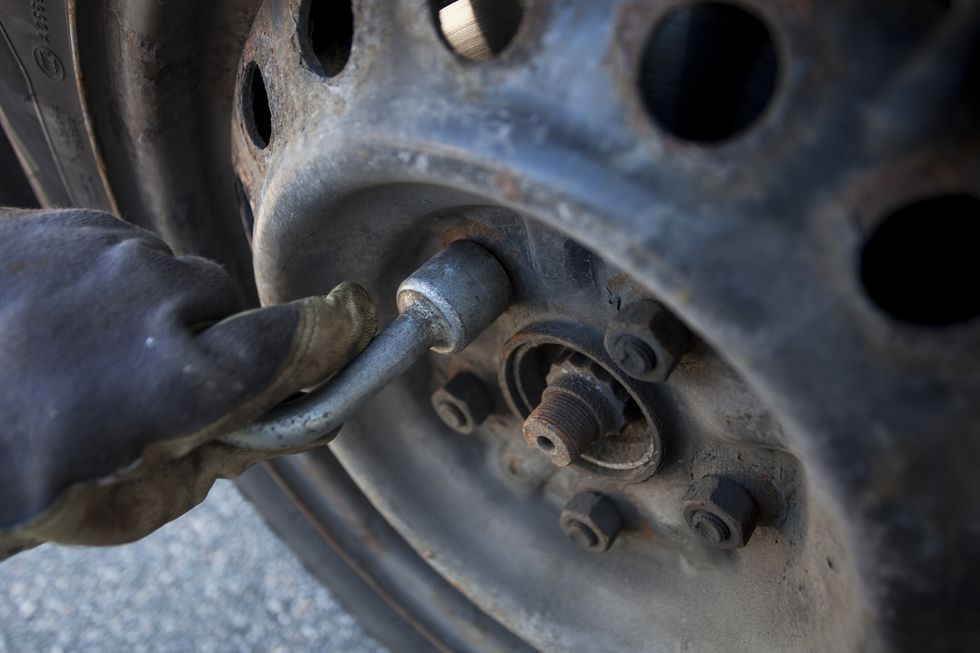
Then, lay a floor mat down and grab your lug wrench. You may need to pry off a lug nut cover, but most of the time you can get right to business. Loosen, but don’t remove all the lug nuts. You may need a lug key adapter for one or all of the lugs depending on your vehicle.
Step 5: Jack It Up
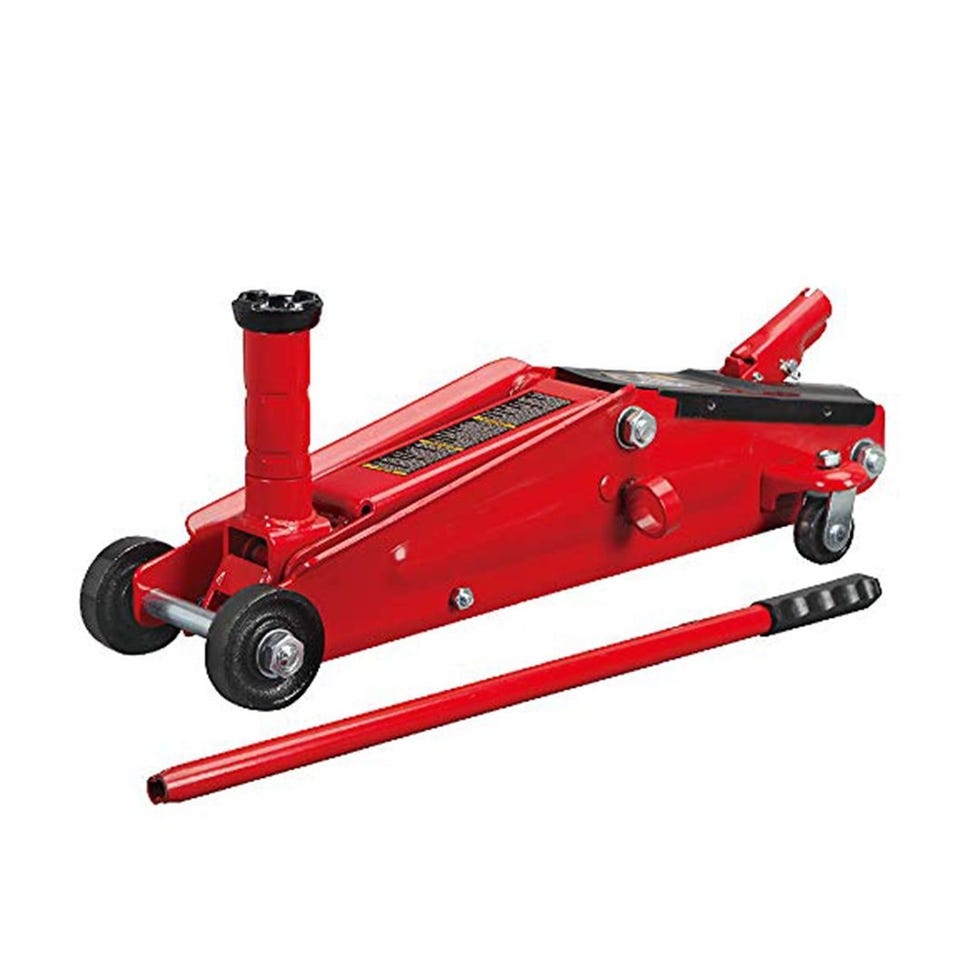
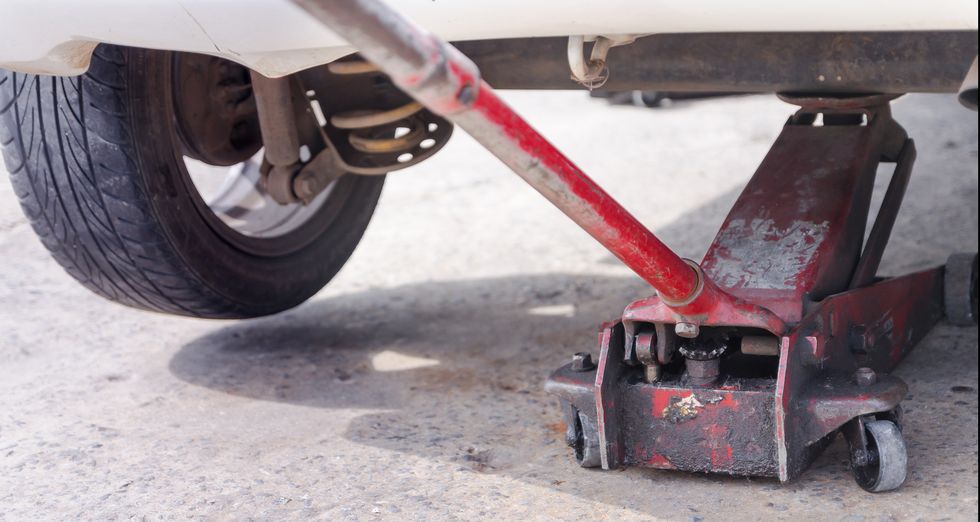
Find the jack point or spot weld under the car by the wheel you’re taking off. Position the jack such that the jack handle points out then crank it up clockwise with the jack handle tools provided.
As soon as you can see light between the ground and the tire, you’ll know it’s up high enough to take the tire off.
Step 6: Remove the Tire
Spin the already loosened lug nuts the rest of the way off and put them somewhere safe. Then, remove the wheel from the car. Ideally, it’ll just fall right off, but a few well-placed kicks to the sidewall from the right angle can break it free if it’s being stubborn. Bring the wheel back behind your car out of the way after taking it off.
Step 7: Grab the Spare
Get your spare from wherever it might be now. For most cars and SUVs, it’ll be under the loading floor. Trucks might keep it suspended under the bed, but there will most likely be a center nut holding it in place you’ll have to screw off to free it regardless of its location.
Line up the studs and holes then shove the wheel on. Put all the lugs back on next. You’ll want to get these finger tight, but don’t take the wrench to them yet. Once the wheel is seated properly it’s time to get the car on the ground.
Step 8: Lower the Car
Turn the jack handle the opposite direction now to slowly lower the car back to the ground. Once it’s settled you can take the jack out from under the car and grab your lug wrench again.
Step 9: Tighten the Lugs
Arguably the most important job is making sure you tighten all the lugs down nice and snug. Tighten them in a crisscross pattern, going across not in a circle when you change the lug you’re wrenching on. Repeat this process a couple times to make sure you have them as tight they can be. You most likely won’t have a torque wrench with you, so just make sure they feel snug and you should be good to go.
Step 10: Clean Up and Drive Home
Gather up all the tools you’ve been using plus your flat tire and secure them in the trunk. Wipe your hands off a bit to avoid smearing tar and dirt all over your interior.
Now that you’re most likely driving on a tiny space saver spare, it’s time to follow the rules that go along with that. Most of the time the tires are only rated for a max speed of 50-55 mph. That means driving faster than that could cause another blowout, something you’ll likely want to avoid.
The car will handle and brake much differently, too, so be cautious and feel out the new driving dynamics of the tiny tire. Space savers are only designed to travel a low set number of miles, so you’re going to want a new tire ASAP.
Zac Palmer has been a car geek since he knew what a car was, and he doesn’t plan on switching hobbies any time soon.
