

In Part 1 of this tutorial, we talked about what exactly a JSON Web Token (JWT) is, and walked through exactly how to build our very own JWT from scratch. To quickly recap what we learned:
- A JWT is a string that contains an encoded header, payload, and a verification signature
- They are in the format of [header].[payload].[signature]
- The header and payload can be easily decoded and viewed by anybody who has access to the token
- The verification signature can be used to ensure the header and payload have not been changed
- They are useful for authorisation, as we can identify a user by the token they possess
The important part about JSON Web Tokens for the context we will be using them in, is that once they are created they can not be changed by anybody who doesn’t know the private key or secret used to hash the verification signature. So if we give a JWT to somebody to identify them, we can be sure that it is them.
We can store that JWT in local storage, and use it to authorise each request that is coming from that user. The reason we can be sure that it is them is because if we were to give them a JWT containing their user_id (which we would use to determine what they are authorised to do), they (or anybody else) have no way of modifying that without invalidating the verification signature. The only downside to this is that if someone were to manage to steal somebody else’s JWT (theoretically, they could gain access to it through local storage), they could successfully prove that they are that user because they have the correct token. If Sarah manages to steal Dave’s JWT, then Sarah would be authorised to do everything that Dave is authorised to do. However, this can be solved by setting short expiry times and refreshing the token.
The last tutorial covered a lot of theory, which is beneficial to understanding how the process we are about to create works, but it is not essential to know to complete this tutorial. The above should give you the gist of it, so if you just want to implement custom authentication that integrates with the Ionic Cloud platform in Ionic 2, you don’t need to read the last tutorial.
Custom Authentication with Ionic Cloud
Before we dive in, let’s go over what exactly it is that we are building. As well as providing the Ionic Framework which is free and open source, the Ionic team also provide the Ionic Cloud platform. This platform provides additional (paid, but with free tiers) services like User Authentication, Data Storage, Push Notifications, Analytics and more.
This platform makes it super easy to authenticate users using the cloud platform via email or social services like Facebook, Twitter, and Instagram. Once you have authenticated a user you can then make use of things like storing data for specific users and sending push notifications.
The problem this tutorial is tackling is that you may want to make use of these services, but already have your own authentication and backend in place. Fortunately, as well as allowing users to sign in with email and social services, Ionic also allows you to provide your own custom authentication that integrates with their cloud platform using, you guessed it… JSON Web Tokens!
Before We Get Started
Before you go through this tutorial, you should have at least a basic understanding of Ionic 2 concepts. You must also already have Ionic 2 set up on your machine.
If you’re not familiar with Ionic 2 already, I’d recommend reading my Ionic 2 Beginners Guide first to get up and running and understand the basic concepts. If you want a much more detailed guide for learning Ionic 2, then take a look at Building Mobile Apps with Ionic 2.
This tutorial also assumes that you are at least somewhat comfortable with NodeJS.
Generate a New Ionic 2 Application
We are going to create a pretty bare bones application to test with in this tutorial, so you’ll just need to run the following command to generate a new Ionic 2 project:
ionic start ionic2-custom-auth blank --v2We will also need to make use of the InAppBrowser plugin later (it is required for the custom authentication), so once your project has generated you should first make it your working directory, and then run the following command:
ionic plugin add cordova-plugin-inappbrowser --saveStandard Authentication
Before we get into custom authentication, I’m going to show you how you would set up authentication with the Ionic Cloud platform the normal way. We will be using simple email authentication. I won’t be covering this in detail, so I’d also recommend taking a look at the documentation yourself as well.
Before you can use the Ionic Cloud services, you will need an ionic.io account. If you don’t have one already you should create one now.
Setting up Ionic Cloud in an Ionic 2 Application
There’s a few things we need to set up before we can start making use of the authentication service. We will need to install some dependencies, initialise the application with ionic.io, and make some changes to the code.
Run the following commands inside of your project
npm install @ionic/cloud-angular --saveionic io init
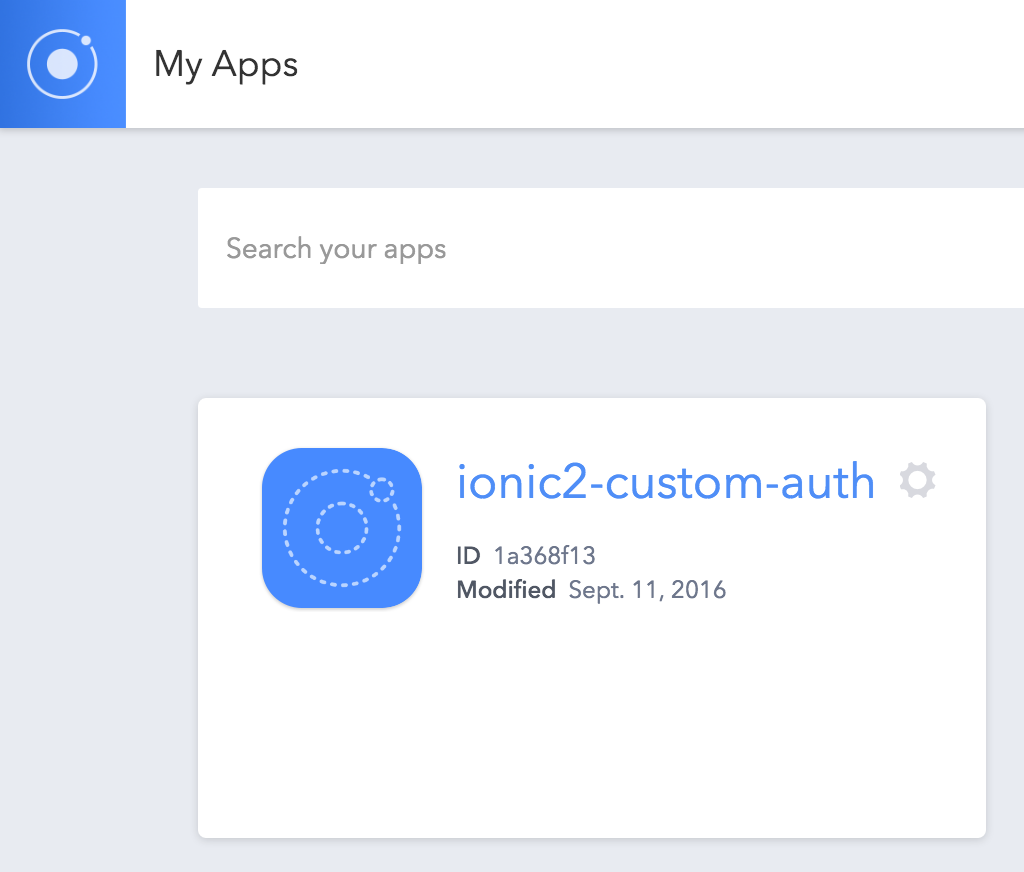
This handles setting up all the dependencies we need, and initialises the application with the cloud service. After running the ionic io init command, if you were to log into your ionic.io account you would see your app listed there:
There’s nothing we need to do right now, but eventually we will need to do some configuration in there. Next, we need to make the necessary modifications to our code.
Modify app.ts to reflect the following:
import { Component } from '@angular/core';
import { provideCloud, CloudSettings } from '@ionic/cloud-angular';
import { ionicBootstrap, Platform } from 'ionic-angular';
import { StatusBar } from 'ionic-native';
import { HomePage } from './pages/home/home';

const cloudSettings: CloudSettings = {
  'core': {
    'app_id': 'YOUR_APP_ID'
  }
};

@Component({
  template: '<ion-nav [root]="rootPage"></ion-nav>'
})
export class MyApp {
  rootPage: any = HomePage;

  constructor(public platform: Platform) {
    platform.ready().then(() => {
      StatusBar.styleDefault();
    });
  }
}

ionicBootstrap(MyApp, [provideCloud(cloudSettings)]);
Notice that we are importing both provideCloud and CloudSetting, and then adding them to the ionicBootstrap function at the end of the file. It’s also important that you change the app_id in the cloudSettings constant to whatever the id of your application is in the ionic.io dashboard.
Now we’re ready to start making use of the cloud platform in our application.
Email Authentication with Ionic Cloud
As I mentioned, we are going to start off by creating a simple integration with Ionic’s standard email authentication provider. This will allow us to see how different the custom authentication process is. Again, I won’t spend too much time going through the details on this since the focus of this tutorial is using custom authentication, so if you would like more information the documentation is great.
Modify home.ts to reflect the following:
import { Component } from '@angular/core';
import { Auth, User, UserDetails, IDetailedError } from '@ionic/cloud-angular';
import { NavController, LoadingController } from 'ionic-angular';
import { InAppBrowser } from 'ionic-native';

@Component({
  templateUrl: 'build/pages/home/home.html',
})
export class HomePage {

  loading: any;

  constructor(public navCtrl: NavController, public auth: Auth, public user: User, private loadingCtrl: LoadingController) {

  }

  showLoader(){

    this.loading = this.loadingCtrl.create({
      content: "Authenticating..."
    });

    this.loading.present();

  }

  signupEmail(email, password){

    this.showLoader();

    let details: UserDetails = {
        'email': email,
        'password': password
    };

    this.auth.signup(details).then(() => {

        this.loading.dismiss();

        // success
        console.log(this.user);

    }, (err: IDetailedError<string[]>) => {

        this.loading.dismiss();

        // handle errors
        for(let error of err.details){

            if(error === 'required_email'){
                // email missing
            } else if(error === 'required_password'){
                // password missing
            } else if(error === 'conflict_email'){
                // email already in use
            } else if (error === 'conflict_username'){
                // username alerady in use
            } else if (error === ' invalid_email'){
                // email not valid
            }

        }

    });

  }

  login(email, password){

    this.showLoader();

    let details: UserDetails = {
        'email': email,
        'password': password
    };

    this.auth.login('basic', details).then(() => {

        this.loading.dismiss();

        // success
        console.log(this.user);

    }, (err) => {

        this.loading.dismiss();

        // problem logging in
        console.log(err);

    });

  }

  logout(){
    this.auth.logout();
  }

  testSignup(){
    this.signupEmail('me@test.com', 'password');
  }

  testLogout(){
    this.logout();
  }

  testLogin(){
    this.login('me@test.com', 'password');
  }

}
This code contains everything we need to register a user, log in a user, and log out a user. We’ve also added some test functions at the bottom that we will be able to trigger from our template to see if everything is working.
All we have to do is make use of the Auth service (provided by Ionic Cloud) to handle all of these operations, we simply pass the appropriate details along (like the users email and password). This service will hit the Ionic Cloud servers, do what it needs to do, and then send us back the appropriate response.
We just need to modify our template a bit so we can trigger the test functions.
Modify home.html to reflect the following:
<ion-header>
  <ion-navbar primary>
    <ion-title> Ionic Blank </ion-title>
  </ion-navbar>
</ion-header>

<ion-content padding>
  <button (click)="testSignup()">Test Signup</button>
  <button (click)="testLogin()">Test Login</button>
  <button (click)="testLogout()">Test Logout</button>
</ion-content>
Custom Authentication with Ionic Cloud
Now that we’ve seen how basic email authentication works, let’s walk through how to create our own custom server, with its own authentication, that integrates with Ionic Cloud using JSON Web Tokens. It sounds like a lot of work, but it’s not too bad. We will be using a NodeJS server in this example, but you’ll find libraries that support JSON Web Tokens for just about everything. The syntax will be a little different, but the concepts are the same.
Create the Server
Let’s start by creating our NodeJS server, we will be using Express to handle incoming requests from the application, and jsonwebtoken to handle our JSON Web Tokens.
Create a new folder outside of your project and call it ionic2-custom-auth-server
Create a package.json file inside of the folder and add the following:
{
  "name": "ionic2-custom-auth",
  "version": "0.1.0",
  "description": "A sample Node.js app using Express 4",
  "main": "server.js",
  "engines": {
    "node": "5.9.1"
  },
  "scripts": {
    "start": "node server.js"
  },
  "dependencies": {
    "express": "^4.14.0",
    "jsonwebtoken": "^5.7.0",
    "body-parser": "^1.15.2",
    "cors": "^2.8.0",
    "del": "2.2.0",
    "http": "0.0.0",
    "method-override": "^2.3.6",
    "morgan": "^1.7.0"
  }
}
This will handle setting up the two dependencies we need (express and jsonwebtoken), as well as some other standard dependencies that are useful for Node servers (morgan for logging messages, cors for Cross Origin Resource Sharing etc).
Now let’s create our server file.
Create a new file called server.js and add the following:
var express = require('express');
var http = require('http');
var bodyParser = require('body-parser');
var logger = require('morgan');
var cors = require('cors');
var jwt = require('jsonwebtoken');
var secret = 'yourSuperSecretPassword';
var app = express();

app.set('port', process.env.PORT || 3000);
app.use(logger('dev'));
app.use(bodyParser.json());
app.use(bodyParser.urlencoded({ extended: false }));
app.use(cors());

app.use(function (req, res, next) {
  res.header('Access-Control-Allow-Origin', '*');
  res.header('Access-Control-Allow-Methods', 'DELETE, PUT');
  res.header(
    'Access-Control-Allow-Headers',
    'Origin, X-Requested-With, Content-Type, Accept'
  );
  next();
});

// handle Ionic Auth
app.get('/auth', function (req, res) {
  // verify the incoming JWT

  try {
    var incomingToken = jwt.verify(req.query.token, secret);
  } catch (ex) {
    console.error(ex.stack);
    return res.status(401).send('jwt error');
  }

  // do whatever auth stuff you want with the users details

  var email = incomingToken.data.email;
  var password = incomingToken.data.password;
  var user_id;

  if (email == 'me@test.com' && password == 'password') {
    // user authentication was successful, assign whatever data you want
    user_id = '123';
  }

  // construct JWT and redirect to the redirect_uri

  var outgoingToken = jwt.sign({ user_id: user_id }, secret);
  var url =
    req.query.redirect_uri +
    '&token=' +
    encodeURIComponent(outgoingToken) +
    '&state=' +
    encodeURIComponent(req.query.state);

  return res.redirect(url);
});

app.listen(app.get('port'));
console.log('App listening on ' + app.get('port'));
In the above, make sure to change yourSuperSecretPassword to your own secret key. This is the most interesting part of this tutorial, so let’s talk through it in a little detail. A lot of it is just server set up stuff, so let’s just focus on the bit that really matters, the /auth route:
// handle Ionic Auth
app.get('/auth', function (req, res) {
  // verify the incoming JWT

  try {
    var incomingToken = jwt.verify(req.query.token, secret);
  } catch (ex) {
    console.error(ex.stack);
    return res.status(401).send('jwt error');
  }

  // do whatever auth stuff you want with the users details

  var email = incomingToken.data.email;
  var password = incomingToken.data.password;
  var user_id;

  if (email == 'me@test.com' && password == 'password') {
    // user authentication was successful, assign whatever data you want
    user_id = '123';
  }

  // construct JWT and redirect to the redirect_uri

  var outgoingToken = jwt.sign({ user_id: user_id }, secret);
  var url =
    req.query.redirect_uri +
    '&token=' +
    encodeURIComponent(outgoingToken) +
    '&state=' +
    encodeURIComponent(req.query.state);

  return res.redirect(url);
});
This is the endpoint that the Ionic Cloud platform will hit, and where the JSON Web Token is handled. Let’s break down what happens step by step.
The server receives a request from Ionic Cloud containing a JSON Web Token.
The server verifies that the JSON Web Token is valid by checking the verification signature. This is handled automatically using the
verifymethod from thejsonwebtokenpackage. If the JSON Web Token is not valid, then an error is sent.If the JSON Web Token is valid, we grab the data from the token (the incoming email and password) and run it through our own authentication. In this case, we are just checking if the email is
me@test.comand the password ispassword, but of course in a real life scenario, you would perform whatever lookup necessary to check if the user is valid.If the email and password are correct, we assign a
user_idof123to identify that user. Again, in a real life scenario, you would grab the actualuser_idof that user according to your backend.We create a new JSON Web Token containing the
user_idof the authenticated user and sign it using the secret key.We construct a URL containing the new JSON Web Token, as well as the
statevalue sent by the Ionic Cloud, and redirect to it. The URL points to Ionic’s servers, so the JSON Web Token is able to be passed back to them.
The URL that is constructed looks like this:
https://api.ionic.io/auth/integrations/custom?app_id=APP_ID_HERE&token=eyJ0eXAiOiJKV1QiLCJhbGciOiJIUzI1NiJ9.eyJ1c2VyX2lkIjoiMTIzIiwiaWF0IjoxNDczOTM4NTcwfQ.LmcXwezhnc4FhcI6cyPTbCe11IijeIcQ8UpSwzoU4kA&state=0a514c0f7c26e480239d0f084525d4b9This is an actual request that my server has sent to the cloud platform, and as you can see it contains the JSON Web Token that was created. If you were to put this token into the debugger at jwt.io, you would see that it has the following payload:
{
  "user_id": "123",
  "iat": 1473938570
}
It contains the user_id of the user that was just authenticated, and an issued at claim which indicates the time the JSON Web Token was issued.
The cloud platform will verify this token (by using the secret password we will share with them in just a moment), and if it is valid the information sent will be used to authorise the user. Essentially, we are like Facebook or Twitter in this case – the authentication happens on our own server, and the information is passed back to Ionic.
Host the Server on Heroku
We have our server built now, but we still need to host it somewhere. We can’t just run it locally because the Ionic Cloud service will need to hit an endpoint on our server, which means it will need to be publicly accessible. You can host it wherever you like, but we are going to walk through setting it up on Heroku.
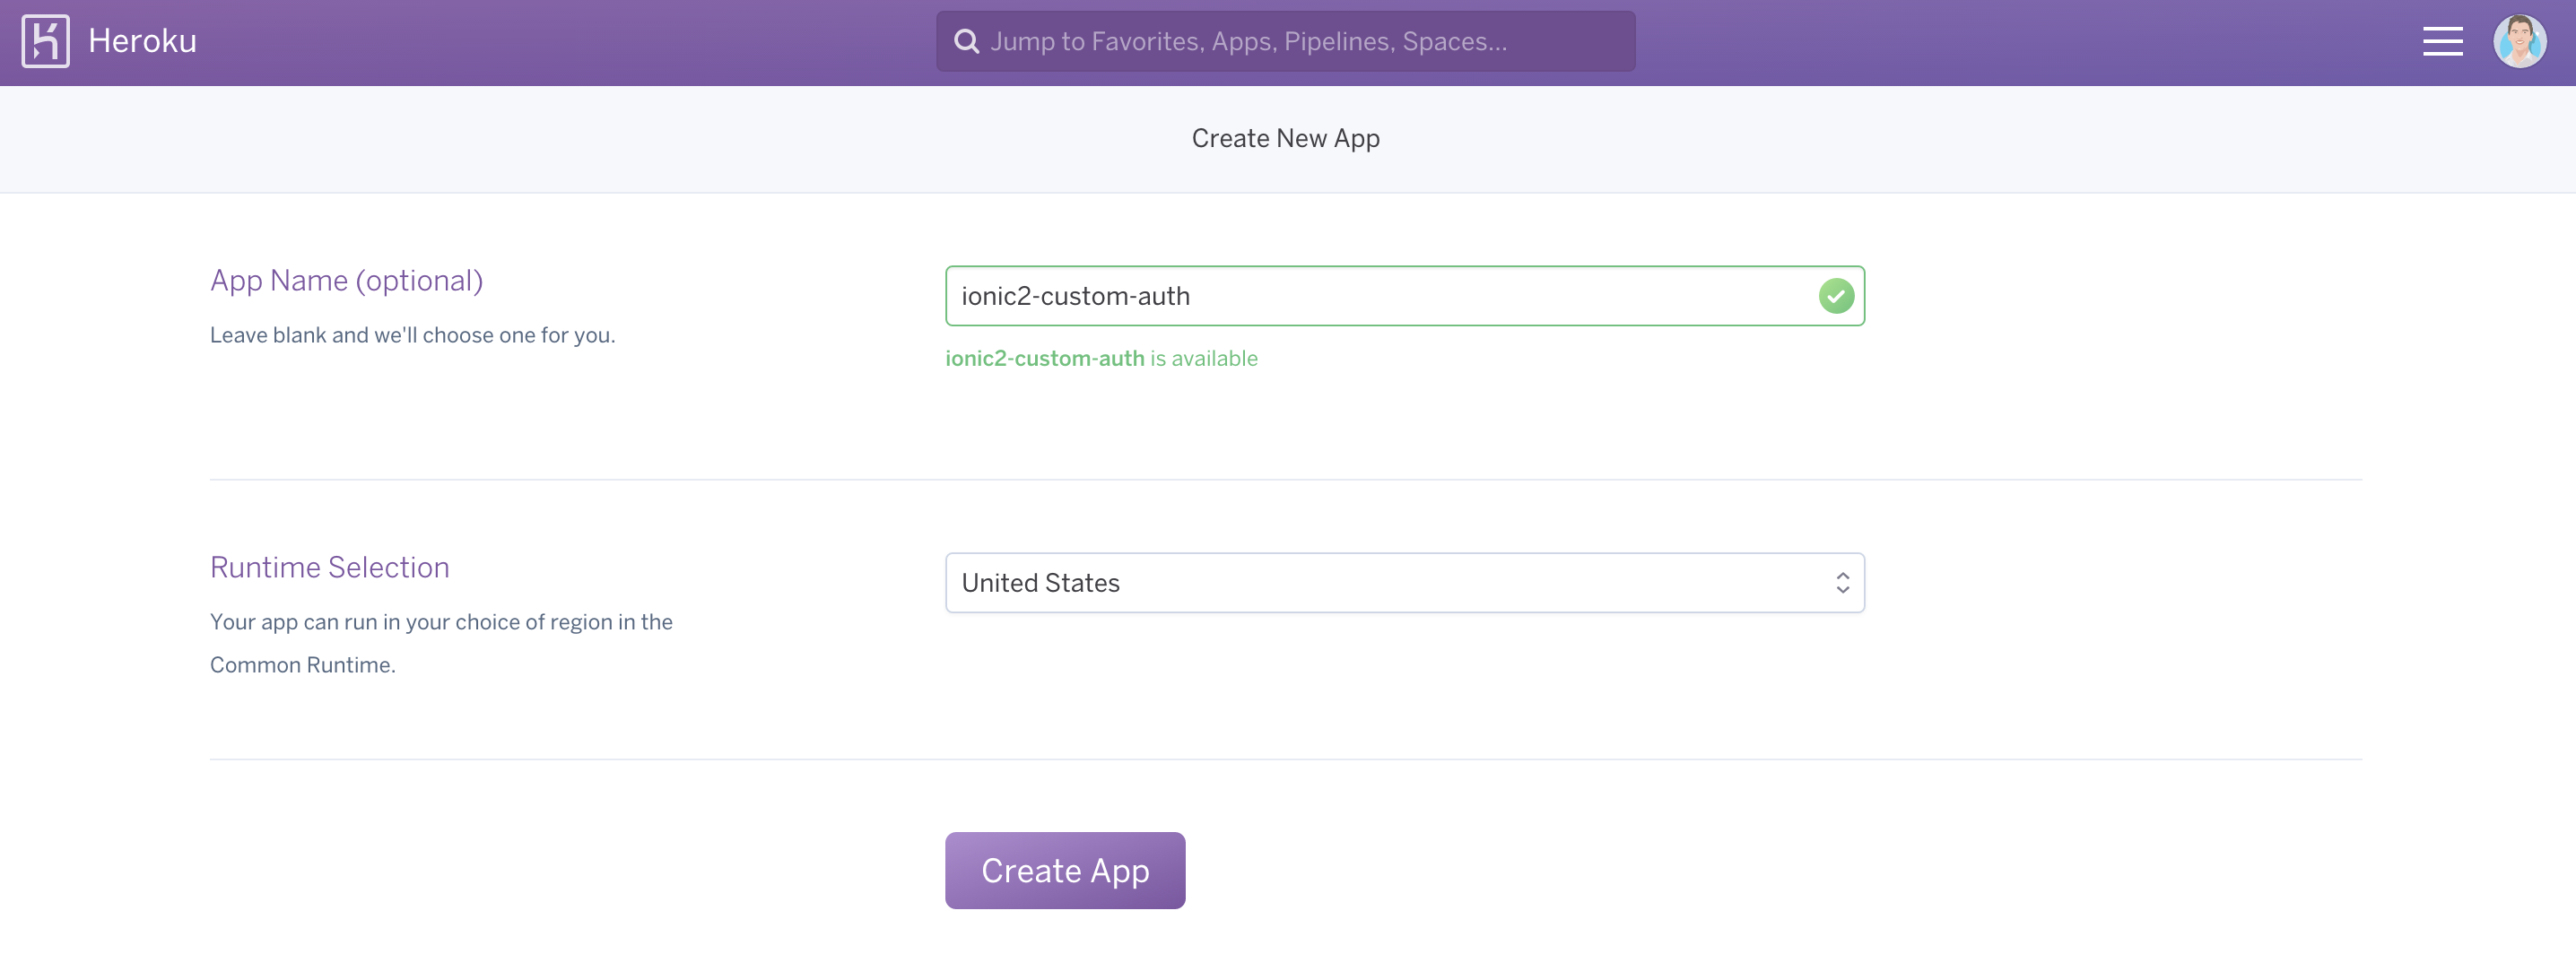
You will need a Heroku account to complete these steps, so if you don’t have one already you should create one (it’s free). Once you have your account set up, sign in and go to New > Create New App. Give your app a name, and then select Create App.
That’s all you need to do on Heroku, now you just need to push your server code there.
Run the following commands from your ionic2-custom-auth-server folder
heroku logingit initheroku git:remote -a your-app-nameNOTE: You will need to change this to whatever your application name is on Heroku.
git add.git commit -m "initial commit"git push heroku masterOnce you have run these commands, you should see your application building on the server. Since we have specified all of the dependencies and our server file in the package.json that we pushed to Heroku, it will set all of these up automatically for us.
Once the build has completed, you should be able to view your application by going to its URL which you can find by clicking Open App inside of the Heroku dashboard.

All you should see is a failed attempt to get a route, which is fine, just make sure that it doesn’t say “Application Error”. If there is an error, you can run the following command:
heroku logsto find out what went wrong. Make a note of the URL of your application, because we will be supplying it to the Ionic Cloud platform in just a moment.
Configure the App in Ionic Cloud
We’re getting pretty close now, the last thing we need to do to set up our custom authentication is to configure our application in Ionic Cloud. To do that, log into your account at ionic.io, and then go into the application you are working on.
Next, click on Settings in the left menu:
and then User Auth in the left menu:
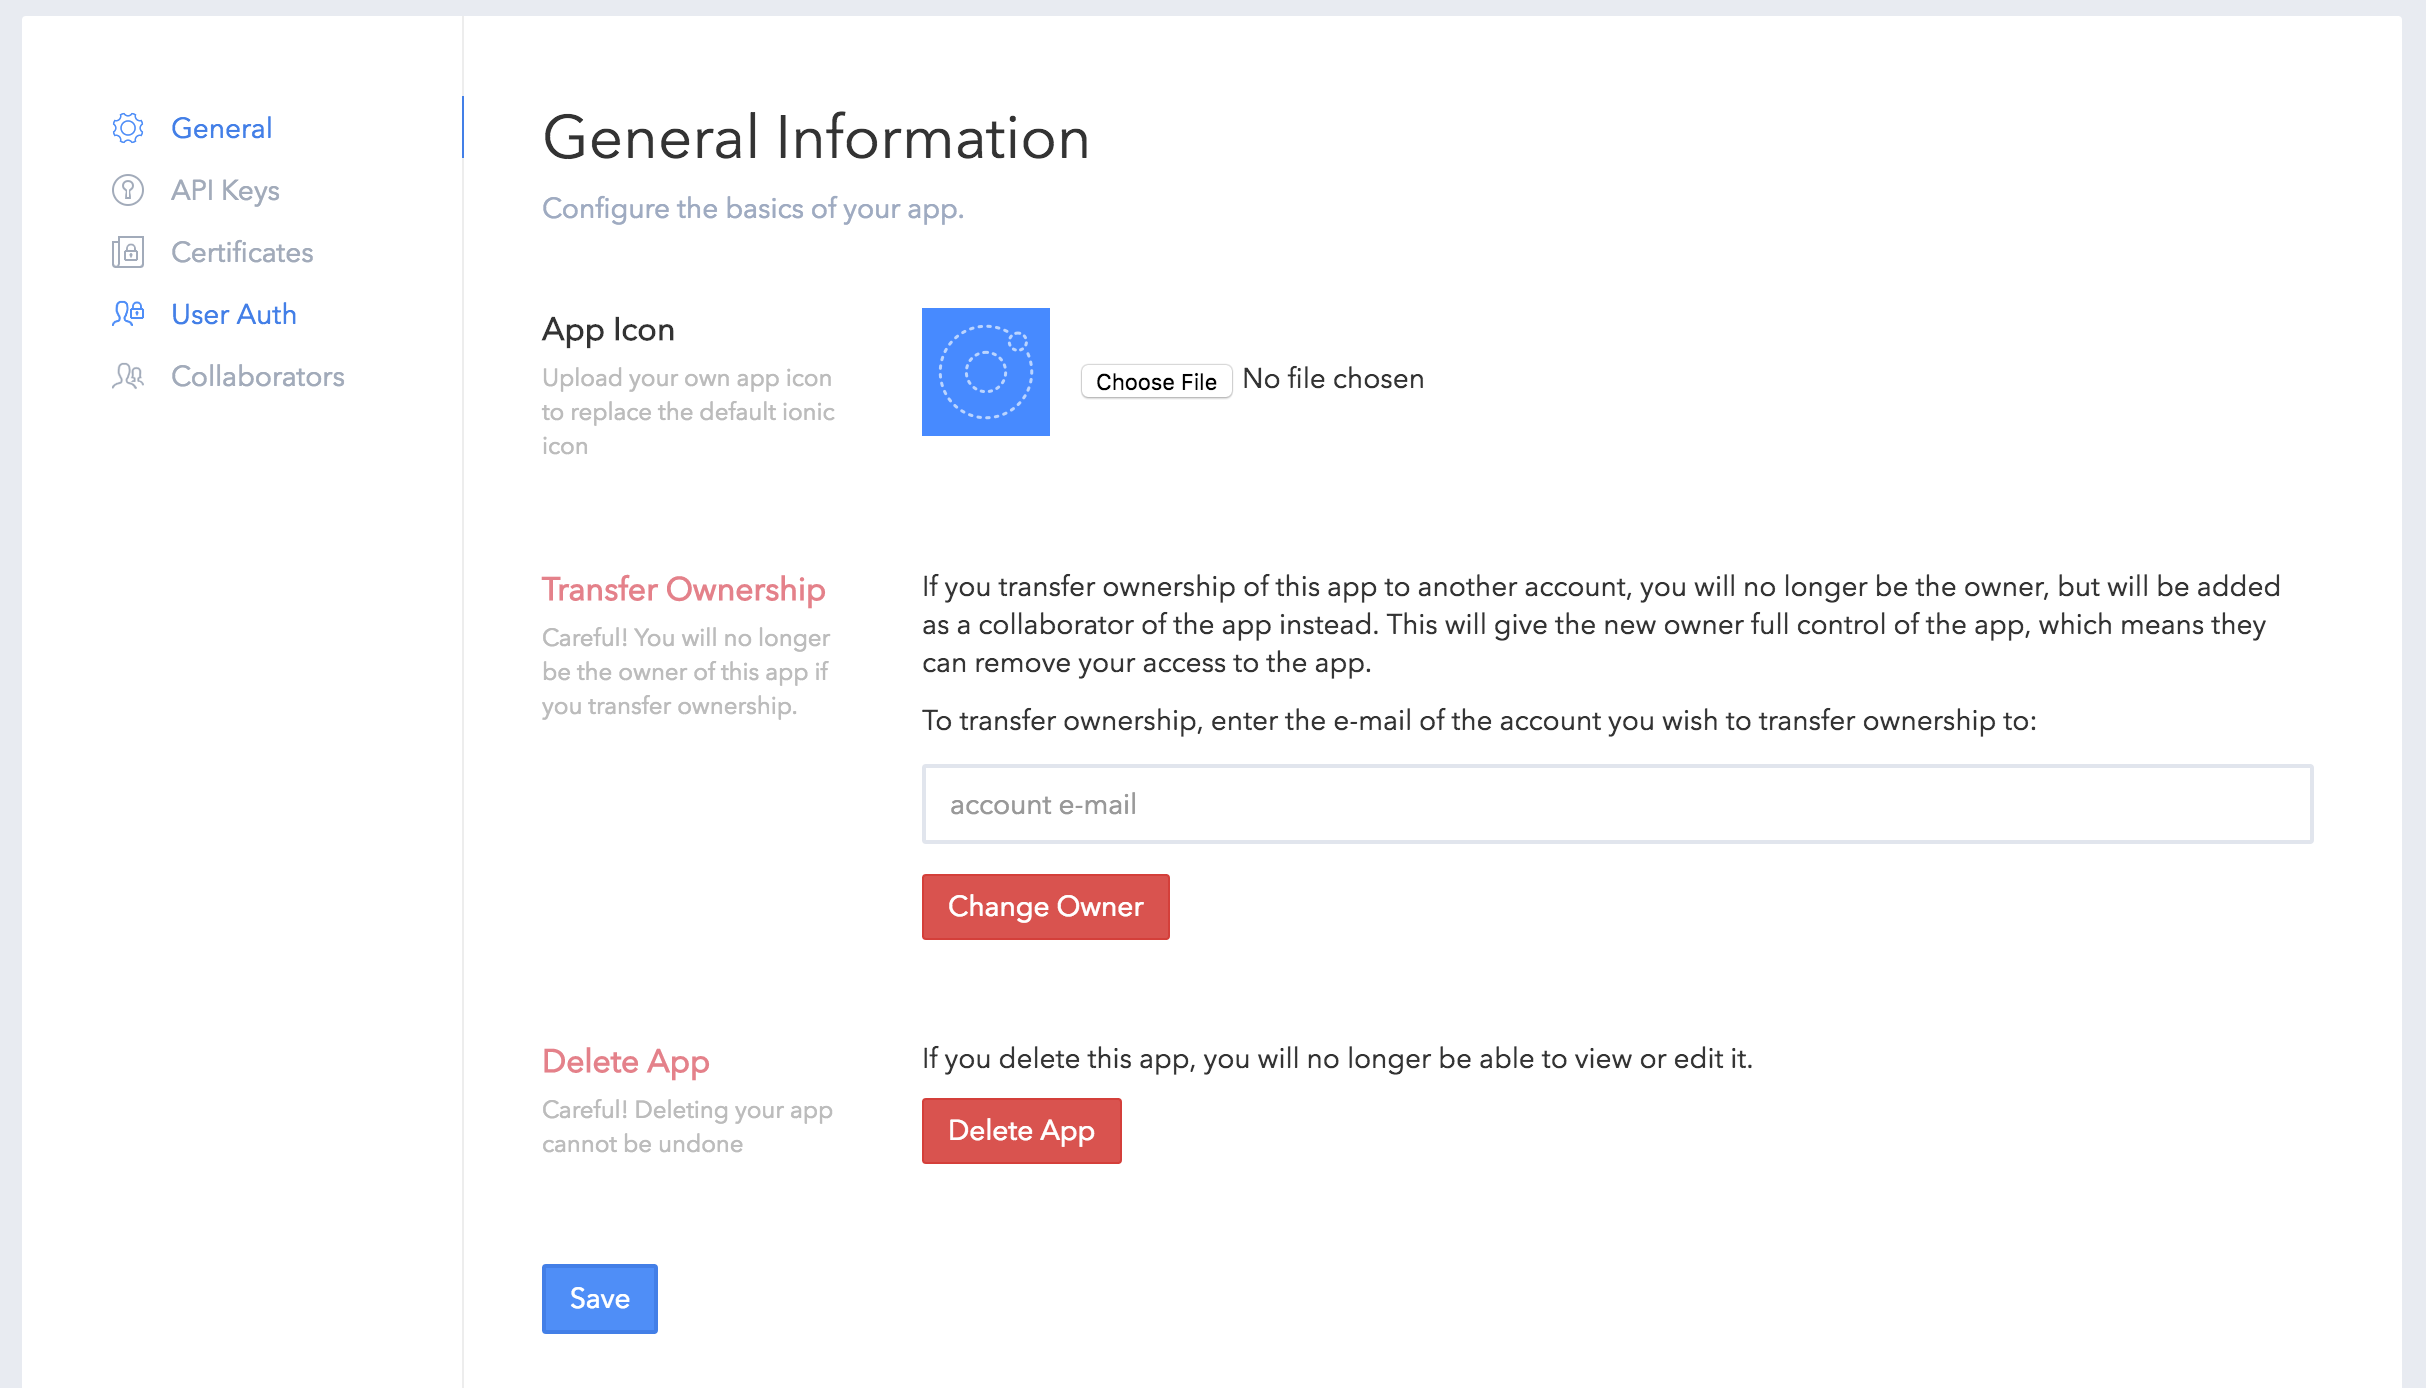
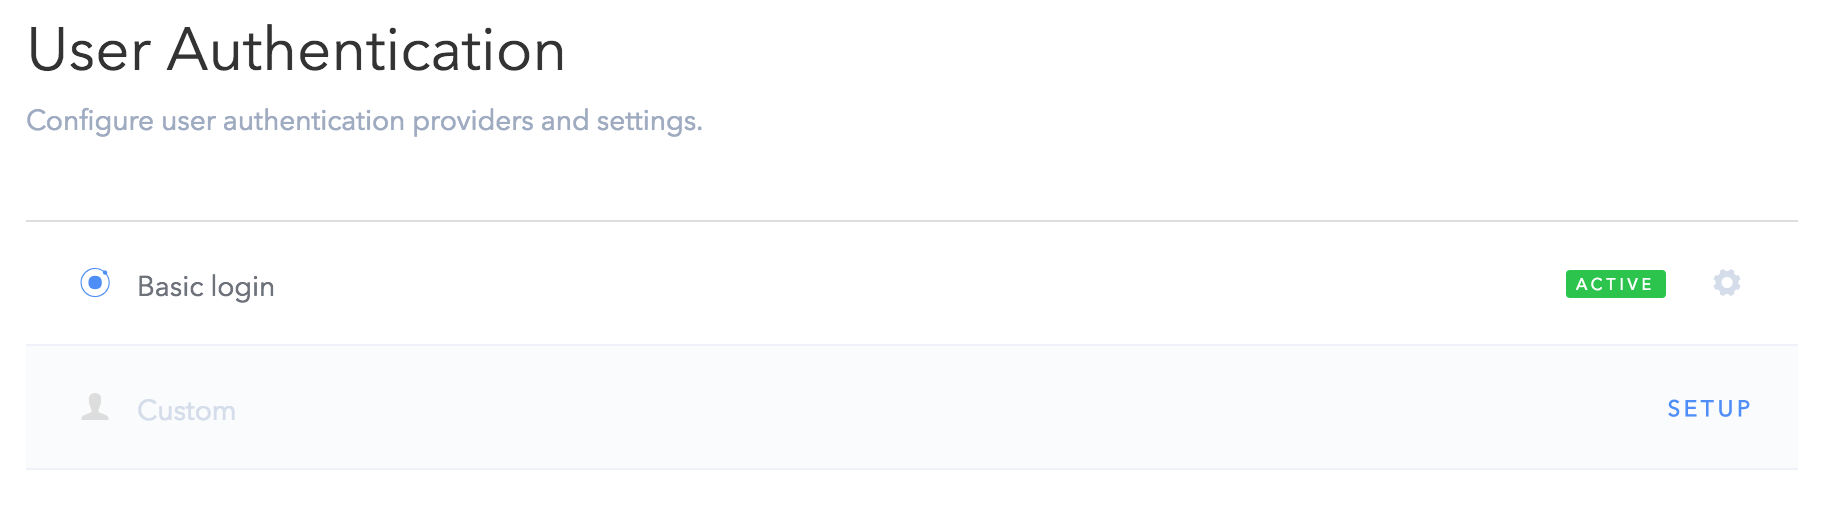
You will see some providers listed (including Facebook, Twitter, etc.) that need to be set up, including a Custom provider. Click Setup on Custom:
Remember the secret key we created in the server before:
var secret = 'yourSuperSecretPassword';This is what we are using to sign our JSON Web Tokens, and for the Ionic Cloud to be able to verify the tokens it needs to know this secret. So you will need to add this secret to this page.
You will also need to add the URL for your Heroku app as the endpoint. This is where the Ionic Cloud will send us the first JSON Web Token, so you need to make sure it is hitting the /auth route. The URL should look something like this:
https://your-heroku-app.herokuapp.com/authUse the Custom Authentication in Ionic 2
The final step is to modify our login function to use our own authentication, instead of Ionic’s email authentication.
Create the following functions in home.ts
loginCustom(email, password){

    this.showLoader();

    let loginData = {
        'email': email,
        'password': password
    };

    // hide the in app browser. If you need to collection additional data outside of the app
    // using the InAppBrowser, you should get rid of this.
    let loginOptions = {
        'inAppBrowserOptions': {'hidden': true}
    };

    this.auth.login('custom', loginData, loginOptions).then(() => {

        this.loading.dismiss();

        //success
        console.log(this.user);

    }, (err) => {

        this.loading.dismiss();

        //error
        console.log(err);

    });

  }

  testLoginCustom(){
    this.loginCustom('me@test.com', 'password');
  }
This is pretty much exactly the same as the standard email login, except that we specify the custom option, and we also add in a configuration for the InAppBrowser. We don’t need to collect any additional information from the user inside of the InAppBrowser so there’s no need for it to pop up, so we set it to hidden. It still launches and does what it needs to do to send the JWT to the Ionic Cloud servers, but the user never sees it.
Now we just need to add a listener to the template to call the test function for the custom login.
Modify home.html to reflect the following:
<ion-header>
  <ion-navbar primary>
    <ion-title> Ionic Blank </ion-title>
  </ion-navbar>
</ion-header>

<ion-content padding>
  <button (click)="testSignup()">Test Signup</button>
  <button (click)="testLoginCustom()">Test Custom Login</button>
  <button (click)="testLogin()">Test Login</button>
  <button (click)="testLogout()">Test Logout</button>
</ion-content>
Now everything is ready! Since this process uses the InAppBrowser, you will need to test on a real device – not through the browser. Hopefully, once the user is authenticated you should see something like this in the console for your application:

Summary
We’ve covered too really interesting concepts in these tutorials: JSON Web Tokens which can be used for a wide range of things, and how to integrate our own backend into Ionic Cloud using JSON Web Tokens. As of right now, Ionic Cloud offers some great features, but these may not be enough on their own to create a fully featured backend. The ability to integrate your own backend into the Ionic Cloud services will be a great solution for many apps.