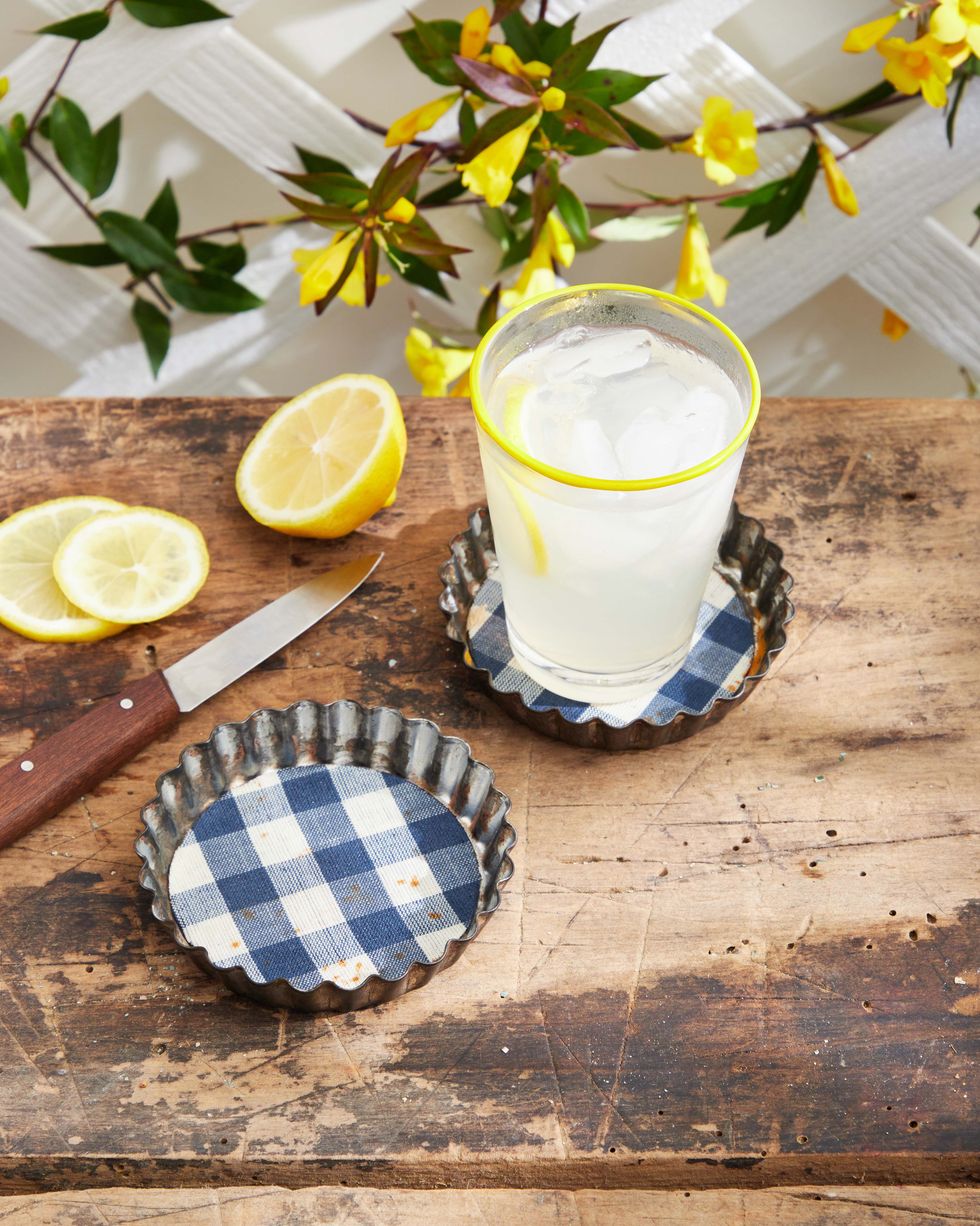
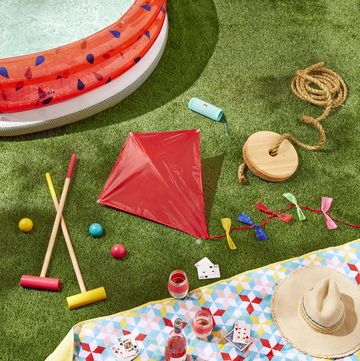
1Tart Tin Coasters
Give drinks a pretty place to park with fluted mini-tart tins. To create, remove the bottoms from the tins and trace the outline on fabric. Cut out and adhere the fabric to the bottom discs using glossy, water-resistant Mod Podge. Allow to dry completely, then replace in the tart rings.
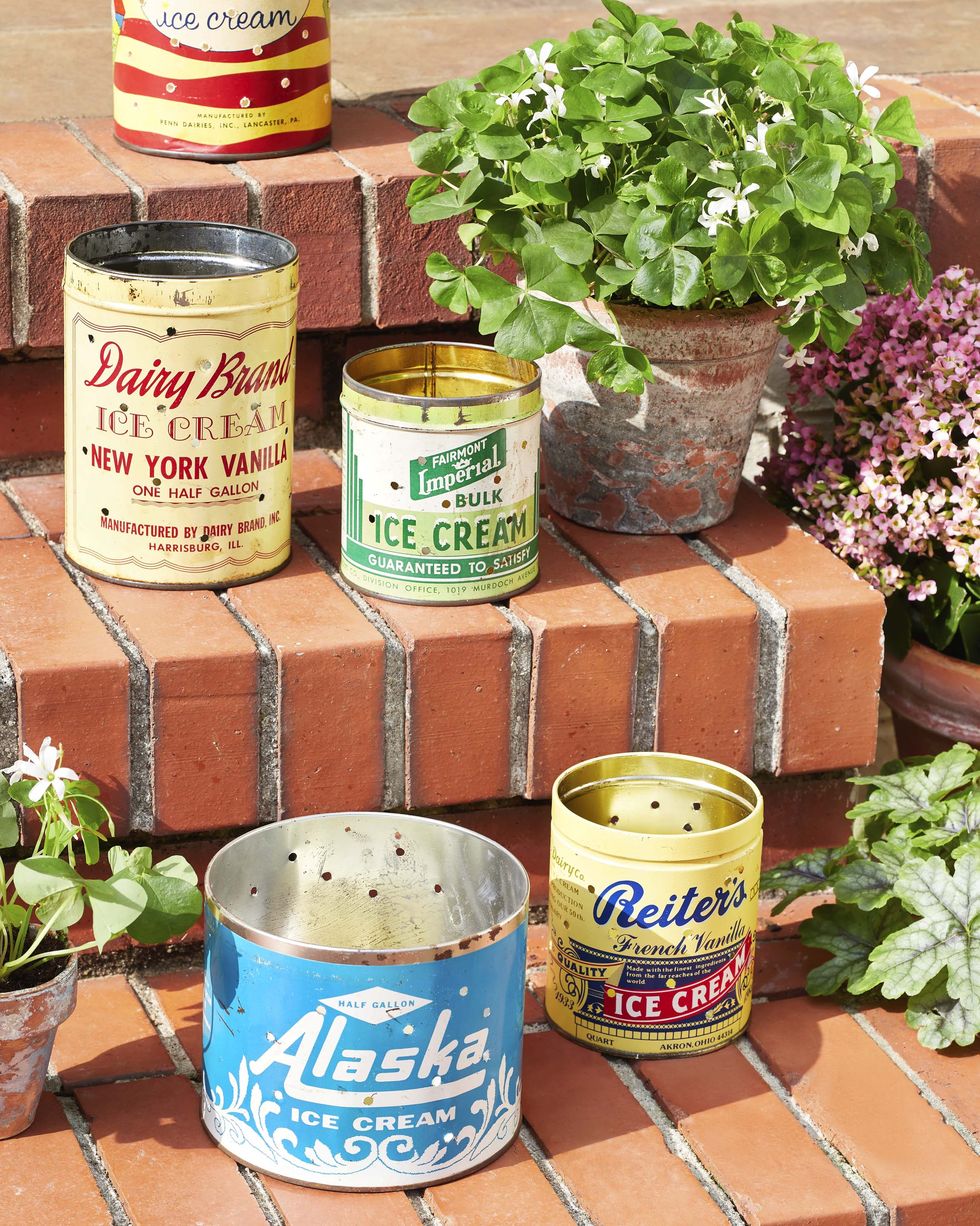
2Can-Do Luminaries
Light the way to the festivities by transforming small metal tins into lanterns. Use an electric drill to make holes all around the metal cans, and place candles in the bottoms (you can set the candles in a votive holders or vases to make them last longer). Set the tins along a path, by an entry, or on a table.
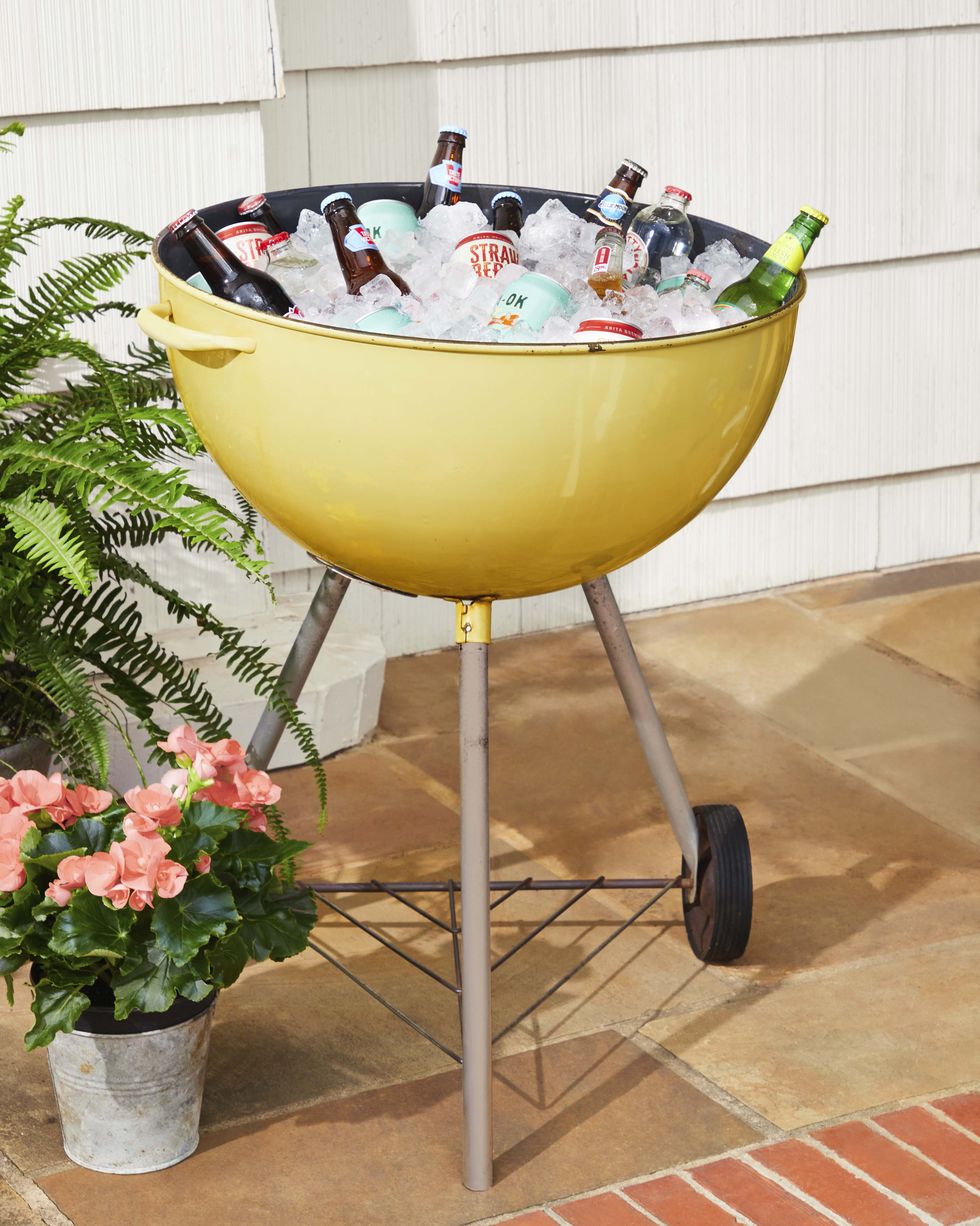
3Chill Grill
A seen-better-days kettle grill can easily be repurposed into a nostalgia inducing cooler. After cleaning—consider repainting the inside if it’s rusty—cover the interior vents with foil to slow dripping.
Advertisement - Continue Reading Below
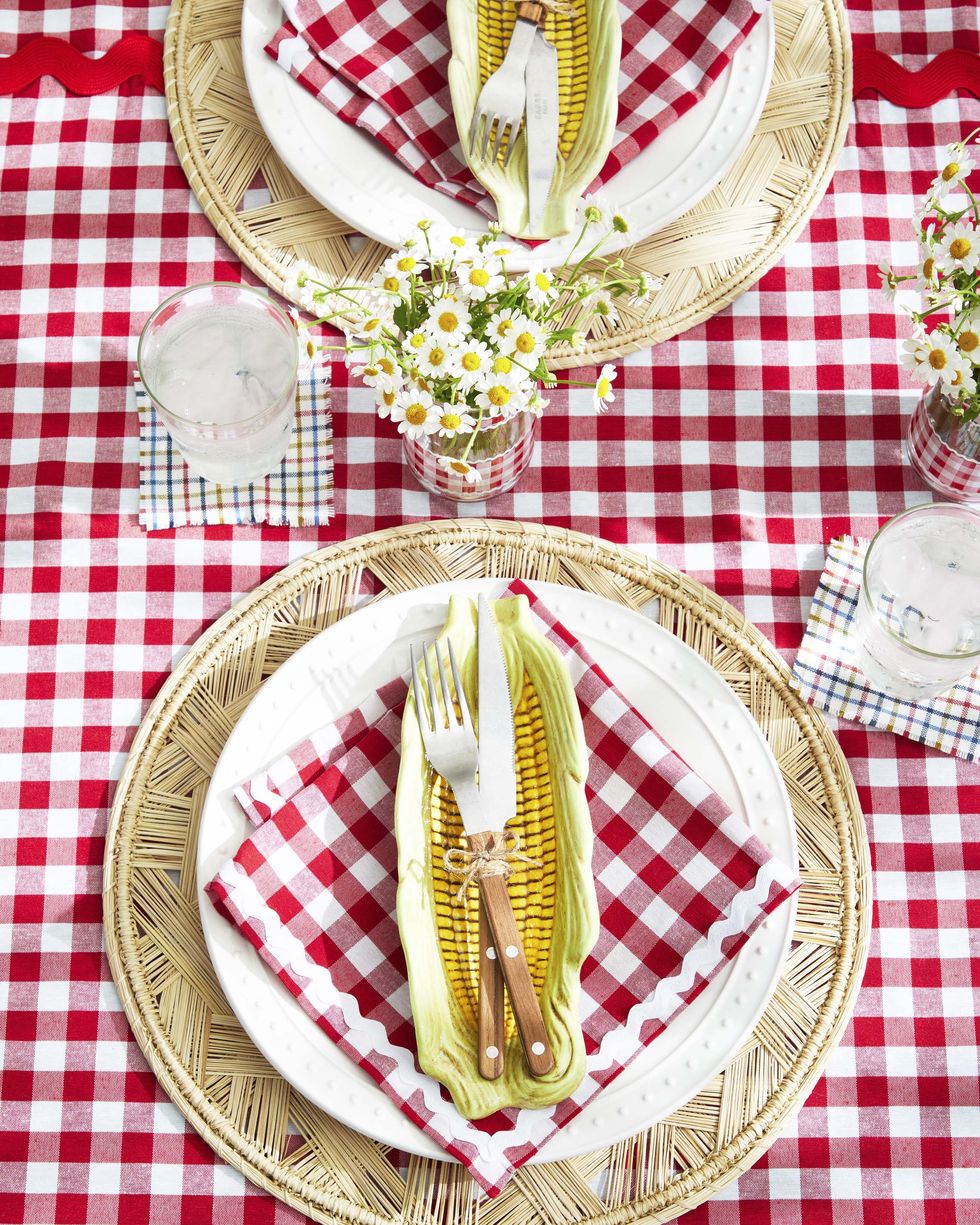
4Cutlery Caddies
With their elongated shape, vintage ceramic corn on the cob dishes make for a summery way to serve up individual bundles of silverware, tied up with bits of twine or ribbon.
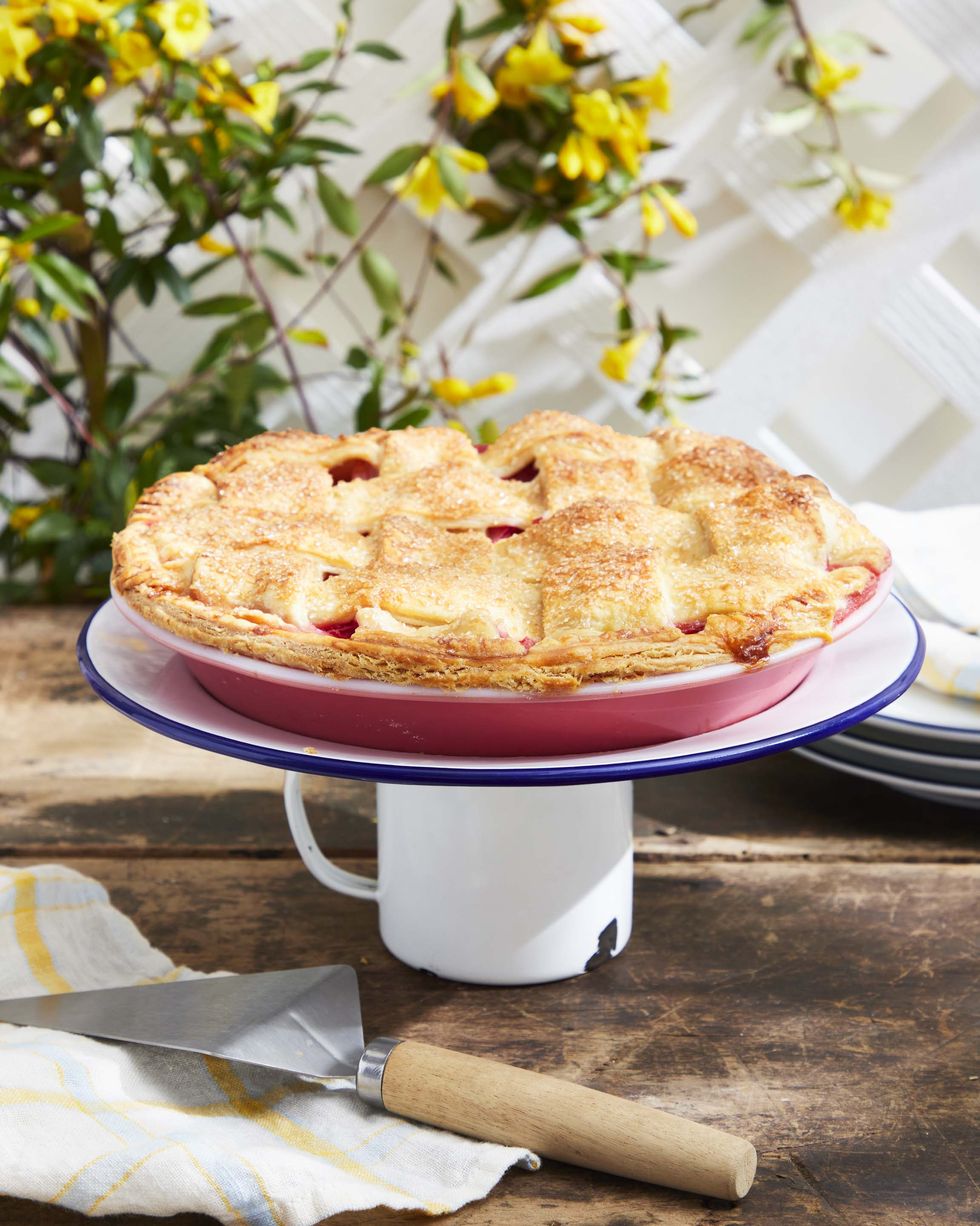
5Makeshift Dessert Dish
Can’t get enough enamelware? Pair a mug and a plate to create a one of-a-kind cake (or pie!) stand. Secure the pieces using a two-part epoxy.
SHOP EPOXY
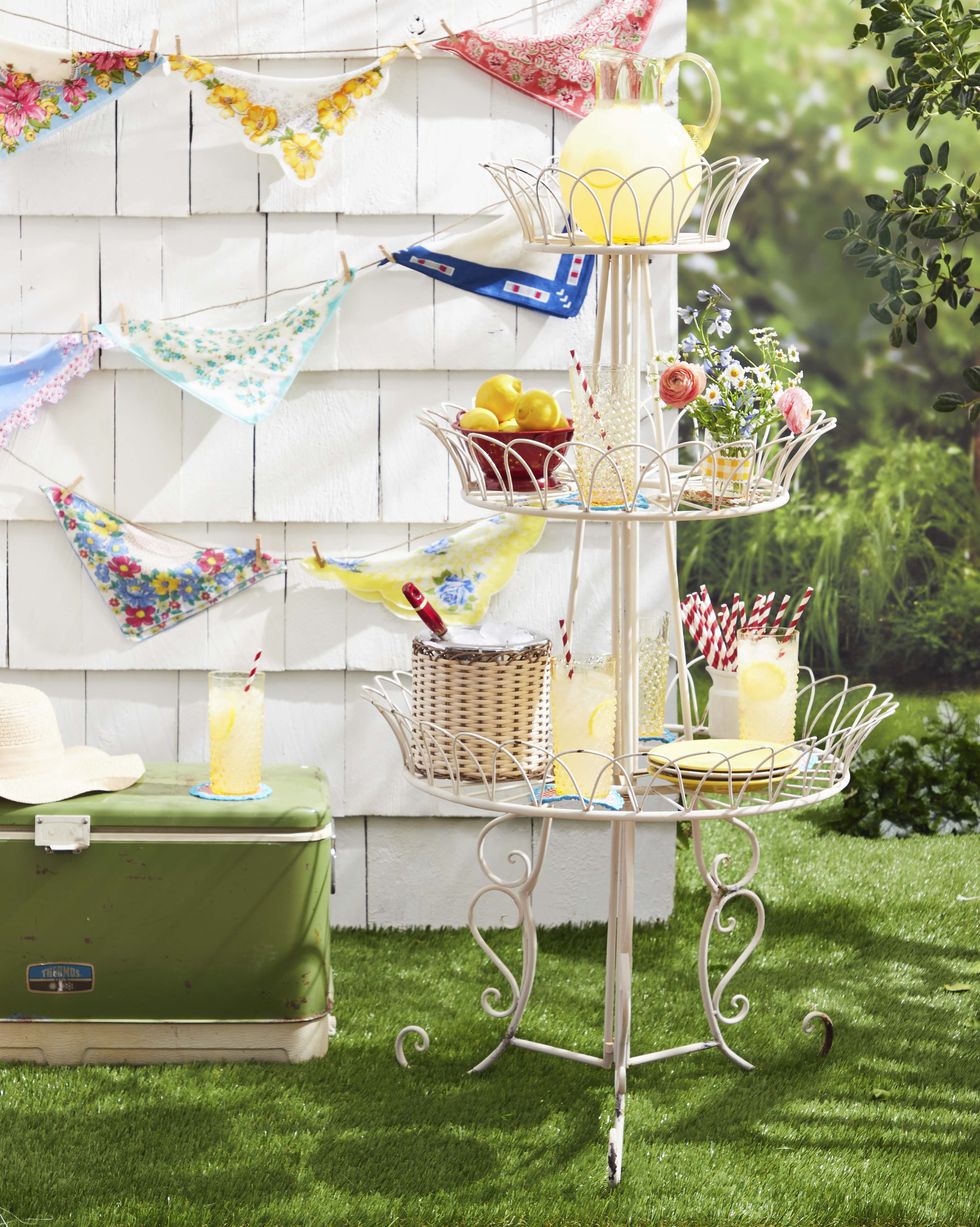
6Handkerchief Bunting
Set the mood for merriment by folding vintage hankies in half diagonally and hanging on lengths of sturdy jute twine using small wooden clothespins.
SHOP HANDKERCHIEFS
Advertisement - Continue Reading Below
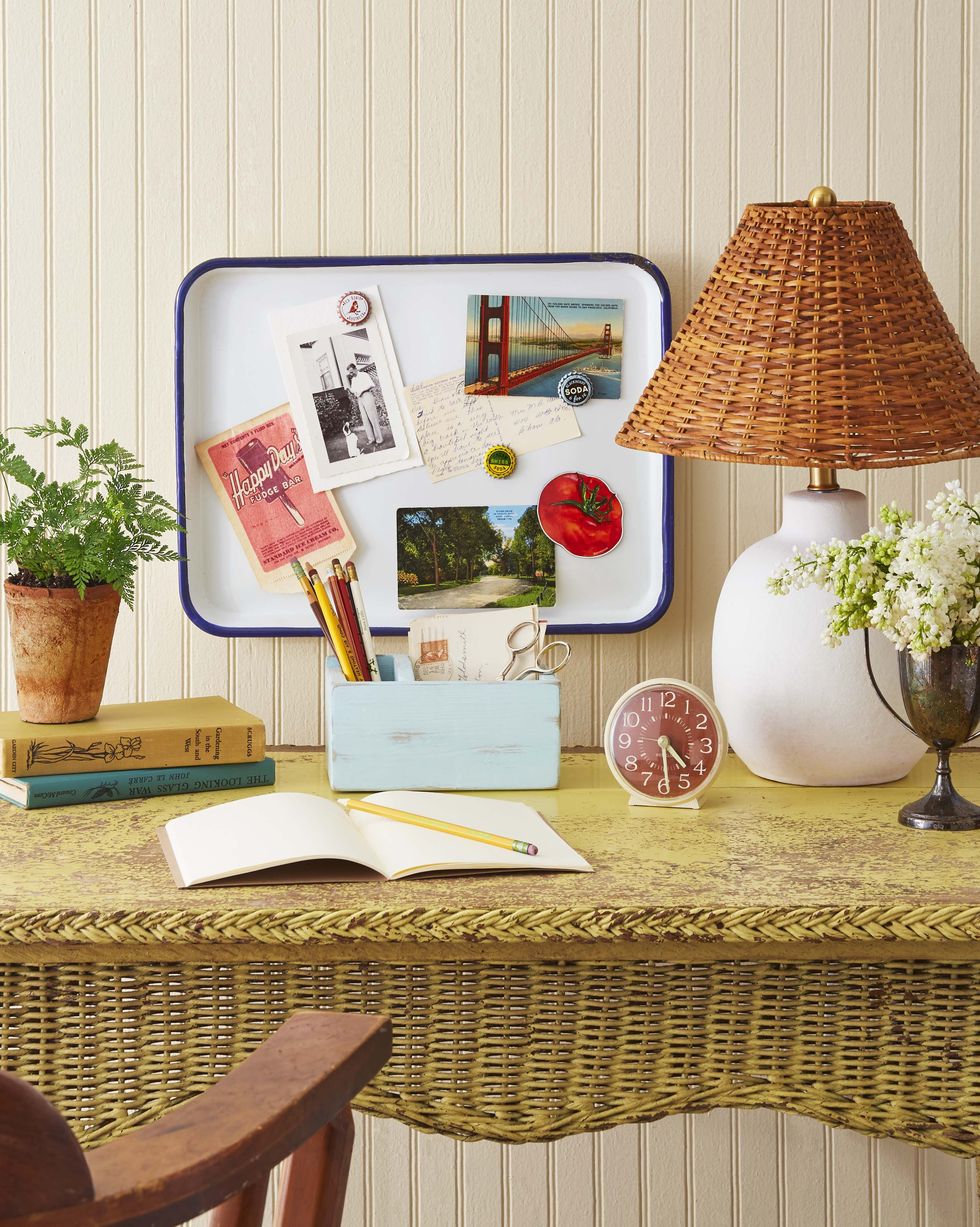
7Summer Memories Board
 Becky Stayner
Enamelware’s magnetic properties make it perfect for displaying those odds and ends you collect on your summer travels.
To make: Simply hang a tray on a wall using Command Strips or double-sided Velcro. Repurpose vintage bottle caps into charming magnets to hold your mementos in place. Then step back and admire your resourcefulness.
SHOP COMMAND STRIPS
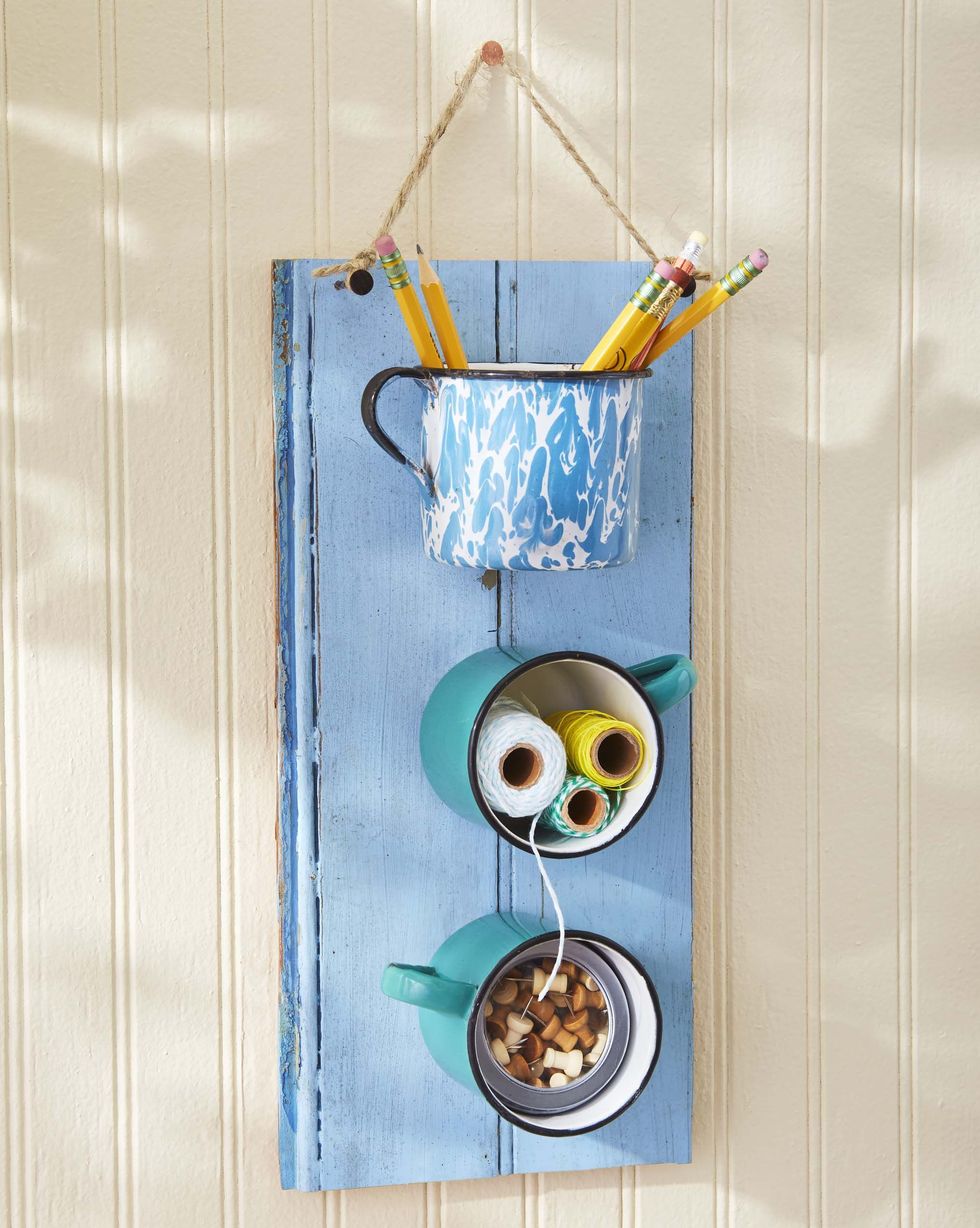
8Hanging Organizer for Craft Supplies
 Becky Stayner
Mugs, here vintage enamelware ones, are the perfect size for storing small craft supplies.
To make: Paint a salvaged board desired color (we chose a summery blue for the season). Mount mugs on board in desired configuration by screwing through the mugs into the wood. Hang with nails (or eye hooks) and twine.
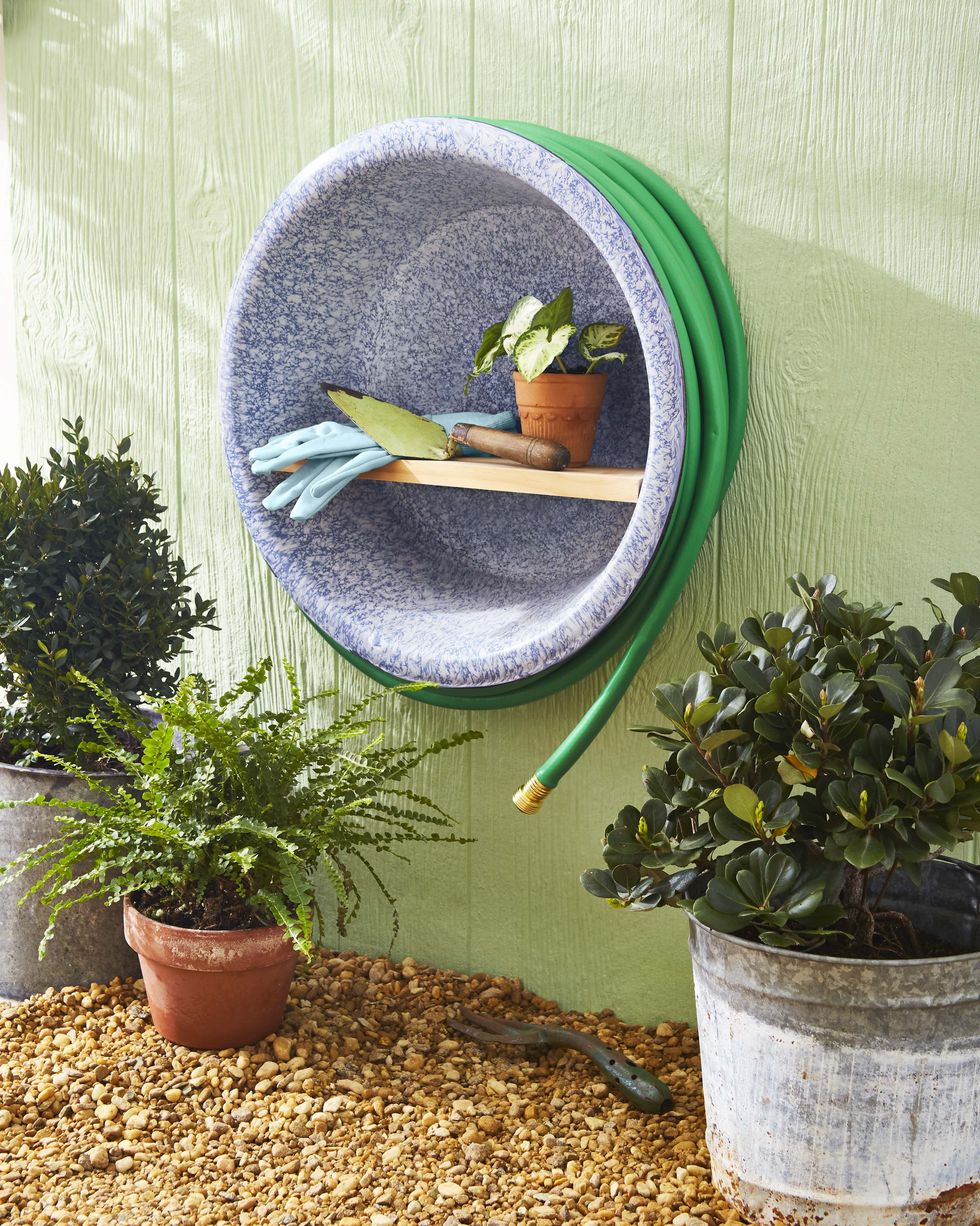
9DIY Garden Caddy
 Becky Stayner
Presenting the perfect perch for gardening tools and that hard-to-wrangle hose.
To make: Cut a piece of wood to fit inside your enamelware basin; screw through the bowl and into the wood to secure. Once your caddy is attached to the wall, store your hose by wrapping it around the outside. Stash gloves and small gardening tools on the shelf.
Advertisement - Continue Reading Below
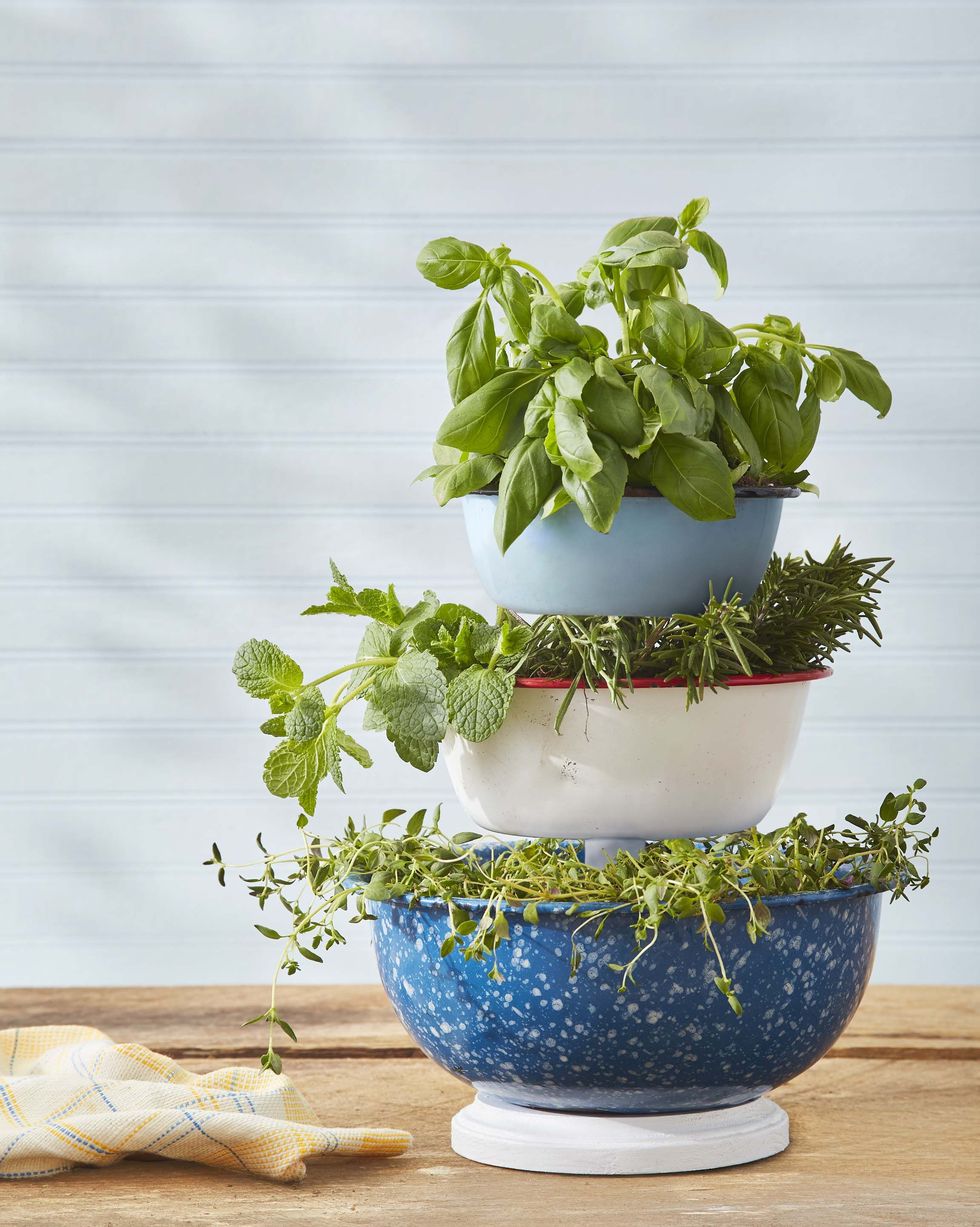
10Tiered Enamelware Plant Stand
 Becky Stayner
Pot herbs or display garden pickings in this whimsical stand that's crafted from vintage or new bowls.
To make: Gather three bowls in descending sizes, plus a 1-inch dowel cut in two (lengths will depend on desired height) and a round wood plaque, both painted white. Set the largest bowl on the plaque and drill upwards through the center of both and into one length of dowel; screw together. Drill holes into the dowel’s top, one end of the second dowel, and up through the center of the middle bowl; use a double-ended screw to connect. Lastly, drill a hole into that dowel’s top and through the small bowl, holding the bowl in place on the dowel with a screw.
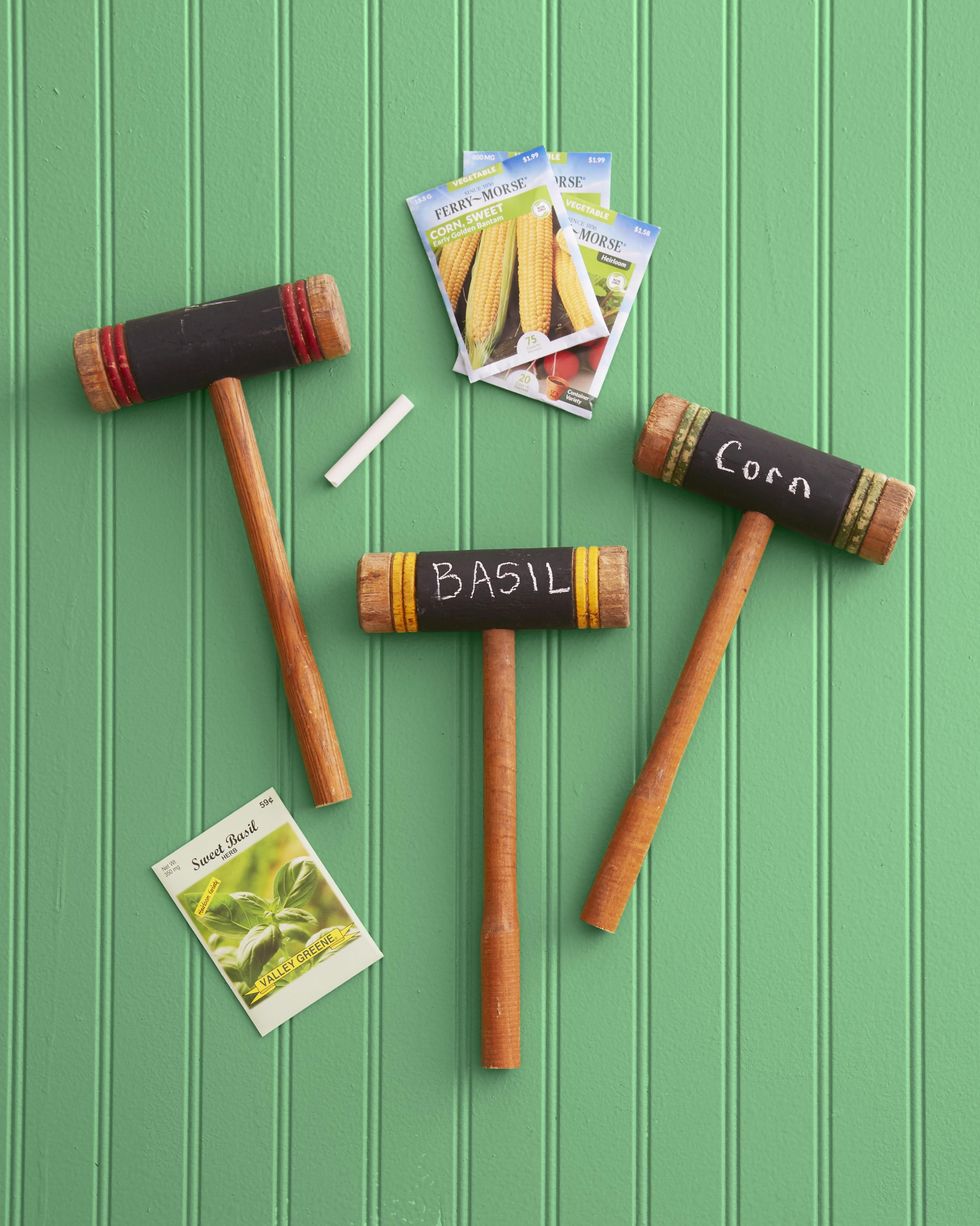
11Croquet Mallet Garden Markers
 Becky Stayner
Decorate the garden and keep it organized with garden identifiers made from shortened croquet mallets.
To make: Trim the handles of croquet mallets to about 10 inches long. Paint centers of mallet heads with black Annie Sloan Chalk Paint®. Once dry, write vegetable or flower names on painted areas with chalk, and place in garden.
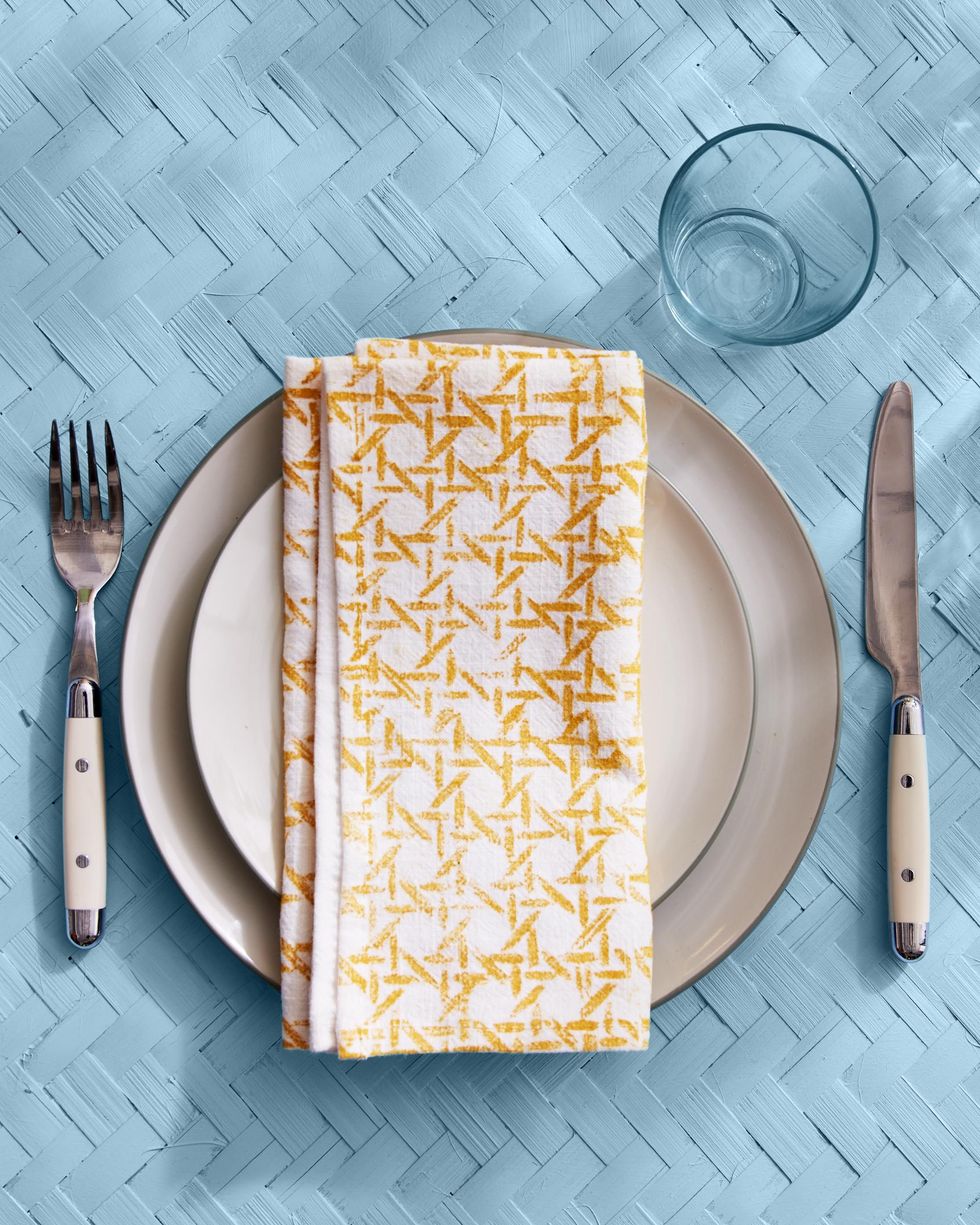
12Hand-Stamped Cane Napkins
 Becky Stayner
Napkins are often the focal point of a nice table setting and these cane webbing printed linen napkins will not disappoint in that department.
To make: Create a stamp by cutting out a four-inch square of
caning. Brush fabric paint on the front side of the caning, and press caning on an off-white linen napkin. Repeat, lining up the pattern as best you can, until one side of a napkin is fully covered.
SHOP CANE WEBBING
Advertisement - Continue Reading Below
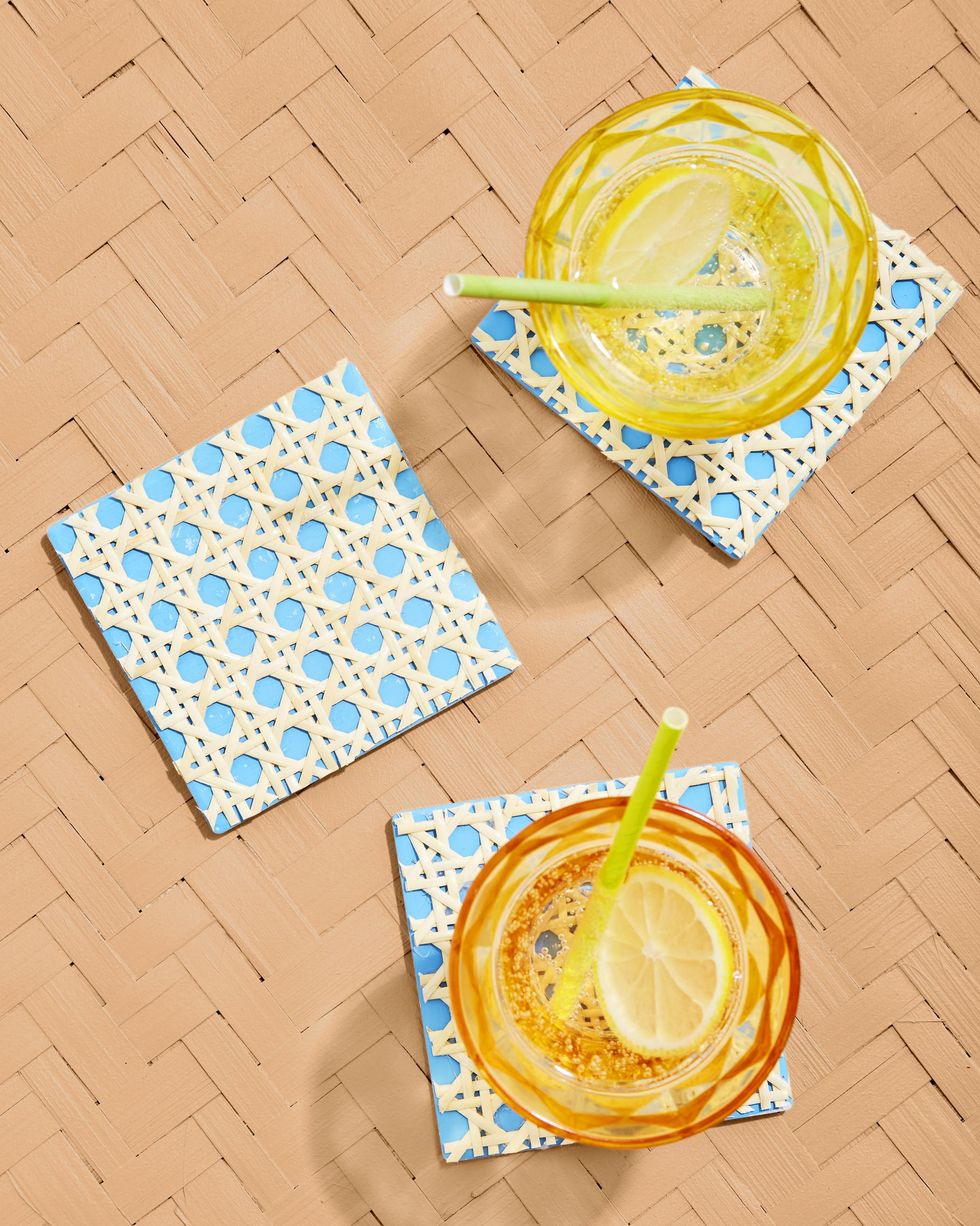
13DIY Cane Coasters
 Becky Stayner
Bright and cheerful like a day next to the pool with a cool drink in hand, these cane covered coasters take only as much effort to make as it takes to get a few more cubes of ice and splash of soda.
To make: Paint unglazed ceramic coasters desired color. Cut pieces of caning that are just larger than the coasters. Spray the backs of the caning with adhesive spray, such as Super 77, then attach
to the coasters, pressing to adhere. Trim excess caning with scissors.
SHOP COASTERS
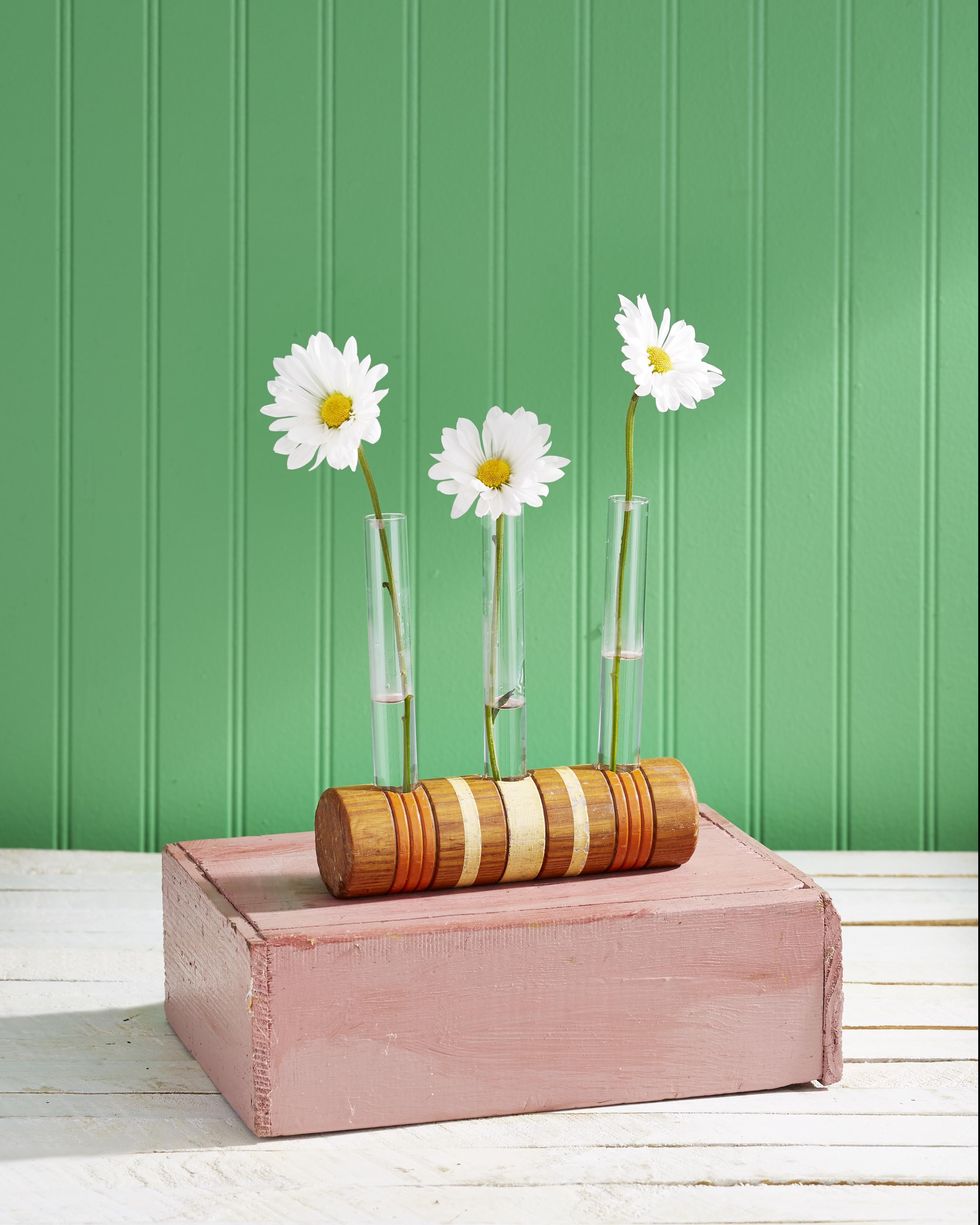
14Croquet Mallet Bud Vase
 Becky Stayner
Display summer blooms in a cute bud vase crafted from the head of a croquet mallet.
To make: Remove the handle of a mallet. Drill a 3/4-inch hole on either side of the original hole, spacing evenly. Plane the underneath of the mallet, or adhere self-adhesive rubber dots, to keep it from rolling. Place a glass test tube in each hole, and fill with water. Add flowers.
SHOP TEST TUBES
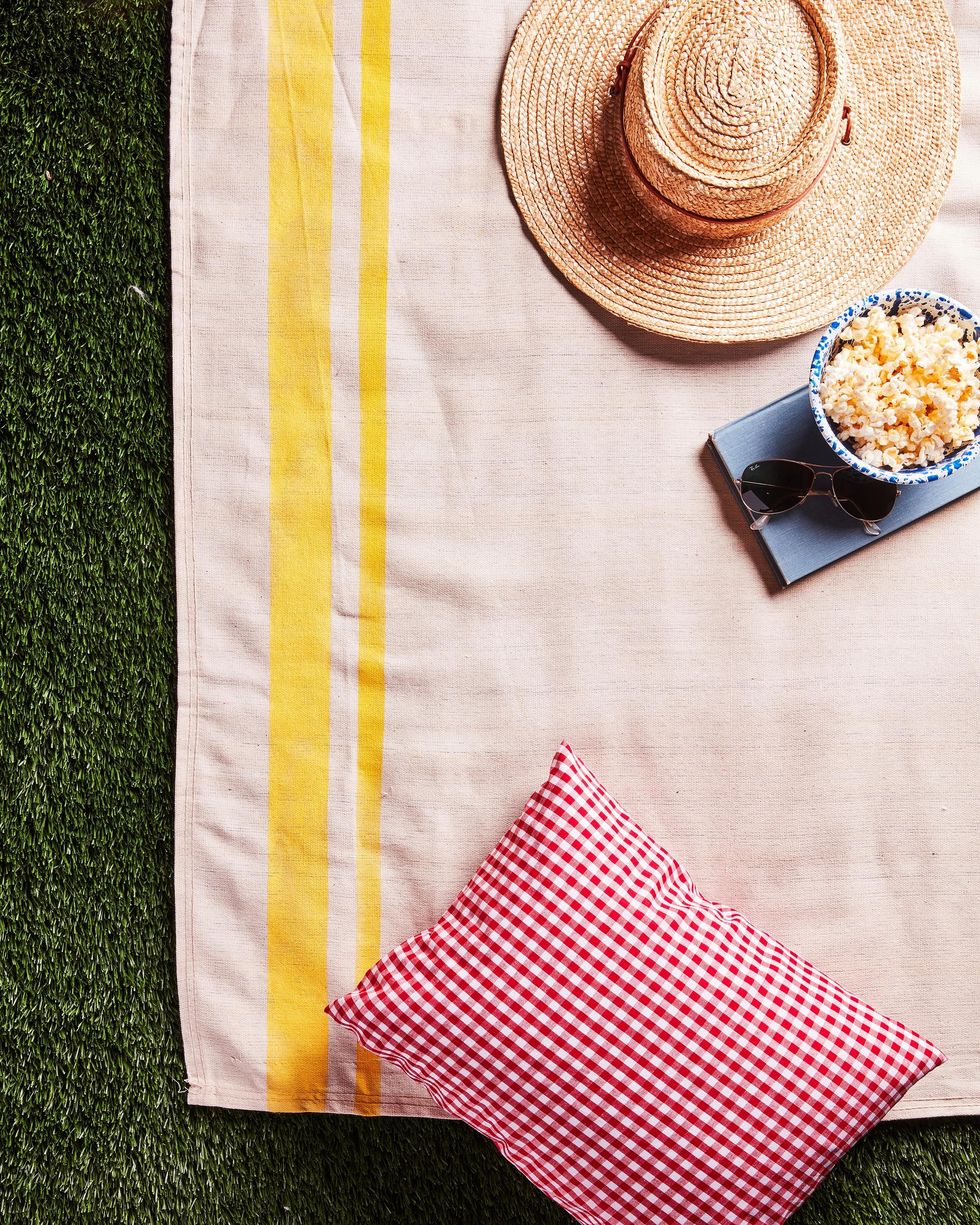
15Drop Cloth Picnic Blanket
 Ian Palmer
You only need a few easy-to-find supplies to make this snazzy picnic blanket.
To make: Wash and iron a desired size hardware store canvas drop cloth. Use fabric paint (or mix fabric paint fixative with acrylic paint per package directions). Tape off desired pattern with painter's tape and paint drop cloth. Allow to dry and head outside.
SHOP DROP CLOTHS
Advertisement - Continue Reading Below
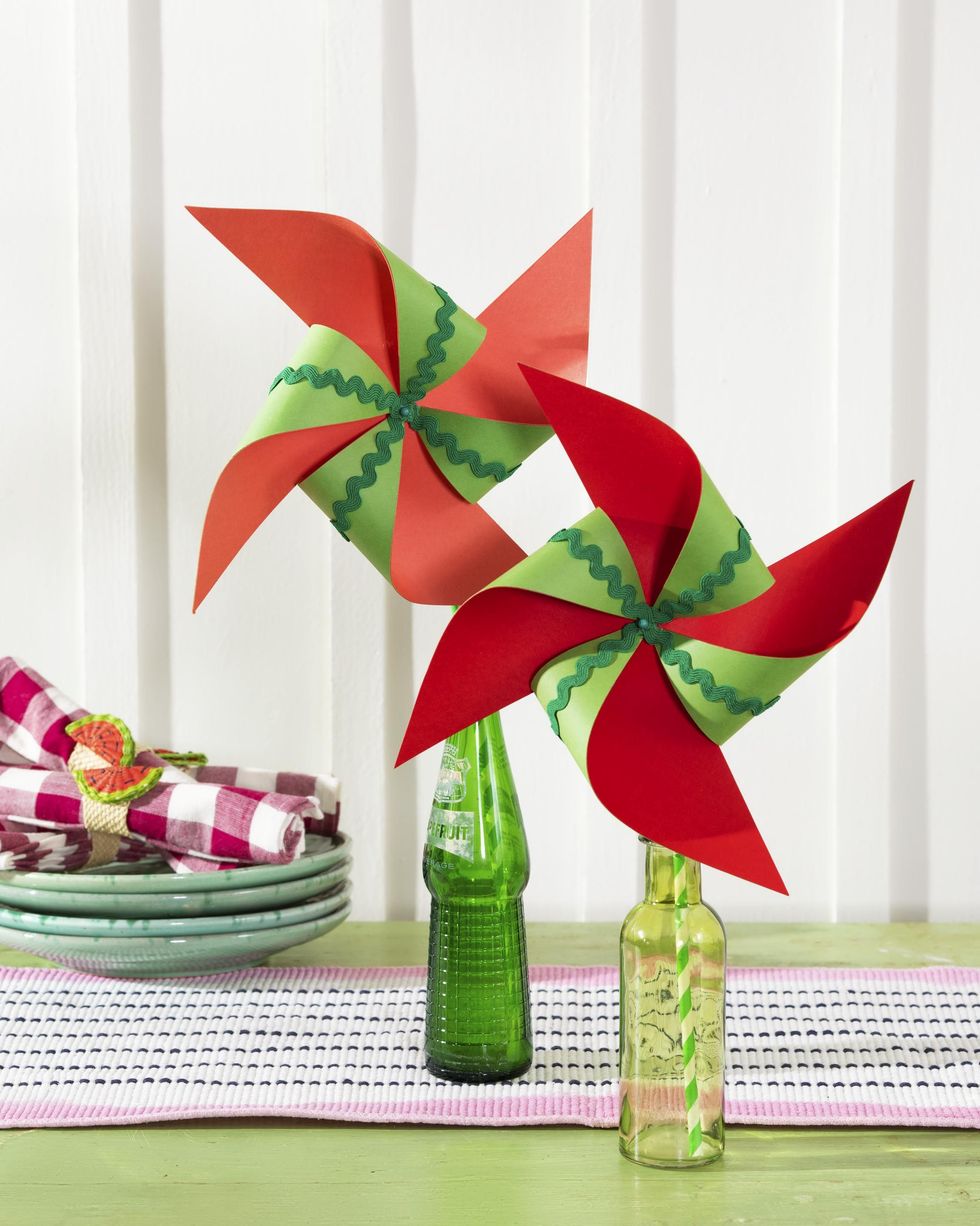
16Paper Watermelon Pinwheels
 William Dickey
Celebrate summer's iconic fruit by crafting these paper pinwheels with rickrack stripes. Send the kids out back to scurry around the yard with sticky watermelon fingers and toys in hand.
To make: Cut two sheets of stacked red and green paper into 8 1/2-inch squares, then cut four slits into each from corners toward center. Fold every other point in toward the center; glue in place. Attach rickrack, then secure to straws with pins.
SHOP CRAFT PAPER
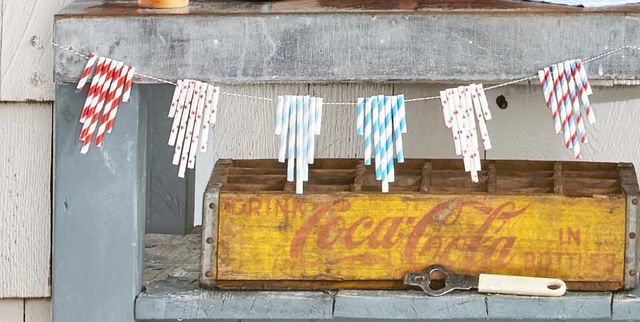
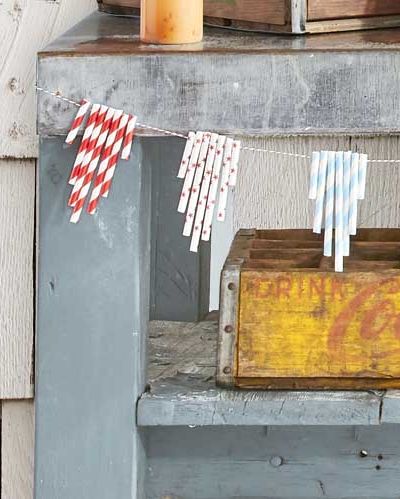
17Paper Straw Garland
 Brian Woodcock
Take the festive vibe from 1 to 100 by embellishing your buffet or bar with this simple paper straw garland. Cut lengths of straws and thread onto a length of bakers twine.
SHOP PAPER STRAWS
18Moon Print Napkin and Place Card
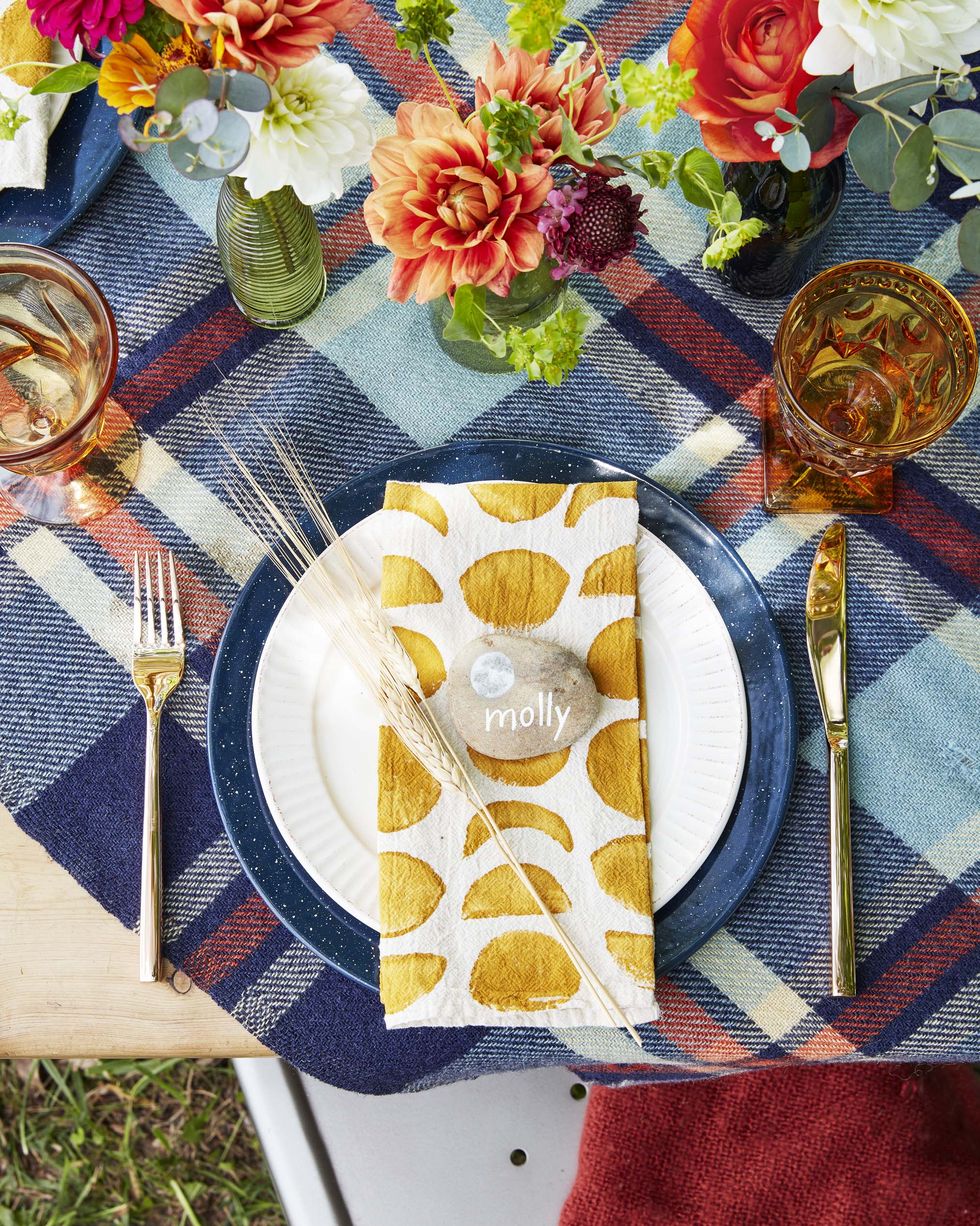 Brian Woodcock
Create custom table settings for your mid-summer full moon party. Cut several shapes of the different phases of the moon from potatoes. Print on flour-sack towels using fabric paint. Use paint pens to draw a moon and guests name on a river rock.
SHOP FLOUR-SACK TOWELS
Advertisement - Continue Reading Below
19Tiered Stand
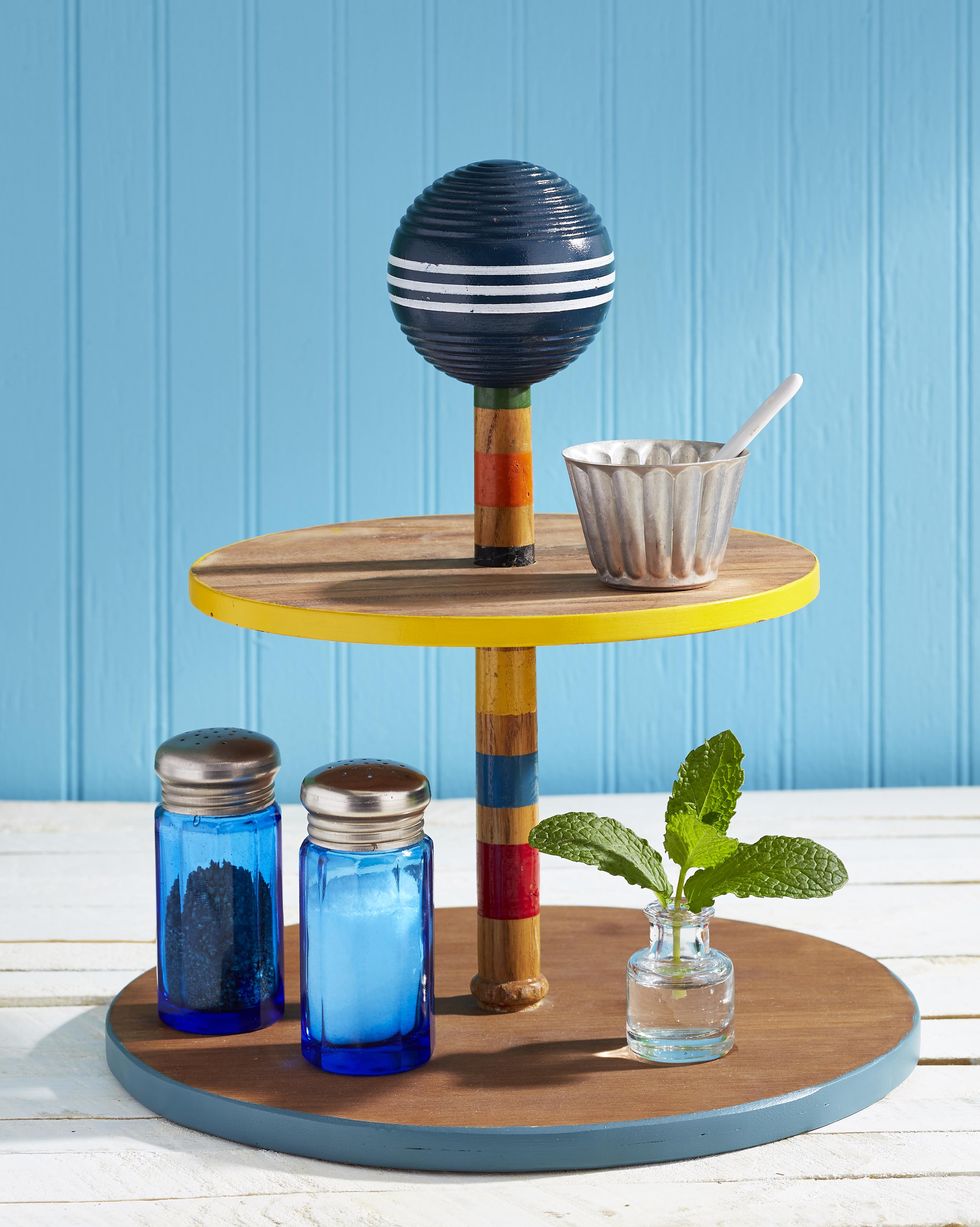 Becky Stayner
Carry BBQ condiments to the picnic table on a colorful tiered stand crafted from parts of a croquet set and wood rounds.
To make: Drill 1-inch holes in the center of one 9- and one 12-inch wood round or cutting board. Stain rounds and paint edges desired color. Using a saw, cut a mallet handle to desired length, slip through the holes, then glue in place. Drill a 1-inch hole in a croquet ball and glue to the top.
20Paint Can Bottle Opener
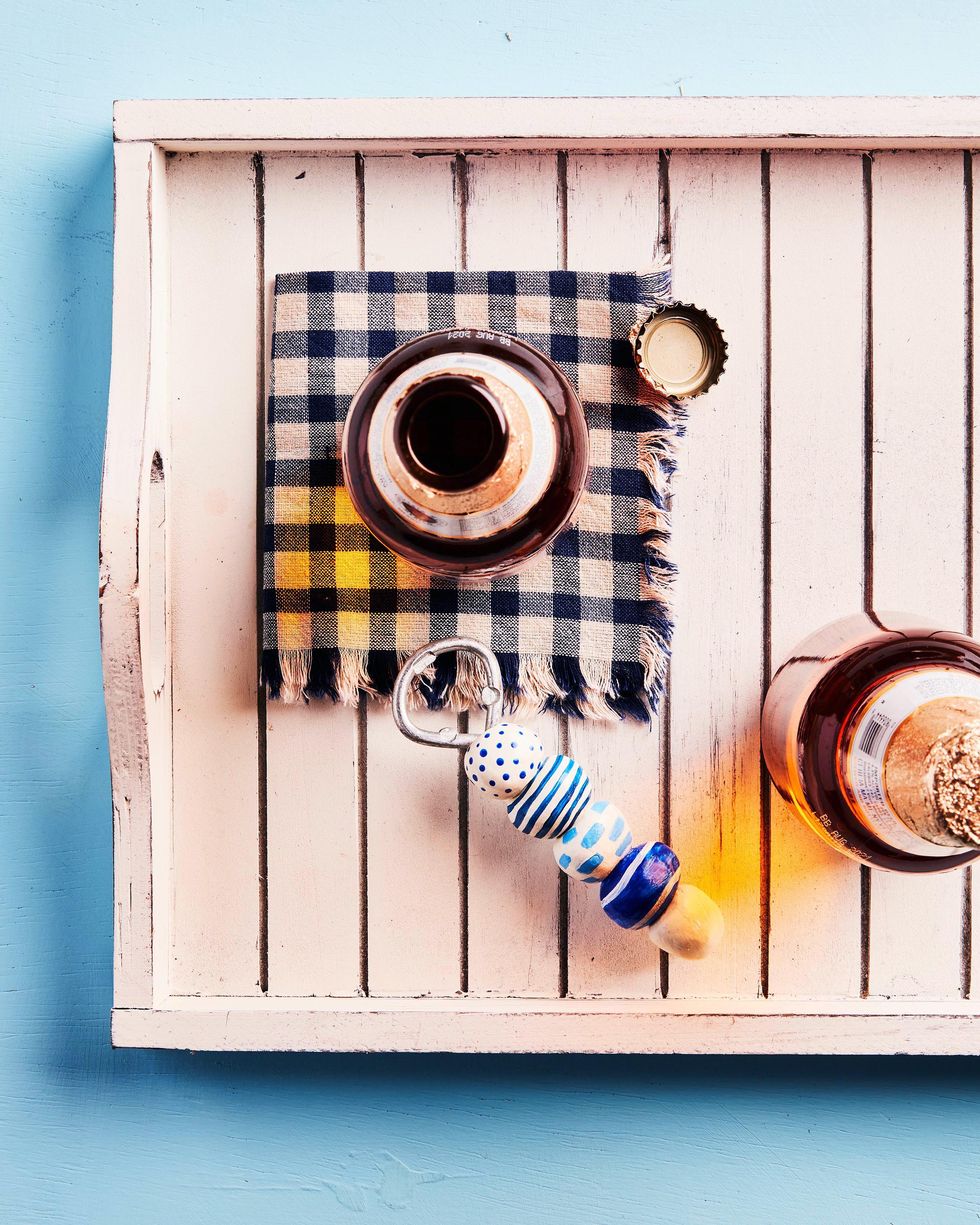 Ian Plamer
You may already have the tool—a paint can opener—needed to create this craft laying around the house. If not, a quick trip to the local hardware and craft store will get you set up!
To make: Wrap the stick part of a hardware store paint can opener with oven-bake clay, forming the clay into desired shape. Bake according to the package directions. Once cool, paint clay with acrylic paint. Once dry seal with satin finish Mod Podge.
SHOP OVEN-BAKE CLAY

Charlyne Mattox is Food and Crafts Director for Country Living.
Advertisement - Continue Reading Below
Advertisement - Continue Reading Below
Advertisement - Continue Reading Below


