Azure Learning #3 Using Azure Database Migration Assistant
The purpose of writing this blog is to explain the difference in behavior when you assess a database and migrate a database using DMA
With the assessment option you can select an On-Premise Source Server and Target Server to be Azure DB, SQL server on Azure VM or On-premise SQL Server
With the migration option you can select an On-Premise Source Server an SQL server on Azure VM or On-premise SQL Server
Step 1 : Launch the agent
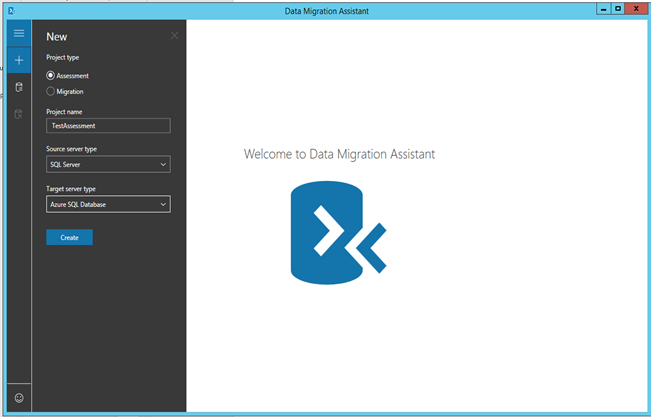
Assessment Option
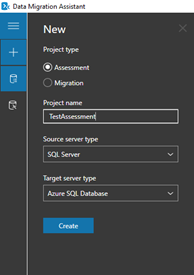
Step 2: Enter project details
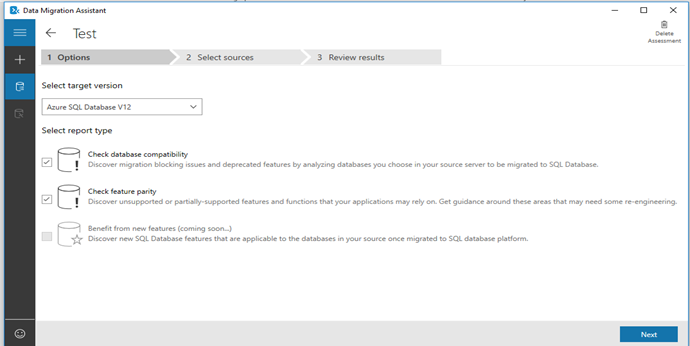
Step 3: Select options for assessment
Check Database Compatibility
Will check for unsupported and deprecated features which stop you from generating a bacpac and importing it to Azure
Check Feature Parity
Will again check unsupported or partially-supported features. The feature this utility discover may not block your migration but may create problems after you have migrated your database. Thus needing design changes or re-engineering
Step 4: Enter source connection details

The wizard will try to connect
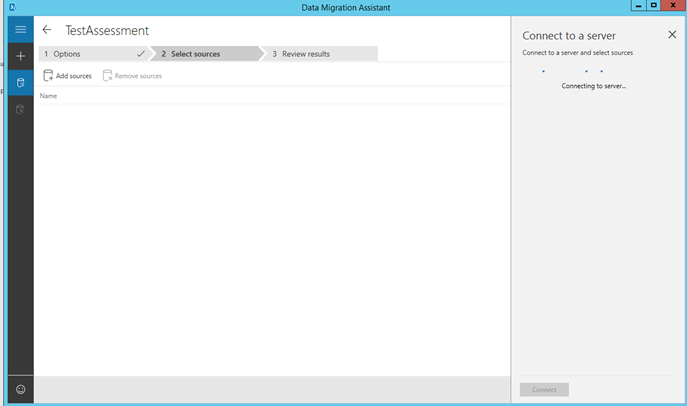
Step 5: Select the source database
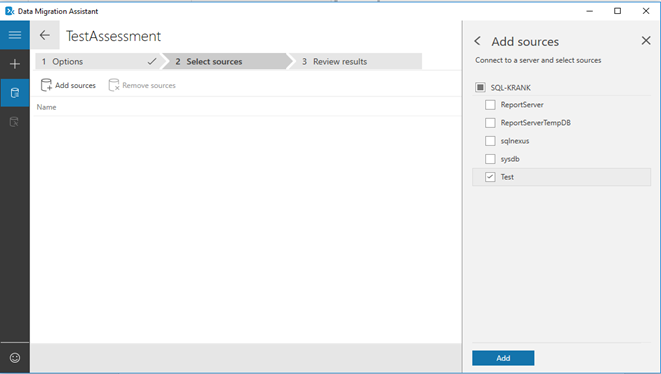
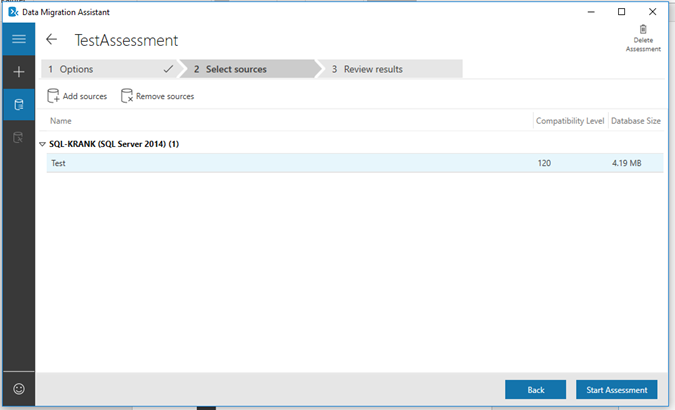
Step 6: Assessment progresses
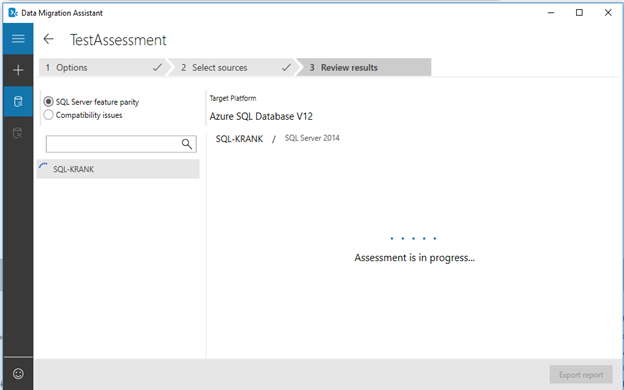
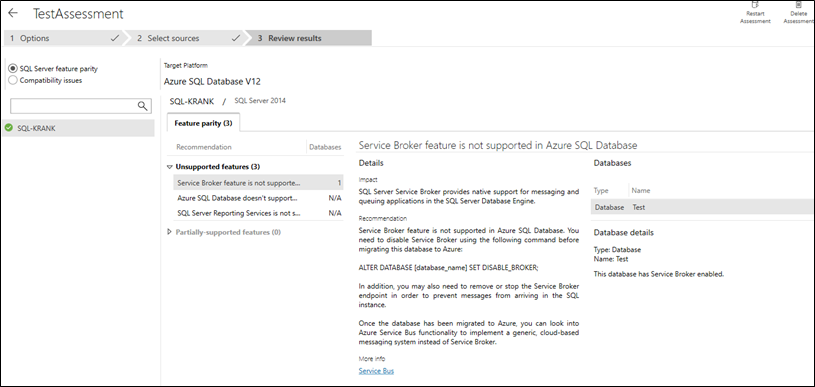
Step 7: Understanding assessment
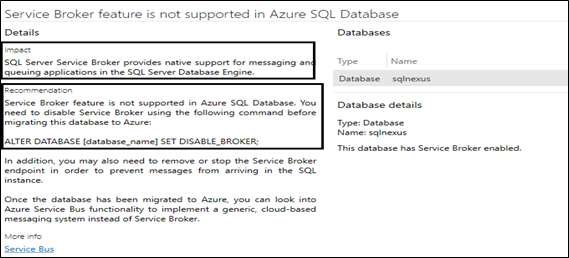
The wizard will segregate the features to unsupported and partially unsupported sections as follows
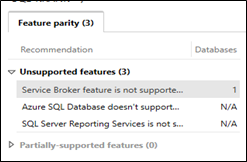
When you select each feature it will give you details as to the impact of using the functionality and the recommendations to fix the errors
Same applies to partially supported features. Its important to note that the wizard will not implement the recommendation scripts for you. Rather you need to evaluate the same and modify your database accordingly to make the database compatible.
Final screen
Migration Option
Step 2: Enter the project details
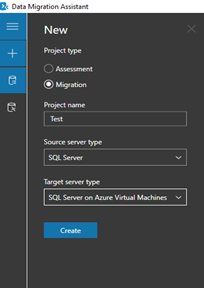
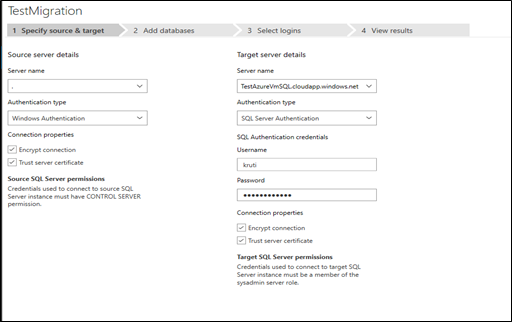
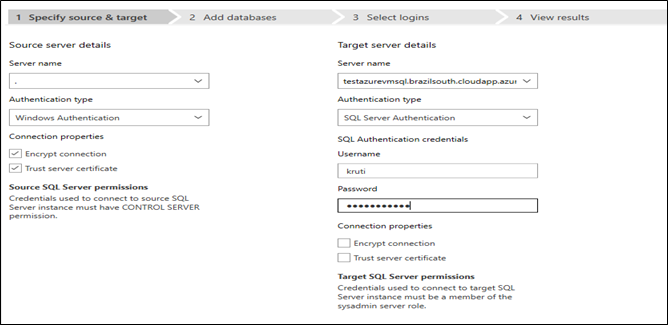
Step 3: Select the source and target server details
If the details are entered incorrectly you will receive the below notification

Click on the "Read More" button to validate and fix the connection errors
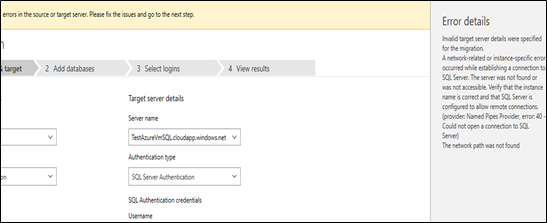
You will keep running into error if you haven't configured the following for the SQL server instance on Azure VM
- DNS name for the Azure VM

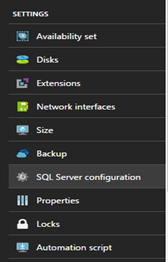
- Not enabled SQL server configuration via portal
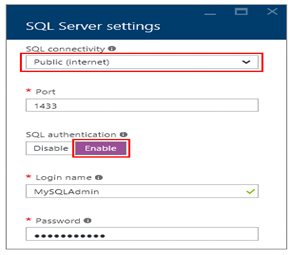
- Not enabled connection on TCP port 1433 locally within the VM
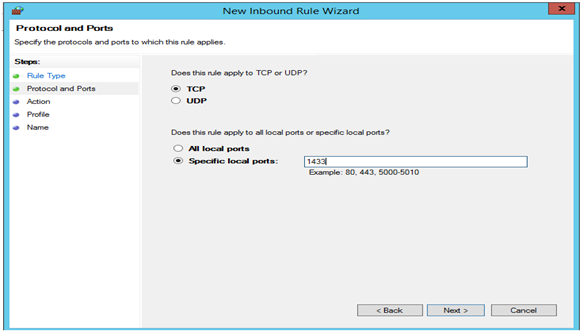
- Ensure you have following link /en-us/azure/virtual-machines/windows/sql/virtual-machines-windows-sql-connect accurately to allow connections from DMA to your SQL instance on Azure VM
- You may opt to uncheck the Encrypt connection and Trust server certificate option when connecting to the SQL Server on Azure VM
Step 4: Establish connection via DMA wizard as follows
Step 5: Select the database which you wish to migrate
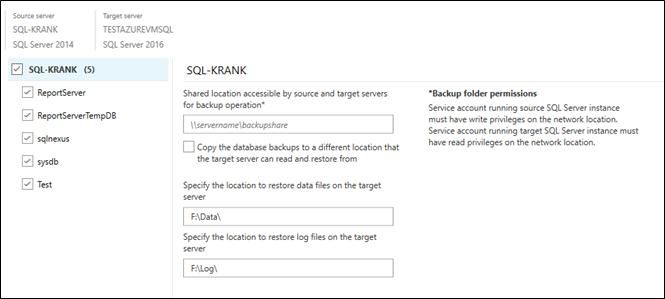
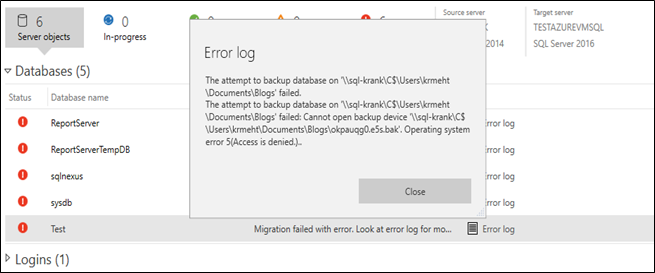
Ensure you have a shared location between the source and target servers for the backup operation
Step 6: Select the logins which you wish to migrate
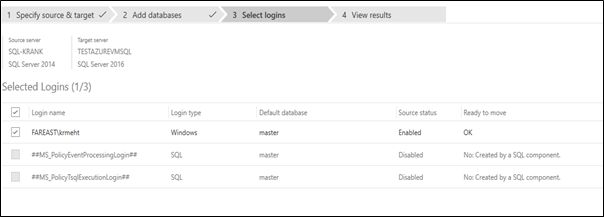
Step 7: Start migration by selecting the button provided in the right bottom corner

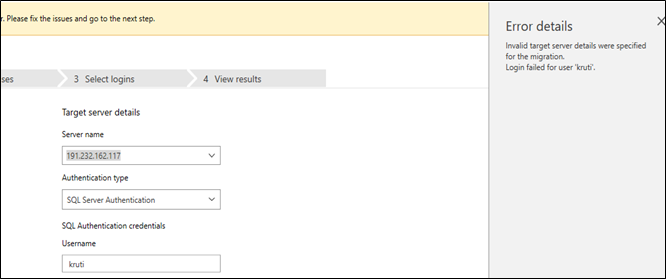
Step 8: Validate migration & fix the errors
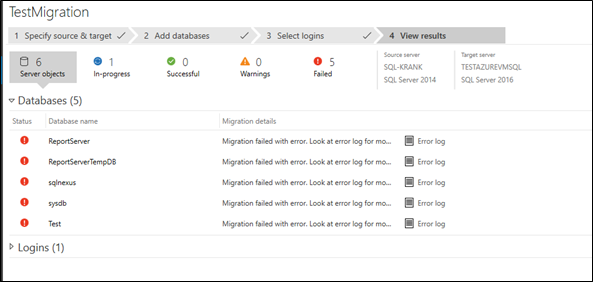
Just like performing assessment if you run into errors you will get the below screen
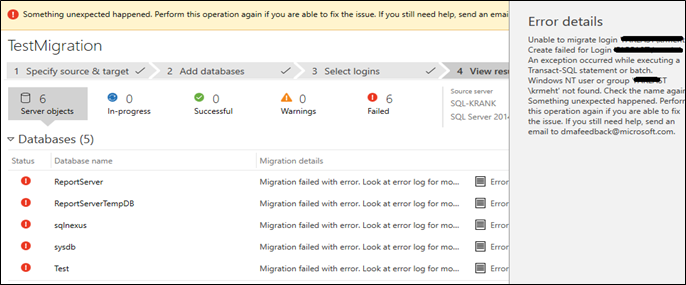
Select each error log for further information as to why the migration would fail and fix the errors
That's all for this blog for today folks. Hope this has given you start as to how to use this utility and get started.