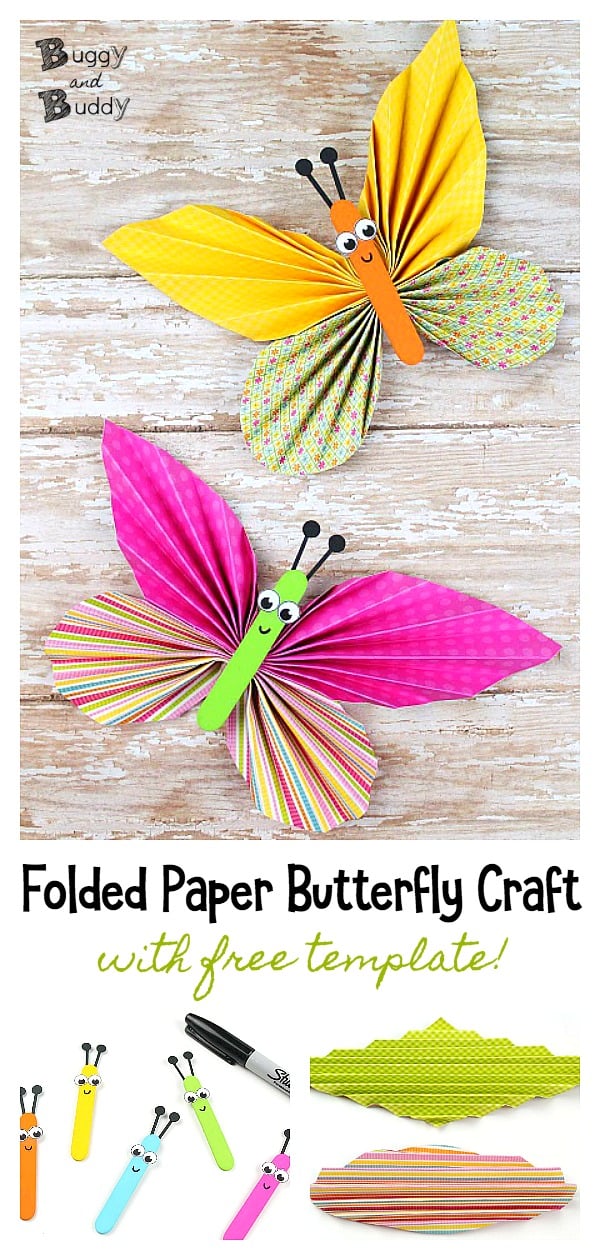
This folded paper butterfly craft is a really fun one to make! You’ll only need a few common craft supplies to create these colorful butterflies for spring or summer. They look so bright and cheery hanging up around your house or classroom!
This post contains affiliate links.
Aren’t these butterflies adorable? They are really easy to make and use the technique of accordion folding paper. For some reason my kids LOVE this method of folding paper back and forth, and it provides great fine motor practice too.
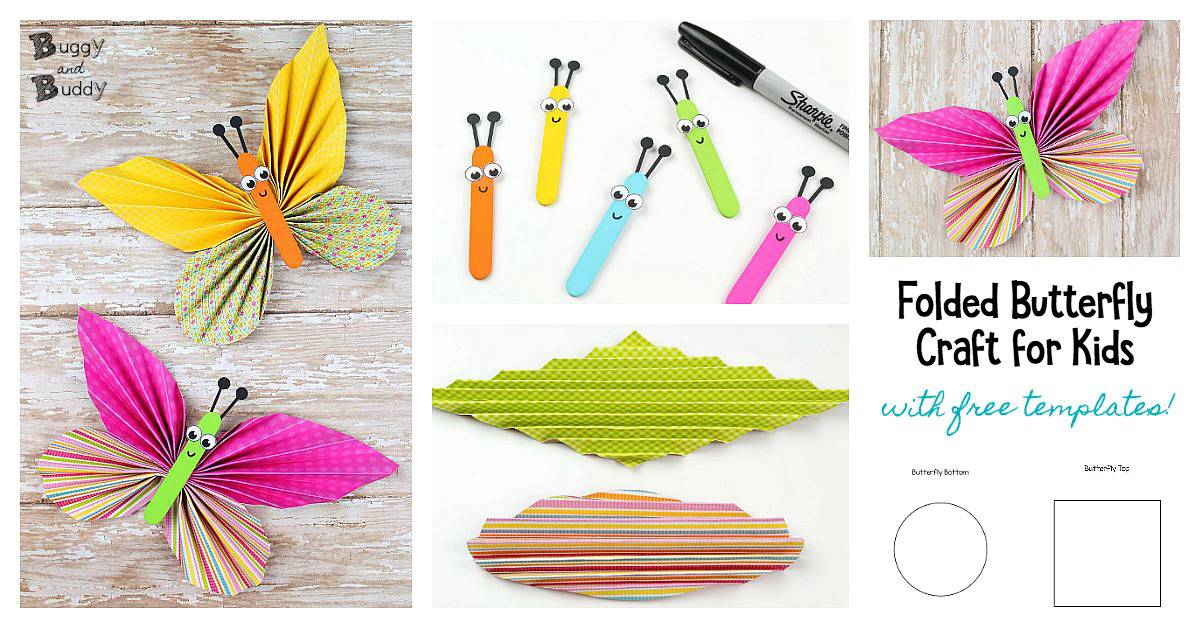
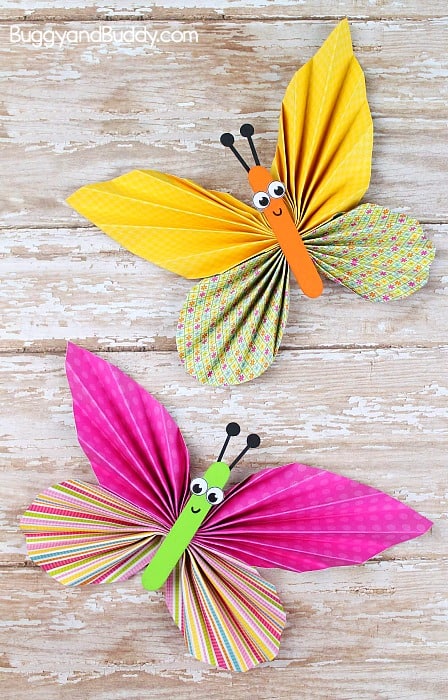
I also love how this craft allows for all different combinations of patterned scrapbooking paper, allowing for unlimited types of butterflies. You could even use regular construction paper or paper the kids have watercolored!

Folded Paper Butterfly Craft for Kids
Materials for Paper Butterfly Craft
- Scrapbooking paper (with designs similar to this set), construction paper or paper your child has painted with watercolors
- Black cardstock or construction paper
- Scissors
- Single whole punch (This one is amazing! It can cut through many sheets at once with very little effort.)
- Liquid glue
- Optional: Paints and paintbrush (These are our absolute favorite tempera paints.)
- Black marker
- Mini craft sticks
- Optional: Free Printable Templates
Directions for Folded Butterfly Craft
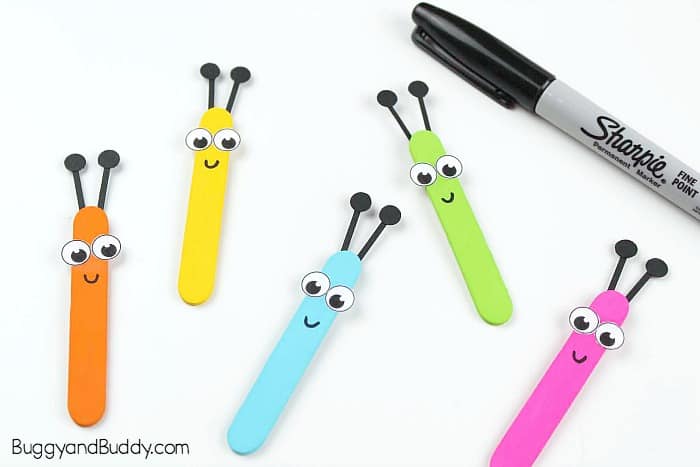
1. Optional: Paint mini popsicle or craft sticks with tempera or acrylic paint and allow them to dry completely. Or you can leave them unpainted. (You can also buy colored mini craft sticks.)

2. Cut thin strips of black cardstock or construction paper about 2 inches long for your antennae.
3. Use a single hole punch to cut out some circles from your black paper.
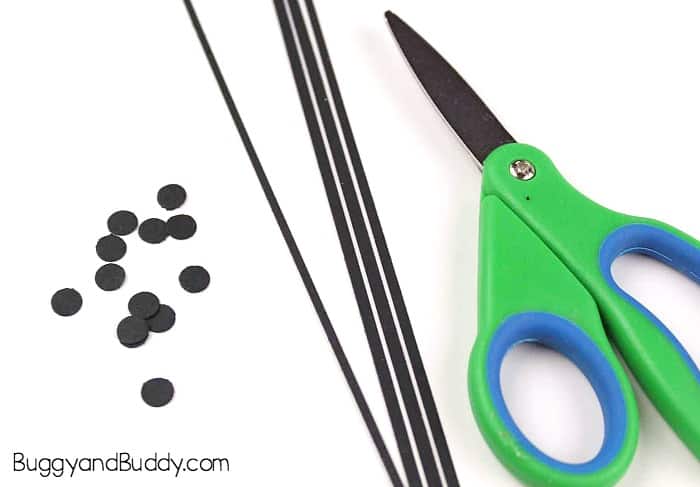
4. Glue the thin black strips onto the back of the popsicle sticks. Then glue a punched circle on top of each paper strip to form your antennae.
5. Cut out eyes from the eye template (or use googly eyes) and glue them onto each popsicle stick.
6. Use a black marker to add a smile onto your popsicle stick butterflies.
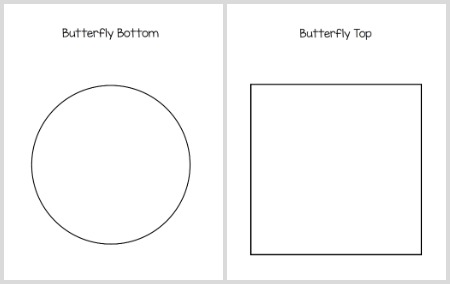
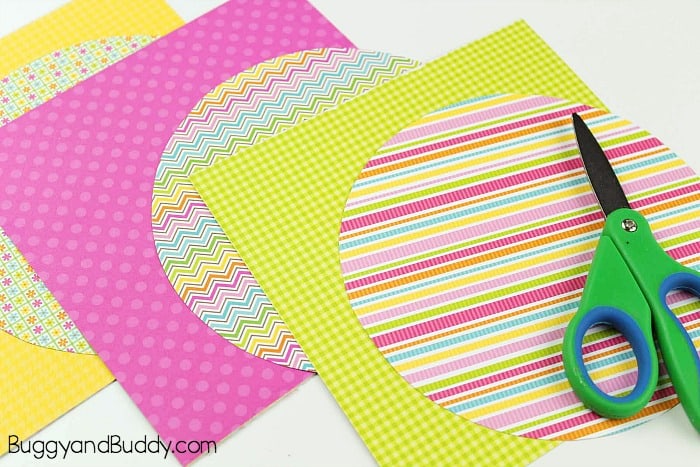
7. Now it’s time to create the wings using folded paper. You’ll need one square measuring 5 1/2 inches x 5 1/2 inches and one circle 5 inches across. (You can cut your own or print out the free top and bottom template.)
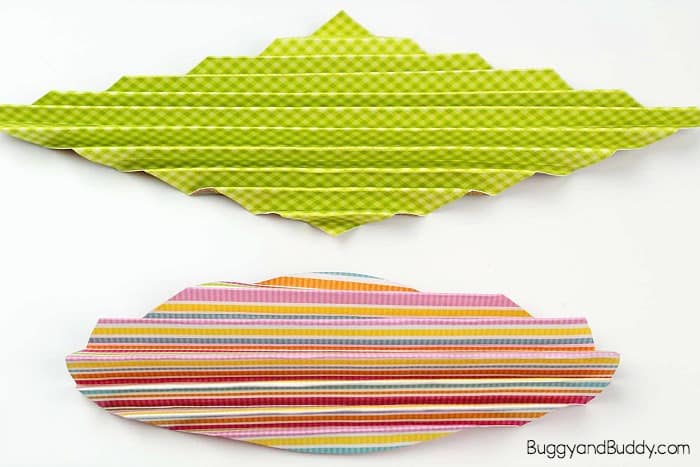
8. Place the square shape in front of you so it looks like a diamond, with a corner on top. Accordion fold the diamond shape, folding back and forth. This will be your top set of wings.
9. Do the same thing with your circle. This will be your bottom set of wings.
10. Glue the top and bottom together with liquid glue or a hot glue gun. You can even wrap a rubber band around the center to hold them in place.
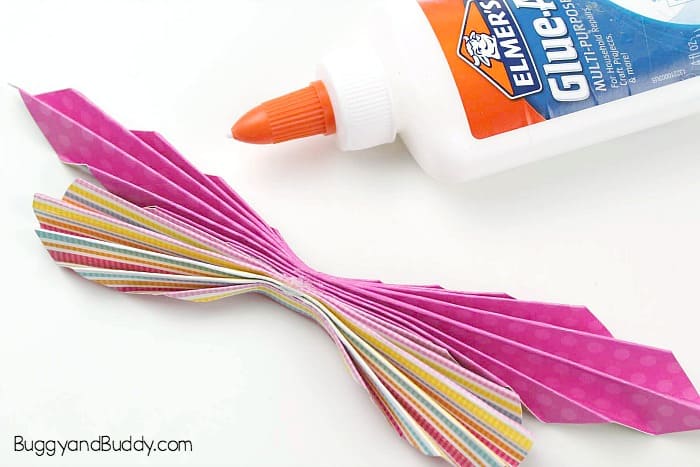
11. Fan out the wings once the glue is dry.
12. Glue the popsicle sticks into the middle of the wings.
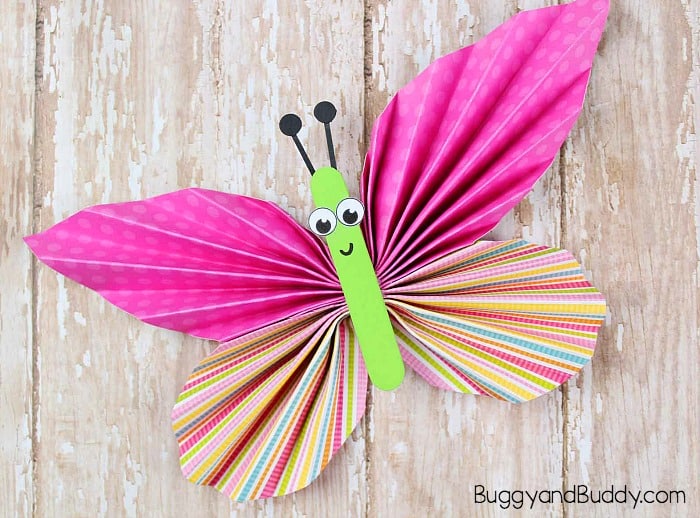
Your colorful, paper butterflies are finished! So pretty!
Other Ideas
- Try using other shapes to make your butterfly. How do the wings look when folded?
- Have old artwork or drawings made by the kids? Invite them to use those papers to create the wings for a unique look.
- You can make these butterflies even smaller and glue them onto the front of a folded piece of cardstock to create a greeting card or birthday card.