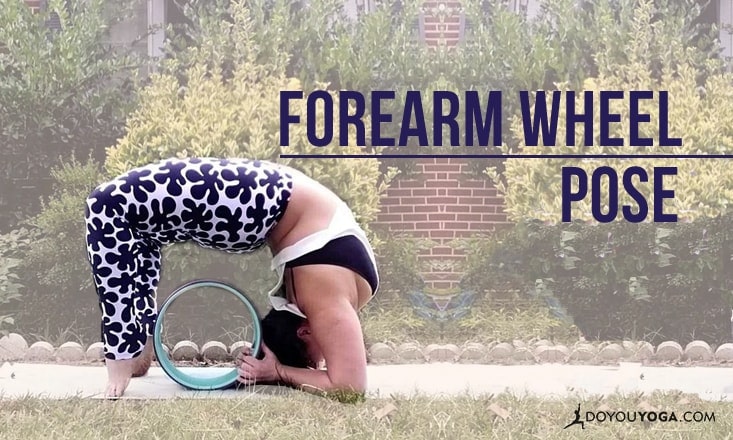
Forearm Wheel pose is a deep backbend, and for most of us, it can take time to feel good in it. The wait and effort you put in will be worth it though, because the pose offers pretty huge benefits. The deep opening through the frontal hips, belly, chest, shoulders, and thighs is thorough and delicious, and this shape also strengthens the shoulders and spinal muscles. Plus, taking a backbend like this one can open your lungs and even entice more courage.
Working towards getting comfortable in this posture will take time, but there are a few steps you can take to get a little closer to that goal. Just keep it safe and go slow!
Step One: Warm Up
Remember to have patience with your body and always warm up with Sun Salutes and core work before you do any backbends. To warm up for a deep backbend, do a few rounds of Locust and Bridge pose. For Forearm Wheel, you may want to utilize a few rounds of Camel and Dolphin Pose as well.
Step Two: Foundations
Come into a strong Wheel Pose and remember to embody the foundations of the pose; keep your feet parallel, press your thighs and elbows towards each other, press equally into all four limbs. Take these foundations with you as you move closer to Forearm Wheel so that you stay safe.
Step Three: Work On Your Stance
Lower your head back to the floor and shorten your stance by stepping your feet closer to your hands (you can also stand on your toes). Lift up through your hips, squeezing your shoulder blades towards each other and press your thighs to the centerline of your body.
Step Four: Lower the Arms
Take this step very slowly. Lower one forearm at a time to the mat. Keep checking in with yourself and if it is too intense on your shoulders or back, then stay on just one forearm until your body has opened up a little more.
Once you get both forearms on the ground you could interlace your hands around your head or flatten your palms out on the floor, depending on the level of rotation you have in your forearms at this time. Again, don’t rush that process—your body will open up at its own pace.
Step Five: Lift
As you get stronger, begin to lift your head up by pressing your elbows into the mat and towards each other.
Step Six. Gaze:
Look towards your hands or feet. Start with a 3-breath hold. When that feels good, add more time to your hold.
To exit, reverse the process step by step. Lower your head, replace the hands, and come back to Wheel. From Wheel, lower down to Bridge and then into a Reclined Twist before you counter the backbend.
Taking your practice deeper can be exhilarating, and learning a new posture or discovering that your body is opening up to go deeper in an old favorite is a wonderful feeling. But remember: none of this yoga stuff is ever about completing a pose—it’s about what you learn about yourself and your body as you journey towards a shape. Have patience and enjoy the ride!
Image credit: Brittany Danielle