Recently, I was working with a customer who was developing an application on Windows (developer) machines and was planning to deploy to a (production) cluster of WebLogic Servers running on Solaris, with a hardware load balancer. In order to do some functional, load and availability testing of the application before deploying it into production, they needed to set up a cluster in their test environment, but they did not have access to a hardware load balancer in the test environment.
This is a common scenario for many development projects. There are a number of good options available to set up a software load balancer in the test environment. In this post, we will explore one such option – using the HTTP Cluster Servlet that is included with WebLogic Server.
In this post, we are using 64-bit WebLogic Server 10.3.3 running on 64-bit JRockit 1.6.0 on 64-bit Ubuntu 10.10. We also use Maven 2.2.1 in this post. The use of Maven is incidental to the purpose of the post, but since we use it often, we have included it here. If you don’t use Maven, you can just create the necessary files in the correct directory structure and manually create your WAR files.
Thanks to Sushil Shukla and Robert Patrick for assistance in preparing this post.
We start with a freshly installed WebLogic Server 10.3.3. Our first step is to create a WebLogic domain. Our domain is going to contain four servers.
- Firstly, the AdminServer which is used to run the administration console and to manage deployments and so on.
- Secondly, we will run two managed servers that will run our web application. These two servers will be clustered.
- Thirdly, we will run another managed server which will be our load balancer. This managed server will not be part of the cluster.
- Finally, we will use the Node Manager to start and stop all of our servers.
Let’s use the WebLogic Domain Configuration tool to create our domain:
$ cd ~/Oracle/Middleware/wlserver_10.3/common/bin
$ ./config.sh
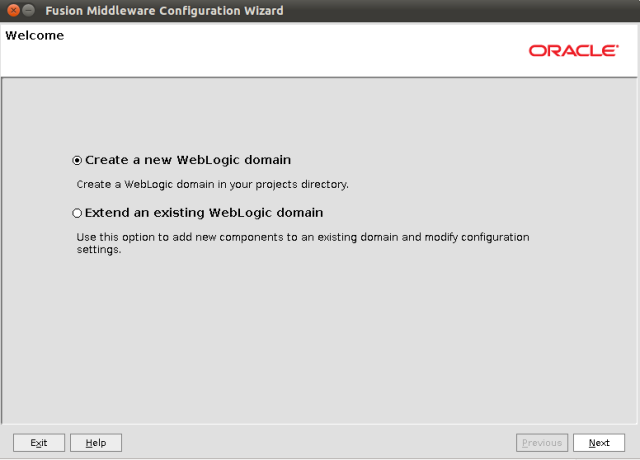
After a few moments, the Configuration Wizard will appear. Select the option to Create a new WebLogic domain and click on Next.
For this example, we don’t need to select any of the options on the Select Domain Source page, we can just click on Next to continue.
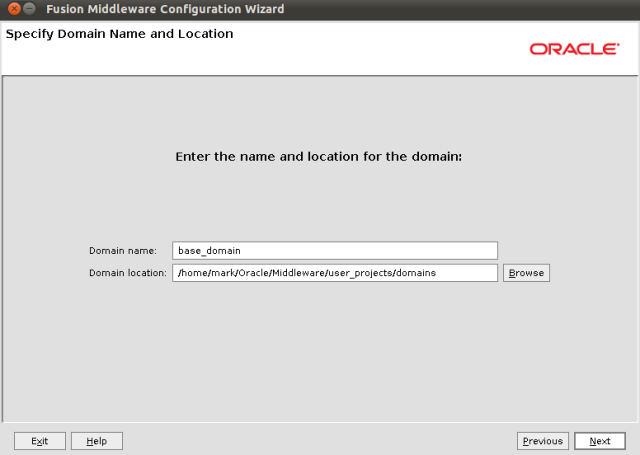
On the Specify Domain Name and Location screen, we provide a name for our domain. I took the default, base_domain, and clicked on Next.
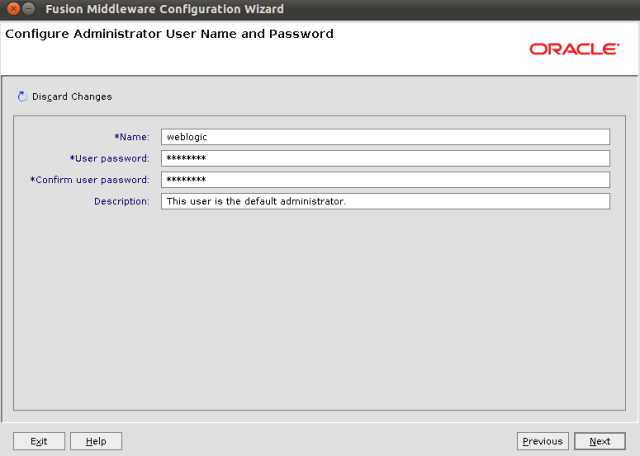
Now, we provide the password for the weblogic administrative user. Then click on Next. You will need to remember this password.
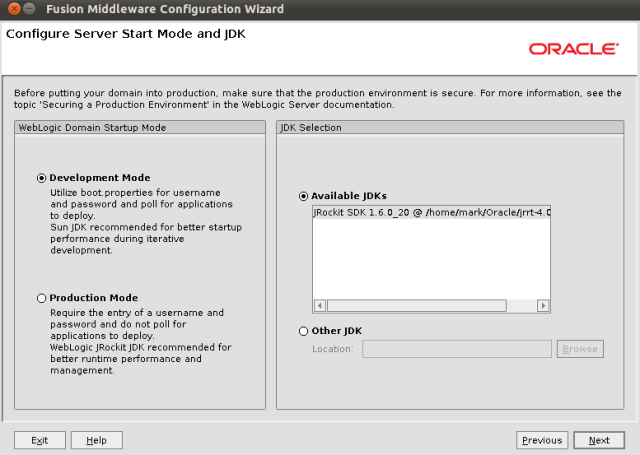
For our example, we can leave the servers on Development Mode. Choose your JDK, we use and recommend JRockit for 64-bit Linux environments, and click on Next.
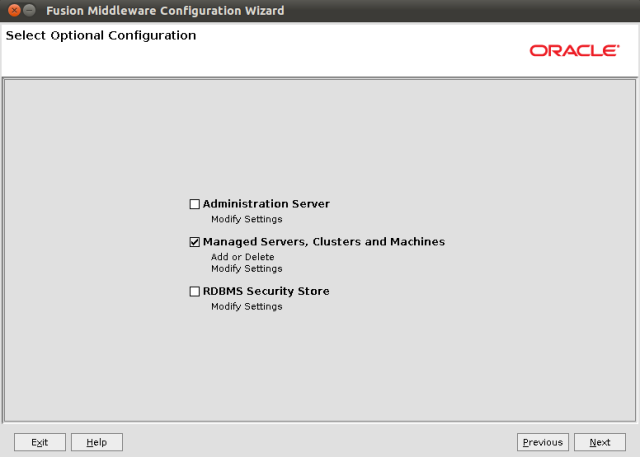
On the Select Optional Configuration page, we need to tick the checkbox for Managed Servers, Clusters and Machines. This will cause the configuration wizard to display some extra screens so we can set up our servers and clusters. Click on Next to continue.
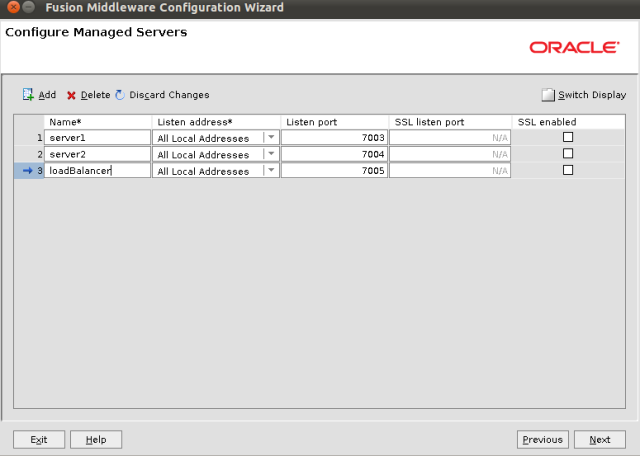
On the Configure Managed Servers page, click on the Add button three times to create three managed servers. Enter names for the servers, as shown below. I called mine server1, server2 and loadBalancer. Note the listen ports that are assigned to each server. We will need to know these later on. Click on Next when you are ready to continue.
On the Configure Clusters page, click on the Add button to add a cluster, and give it a name. I called mine cluster1. Then click on Next to continue.
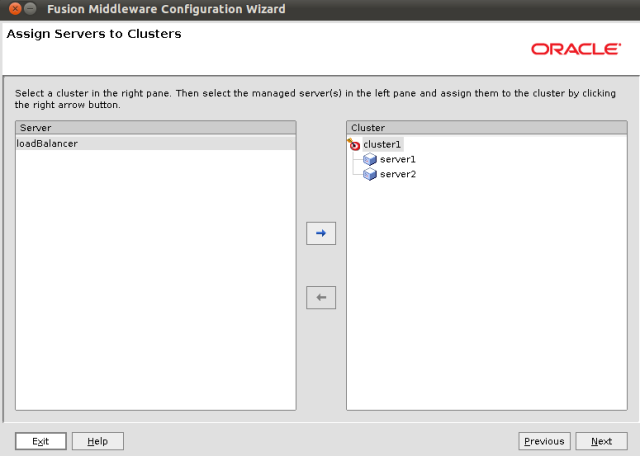
On the Assign Servers to Clusters page, highlight server1 and server2 and add each of them to cluster1 using the right arrow button. When you are done, your screen should like like the image below. Note that the loadBalancer server has not beed added to the cluster. Click Next when your are ready.
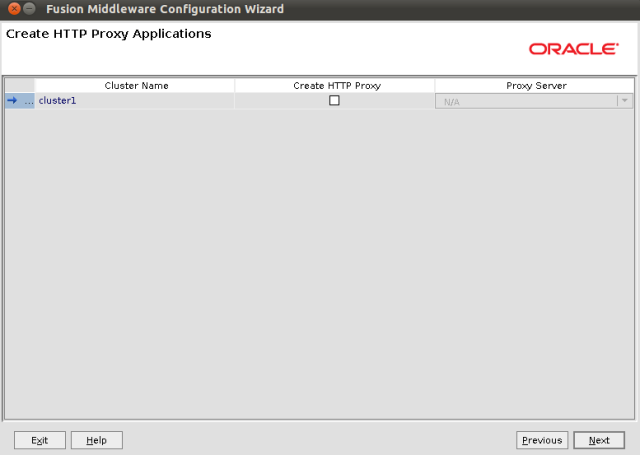
In this example, we are going to just click Next on the Crate HTTP Proxy Applications screen.
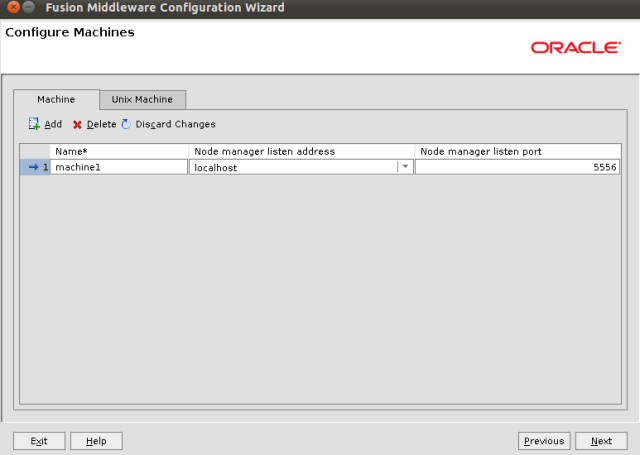
On the Configure Machines page, click on the Add button to add a new machine and give it a name. I called mine machine1. The “machine” in WebLogic terms represents a single physical (or virtual) machine where one or more managed servers will run. There is a special process, called the Node Manager, that runs on each machine and allows us to start and stop managed servers from the administration console without needing to log on the actual machine. Click on Next to continue.
On the Assign Servers to Machines page, add all four servers to machine1. In our example, we have everything running on the same machine. It is also possible to use multiple machines if you have them available. In that case, just define however many machines you have, run the Node Manager on each one (we will come to this later), and assign your managed servers to whichever machine you want them to run on. Click on Next to continue.
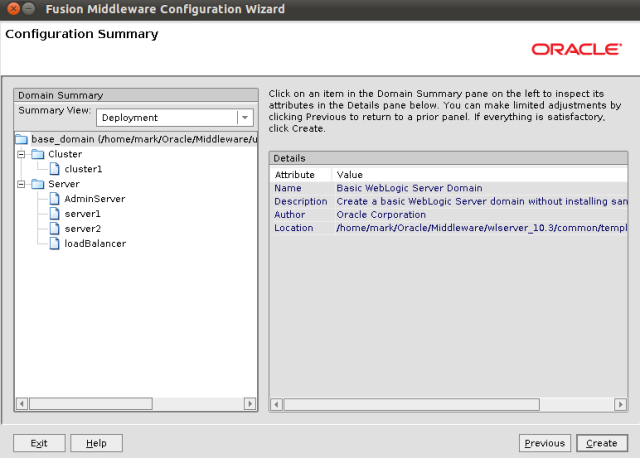
The Configuration Summary is displayed. Click on Create to create your domain.
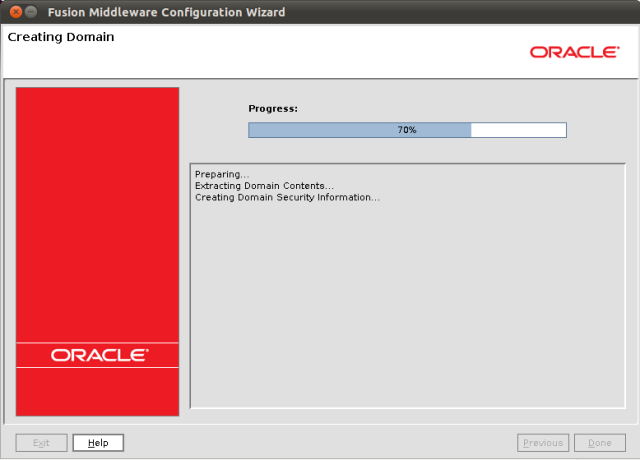
While the domain is being created, you can watch the progress.
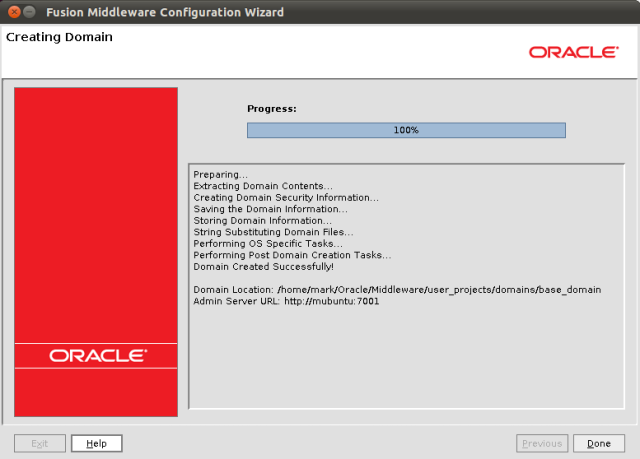
After a few moments (or minutes, depending on your machine) the domain creation will be completed. Click on Done to close the wizard.
Now we can start up the Node Manager, which we will use to start and stop our managed servers.
$ cd ~/Oracle/Middleware/wlserver_10.3/server/bin
$ ./startNodeManager.sh
After a few moments, the log will show some messages to let us know that the Node Manager is running:
<20/12/2010 8:26:15 AM> <INFO> <Secure socket listener started on port 5556>
20/12/2010 8:26:15 AM weblogic.nodemanager.server.SSLListener run
INFO: Secure socket listener started on port 5556
Now we can start the AdminServer. In another terminal window, execute these commands:
$ cd ~/Oracle/Middleware/user_projects/domains/base_domain
$ ./startWebLogic.sh
After a minute or two, the log will show us some messages to let us know that the AdminServer has started:
<20/12/2010 8:28:23 AM EST> <Notice> <WebLogicServer> <BEA-000331> <Started WebLogic Admin Server "AdminServer" for domain "base_domain" running in Development Mode>
<20/12/2010 8:28:23 AM EST> <Warning> <Server> <BEA-002611> <Hostname "mubuntu", maps to multiple IP addresses: 127.0.1.1, 172.16.95.131, 0:0:0:0:0:0:0:1>
<20/12/2010 8:28:23 AM EST> <Notice> <WebLogicServer> <BEA-000365> <Server state changed to RUNNING>
<20/12/2010 8:28:23 AM EST> <Notice> <WebLogicServer> <BEA-000360> <Server started in RUNNING mode>
We can now log on to the WebLogic Administration Console to start the other servers. Point your browser to http://yourserver:7001/console and login using the weblogic user and the password you specified during the domain creation wizard a few minutes ago.
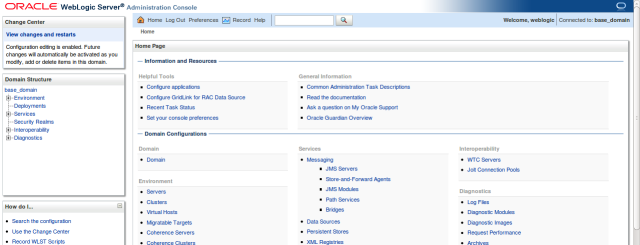
Here we see the WebLogic Console. Click on the Servers link in the Environment section, or alternatively, you can expand the Environment tree in the Domain Structure on the left and click on Servers in the tree.
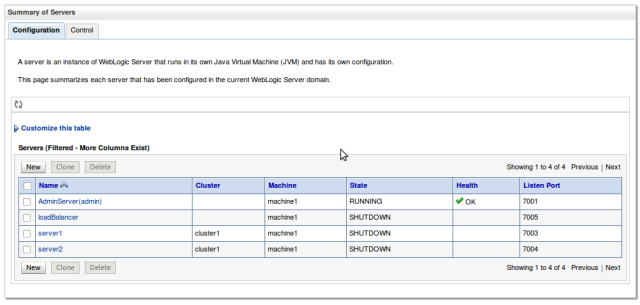
You will see a list of the managed servers we just created. Note that they are all on machine1 and that server1 and server2 are in cluster1. Click on the Control tab (at the top) to switch to control (not configuration) mode.
Select the three managed servers by ticking their checkboxes (as shown below) and then click on the Start button to start them up.
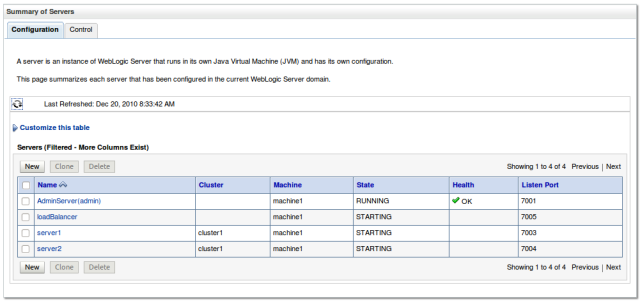
You can click on the little circular arrows icon just above the table of servers so that the table will be refreshed automatically. The first time you start up the managed servers it does take a little longer. So depending on how fast a machine you have, this may take a couple of minutes, or maybe up towards 5-10 minutes.
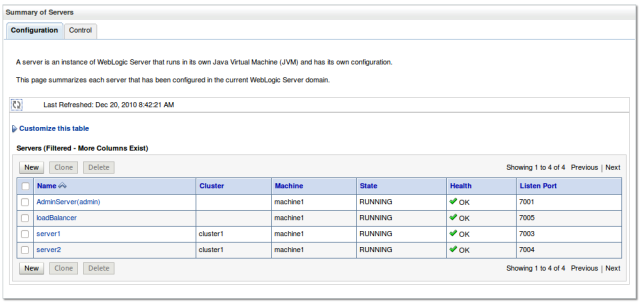
When you see that all of the servers are running (as below) we are ready to move on.
We are going to need an application to test our solution with, so let’s develop a very simple web application that will simply display the name of the server it is running on. This will help us know that our load balancer is actually sending some requests to each of the managed servers.
I used Maven 2.2.1 to create and package my web application. If you don’t use Maven in your environment (you might want to check it out) then you can just create the necessary files and put them in the right directories and then manually build the war file.
First, we create a project for our web application. Here we are telling Maven to use the webapp “archetype” which is essentially a template to create the application and a bunch of rules about how to compile it and build and package it and so on. There is plenty of good material on the web about Maven. If you are not familiar with it, you might want to read some of the introductory material. Sonatype have some free online books here that are a good start.
Enter this command all on the one line.
$ mvn archetype:create -DgroupId=com.wordpress.redstack
-DartifactId=mywebapp -DarchetypeArtifactId=maven-archetype-webapp
Let’s take a look inside the project directory to see what was created:
$ cd mywebapp
$ find .
.
./src
./src/main
./src/main/resources
./src/main/webapp
./src/main/webapp/WEB-INF
./src/main/webapp/WEB-INF/web.xml
./src/main/webapp/index.jsp
./pom.xml
So we see that we have a src/main directory which contains a webapp directory for our web application’s source files and a resources directory for resources (we won’t be using this). We have a standard Java web.xml deployment descriptor, and an index.jsp for our home page. There is also a pom.xml which is used by Maven to describe the project.
Again, we wont drill in to the details of Maven here, there is plenty of information about that topic available already.
To create our simple web application, we are just going to edit the src/main/webapp/index.jsp to contain the following code:
<html>
<body>
<h2>Hello World!</h2>
<p>I am running on <%= System.getProperty("weblogic.Name") %>.</p>
</body>
</html>
It will simply print a “Hello World!” message and then tell us which managed server it is running on. You can obtain the name of the managed server that your code is running on by getting the weblogic.Name property as shown above. Thanks to Robert Patrick for this tip.
Next, let’s create a WebLogic deployment descriptor, src/main/webapp/WEB-INF/weblogic.xml to set the context root (URL) for our web application. Put the following code in your weblogic.xml:
<!DOCTYPE weblogic-web-app PUBLIC "-//BEA Systems, Inc.//DTD Web Application 9.1//EN" "http://www.bea.com/servers/wls810/dtd/weblogic
810-web-jar.dtd">
<weblogic-web-app>
  <context-root>/mywebapp</context-root>
</weblogic-web-app>
Now we are ready to build and deploy our application. To compile and package our application, issue the following command:
$ mvn package
If you are not using Maven, you will need to manually compile your code and build a WAR file at this point. If you are using Maven, you should find a WAR file was created for you:
$ find . -name \*.war
./target/mywebapp.war
Now we can deploy our application. We will do this using the WebLogic console. In the Domain Structure on the left, click on the Deployments option. The click on the Install button to install a new application.
Navigate to the folder where your WAR file is located. Click on the radio box next to your WAR file, as shown below, and then click on the Next button.
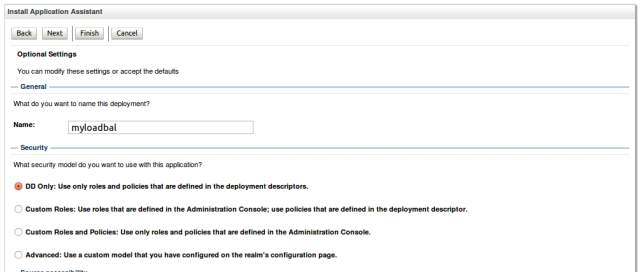
Choose the option to Install this deployment as an application and click on Next.
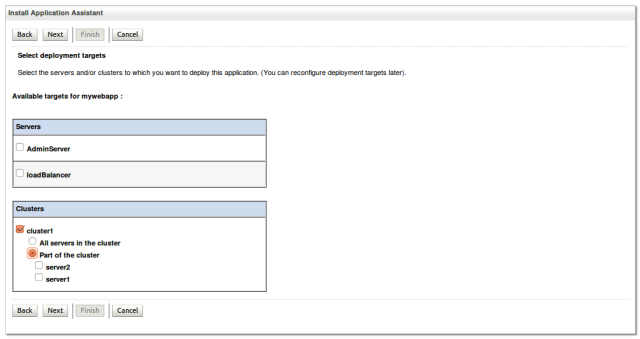
Now comes the important bit! We need to install this application on the cluster, as opposed to on an individual server. Tick the checkbox for cluster1. Note that this will automatically select the Part of this cluster option too. You can change it to All servers in the cluster. Click on Next to continue.
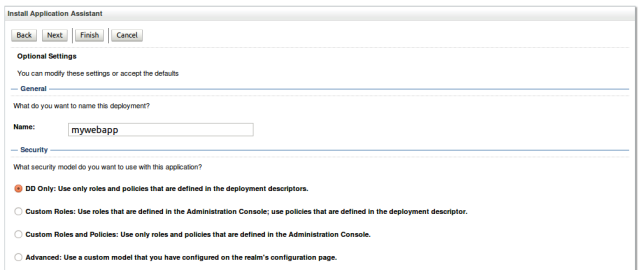
On the next page, we can just click on Next.
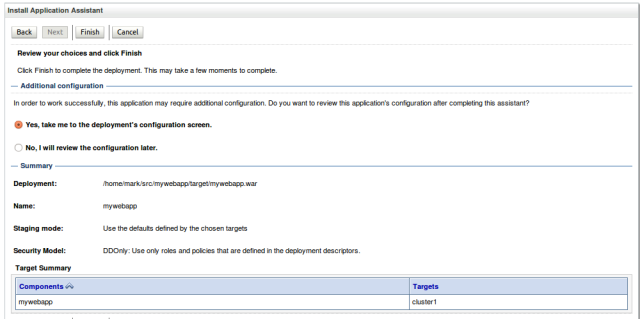
And then Finish.
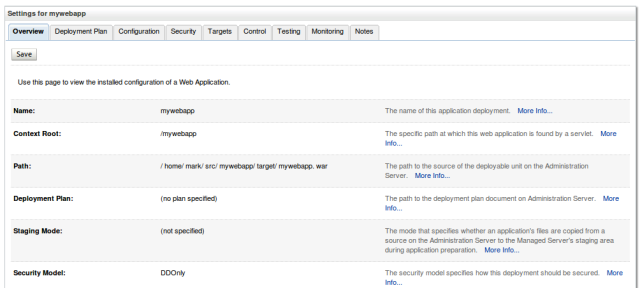
After a few moment, the deployment will be complete, and you will see the settings screen for your web application, as shown below:
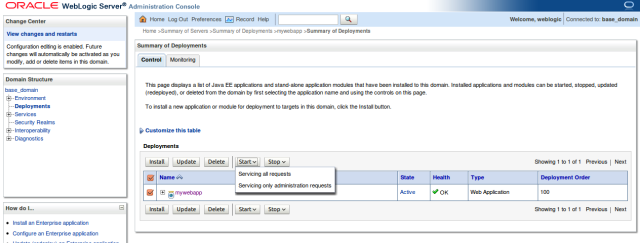
Click on the Deployments option on the left again, and then tick the checkbox beside your web application and the click on the Start button and Servicing all requests to start the web application. This will make it run on both of the servers in the cluster.
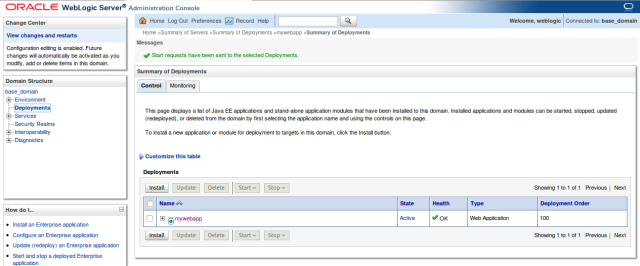
You will get a message (in green at the top) to let you know the application has been started, and the State will change to Active.
Now, let’s test our application to make sure it is working the way we expect. First, point your browser directly at your server1 managed server. You will need to know the port number to do this. If you followed the example, it is probably 7003. If you don’t remember, you can get it from the Environment -> Servers page in the WebLogic console.
So the URL will be http://yourserver:7003/mywebapp/. Substitute in the correct port number if yours is different. You should see your index.jsp page display as shown below. Note that it says it is running on server1.
Now try the other managed server. The URL will be http://yourserver:7004/mywebapp/ and the output should indicate it is running on server2. Again, substitute in the correct port number if yours is different.
So we can see that our web application is in fact working and that it tells us which managed server it is running on.
Now, let’s set up the load balancer.
We will use Maven again to configure the load balancer. We do this with a simple web application. Make sure you change directories outside of your previous web application, and then use the command below (type it all on one line) to create a new web application:
$ mvn archetype:create -DgroupId=com.wordpress.redstack
-DartifactId=myloadbal -DarchetypeArtifactId=maven-archetype-webapp
Move into your new web application’s directory:
$cd myloadbal
If you care to check, you will note that the files and structure created by Maven are just as before. Our first step is to edit the web.xml that Maven created. You need to place the following code in it:
<!DOCTYPE web-app PUBLIC
"-//Sun Microsystems, Inc.//DTD Web Application 2.3//EN"
"http://java.sun.com/dtd/web-app_2_3.dtd" >
<web-app>
  <display-name>Archetype Created Web Application</display-name>
  <servlet>
    <servlet-name>HttpClusterServlet</servlet-name>
    <servlet-class>
      weblogic.servlet.proxy.HttpClusterServlet
    </servlet-class>
    <init-param>
      <param-name>WebLogicCluster</param-name>
      <param-value>localhost:7003|localhost:7004</param-value>
    </init-param>
  </servlet>
  <servlet-mapping>
    <servlet-name>HttpClusterServlet</servlet-name>
    <url-pattern>/</url-pattern>
  </servlet-mapping>
  <servlet-mapping>
    <servlet-name>HttpClusterServlet</servlet-name>
    <url-pattern>*.jsp</url-pattern>
  </servlet-mapping>
  <servlet-mapping>
    <servlet-name>HttpClusterServlet</servlet-name>
    <url-pattern>*.htm</url-pattern>
  </servlet-mapping>
  <servlet-mapping>
    <servlet-name>HttpClusterServlet</servlet-name>
    <url-pattern>*.html</url-pattern>
  </servlet-mapping>
</web-app>
You can just copy this as is, with the exception of the part highlighted in red. This is a (pipe separated) list of the managed servers that make up the cluster in the format hostname:port. You need to make sure this list matches your environment. You can use localhost as in the example, or if you have a proper DNS name, you can use that instead. This web.xml just contains standard Servlet definitions that point to the HttpClusterServlet that is part of WebLogic Server and will act as our load balancer. You can find a lot more details here, including additional settings that you can use for security and other options provided by the Servlet.
Note: The example configuration given above will load balance requests to URLs ending with *.htm, *.html and *.jsp only. You might want to add some more patterns, or make these ones more generic, to suit your own applications. Thanks to James Bayer from pointing this out to me!
The next step is to create the WebLogic deployment descriptor, weblogic.xml, in the same directory as the web.xml, as we did before. The weblogic.xml needs to contain the following code:
<!DOCTYPE weblogic-web-app PUBLIC "-//BEA Systems, Inc.//DTD Web Application 9.1//EN" "http://www.bea.com/servers/wls810/dtd/weblogic
810-web-jar.dtd">
<weblogic-web-app>
  <context-root>/</context-root>
</weblogic-web-app>
Now we are ready to package and deploy our web application, as we did before. We will use Maven to compile and package the WAR file:
$ mvn package
$ find . -name \*.war
./target/myloadbal.war
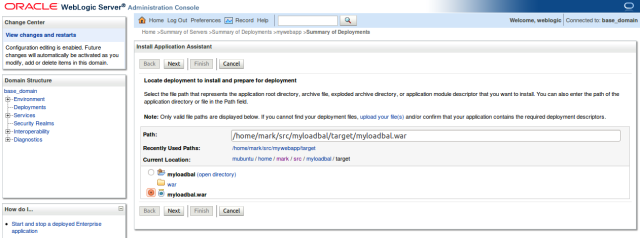
We will use the WebLogic console to deploy the web application, as we did earlier. Again, select Deployments on the left, then Install, then navigate to and select your WAR file, as shown below, and click on Next.
Next again.
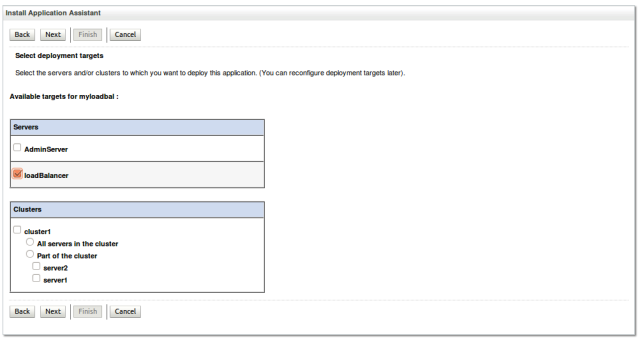
This time, be sure to target this application to the loadBalancer managed server only. This tells WebLogic that the application will only run on that one managed server. Then click on Next.
Next again.
And Finish.
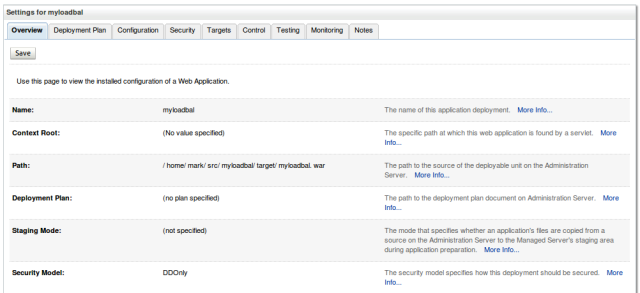
You will see the settings screen after the deployment has completed.
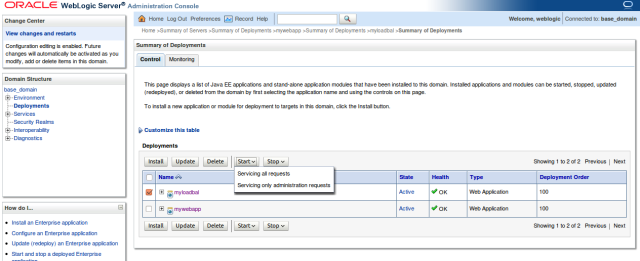
Click on Deployments on the left, select the new web application (myloadbal) and then Start -> Service all requests.
Now we can test our load balancer!
Point your browser at the web application path, but use the load balancer’s port. If you followed the example, this will be 7005. You can check it in the WebLogic console as mentioned earlier. So for us, the URL is http://mubuntu:7005/mywebapp. Note that the last part of the URL is the context root for the actual web application (mywebapp) that we want to run, not for the load balancer web application (myloadbal). In the example below we can see that the load balancer has sent this request to server2.
Now, close your browser (or delete the cookies) to make sure that the session is destroyed, then open a new browser and go to that same URL again. You will need to do this a few times. You should find that you get some responses from server1 as shown below, and some from server2 as shown above.
So we can see that our load balancer is indeed distributing our requests across the two managed servers.
This now gives us a nice easy software load balancer to use when testing our applications in a cluster. The load balancer web application we created here will work for any application that is deployed on the cluster, because we set the context root to “/” in the weblogic.xml and in the servlet mappings in our web.xml.
Enjoy!














Good Explanation…Thanks alot
Good Explanation i find it very helpfull as i implement its working