

If you use an external microphone to get better audio for your video, or if you have multiple cameras set up for a single take, then you'll need to synchronize those clips before you can edit them. In this tutorial you'll learn how to sync clips manually.
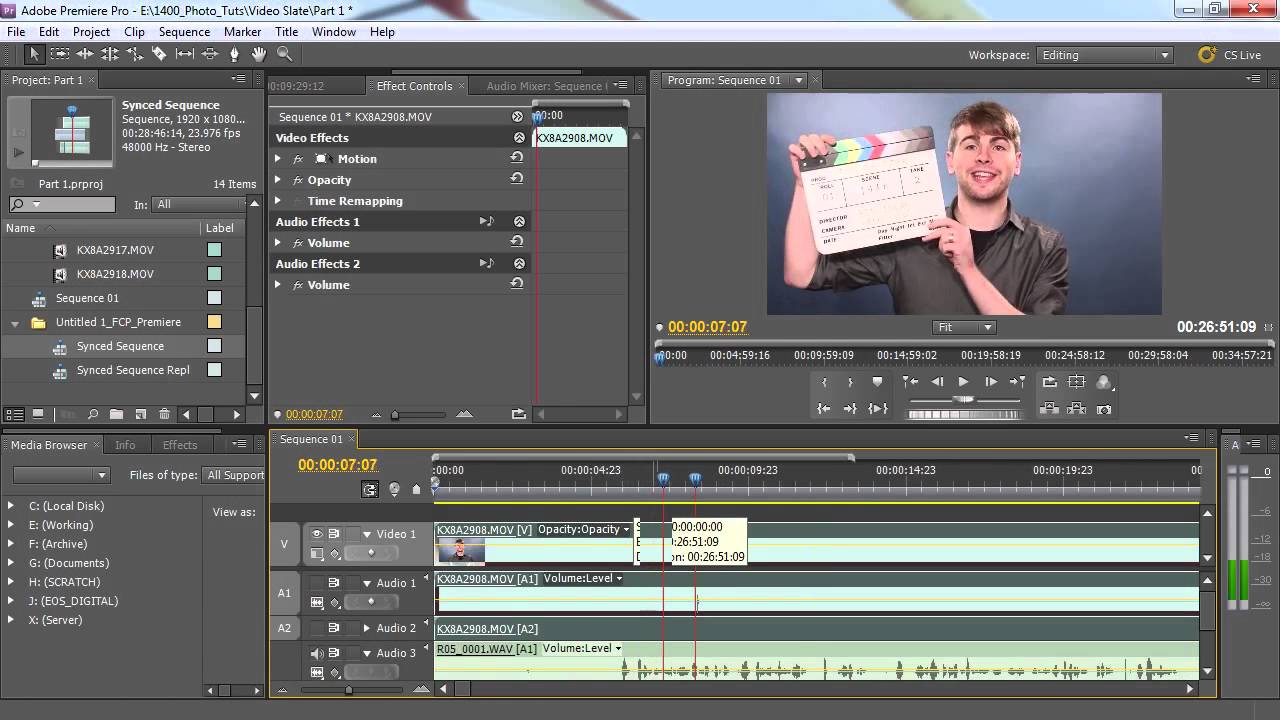
To sync clips, it is really helpful if you use a slate to create a comparison point (also known as a clapper board) across all audio and video tracks. If you don't have a slate you can also clap your hands for the same effect.
This tutorial uses Adobe Premiere to demonstrate the technique but the process is the same in all non-linear editing programs.
Key Synchronization Steps
- Line up your clips on different tracks and place them close to where they need to be. Good organization here is key.
- Zoom in on the audio waveform and look for the clap, or any recognizable waveform shape.
- Nudge clips until the waveforms line up.
- Play back the track and see if you hear an echo. You may only be off by a frame or two.
For a small project where you only need to line up a clip or two, this is a very simple task. For anything larger, I highly suggest you use Pluraleyes, which automatically syncs your clips for you.
Already have Pluraleyes? If you don't use the same frame rates in your cameras or forget to roll sound in camera, you may still need to manually line up your clips. In this case, find something distinctive (like the slate clap) and line up the audio cue to the visual cue of the slate making contact.


