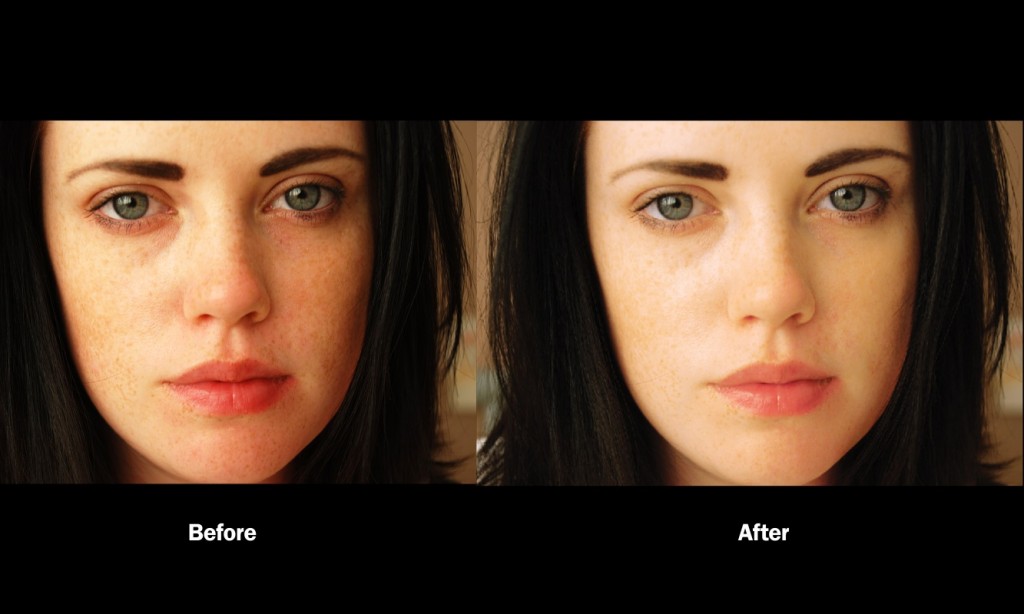
Aloha Guys. We are here with another tutorial. Today we will discuss how to emphasize or hide skin flaws in you photos that you took from a cam or from your smart phone using the yellow channel in your photo. This technique can be used to emphasize skin detail for a dramatic look or reduce the appearance of wrinkles, freckles and dark circles under the eyes etc. Above image will give you an idea of the final outcome of after we made the changes using the yellow channel.
Resources
- Images used :
Step 01
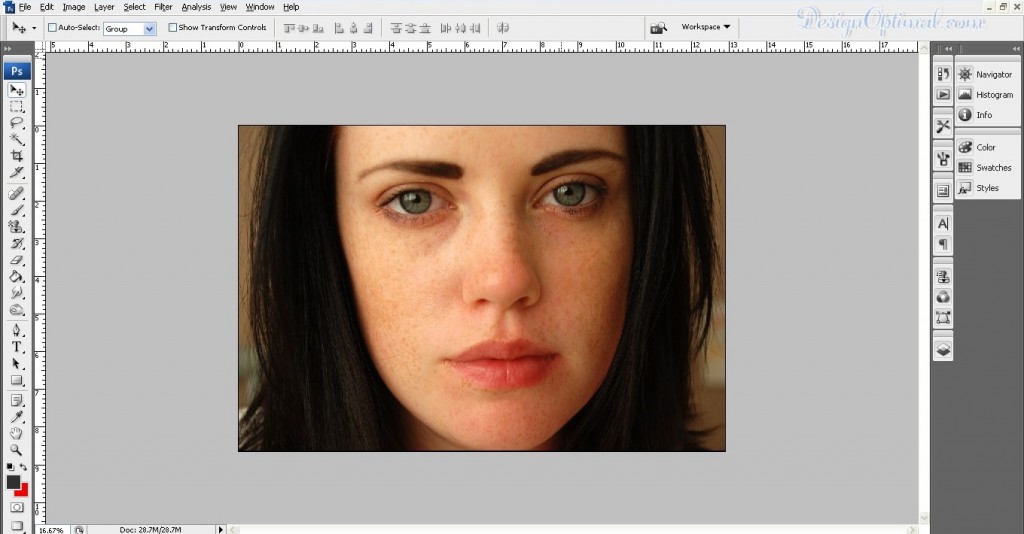
- Open the photo that you want to edit in Photoshop. The photo should have enough detail on the skin tones with little to no makeup. For this tut we will use the image called Model 044 (check the “Resources” section at the beginning of the tutorial). You can use that image (for educational purposes only) or you are always welcome to use a picture that you prefer which is suitable for this kind of a tutorial.
Step 02
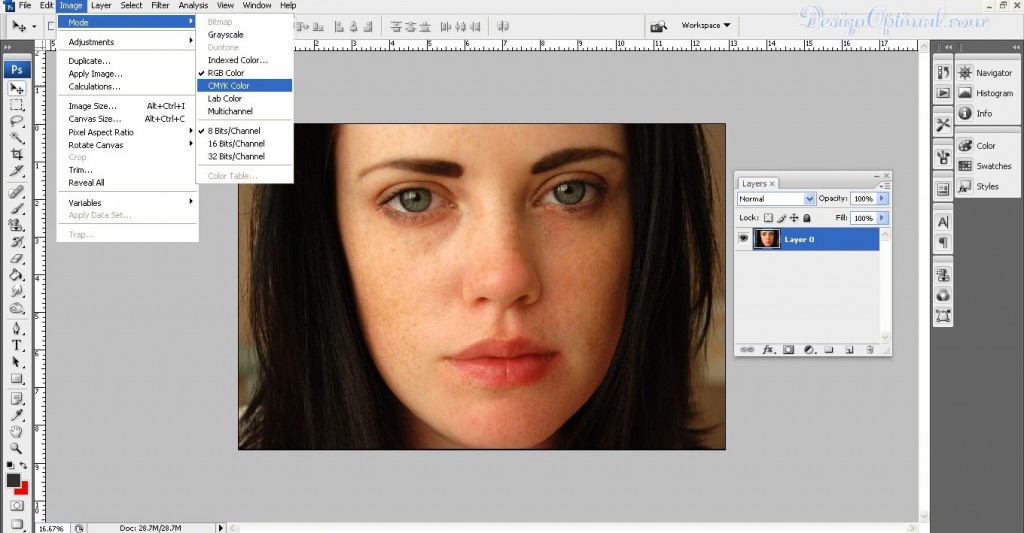
- We’ll need to grab the Yellow channel. Before we can do this, we have to convert the image to CMYK by going to Image > Mode > CMYK.
Step 03
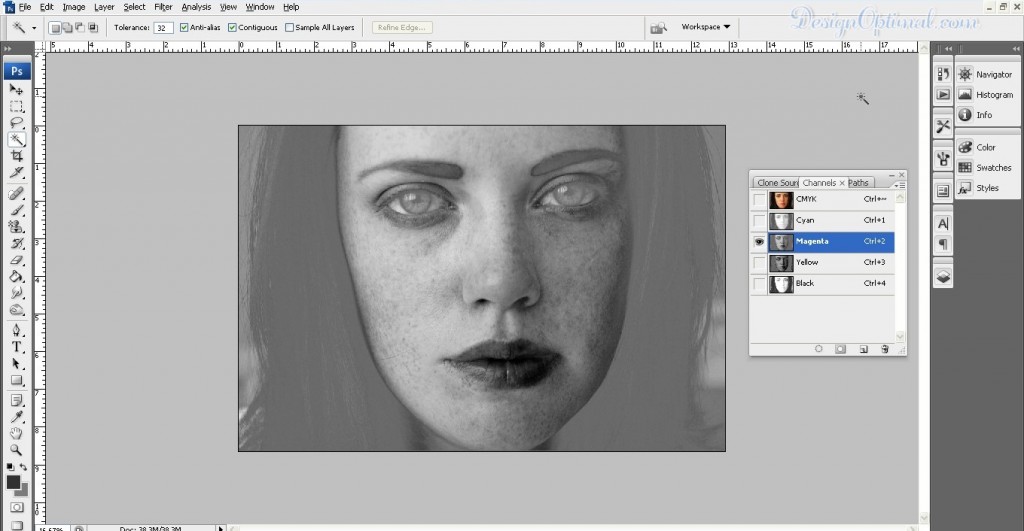
- In the Channels palette (Window > Channels), select the Yellow channel.
- As you can see, the Yellow layer reveals the most skin flaws. Copy and paste this layer by going to Select > All then Edit > Copy.
Step 04
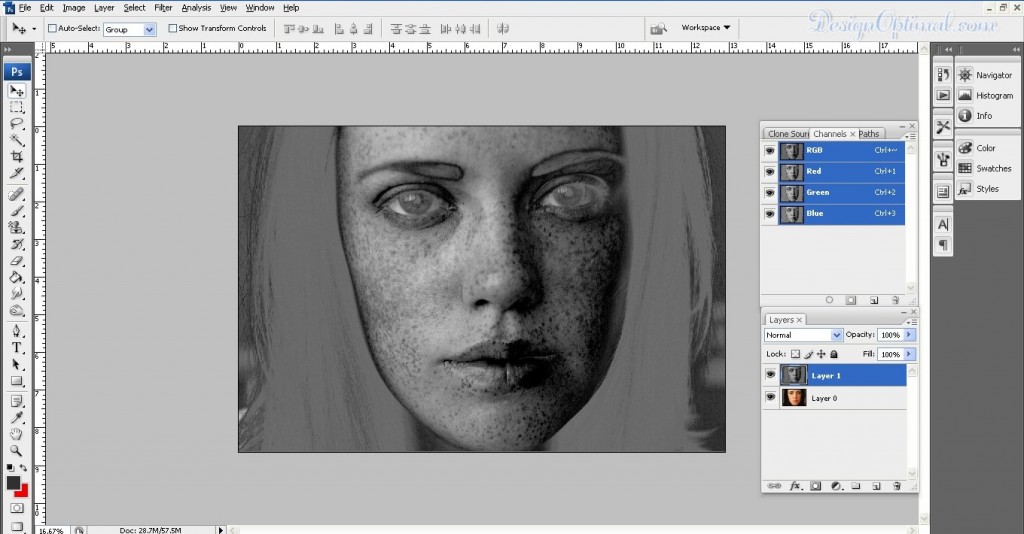
- Now we need to convert the image back to RGB mode for editing. Instead of converting the image back, which will degrade the image quality even more, we can just undo all the way back to the beginning.
- Keep pressing Alt+Ctrl+Z (Option+Cmd+Z on Macs) until you’ve reverted back to the original photo. Go to Edit > Paste and Photoshop will place the Yellow channel you copied as a new layer.
Step 05
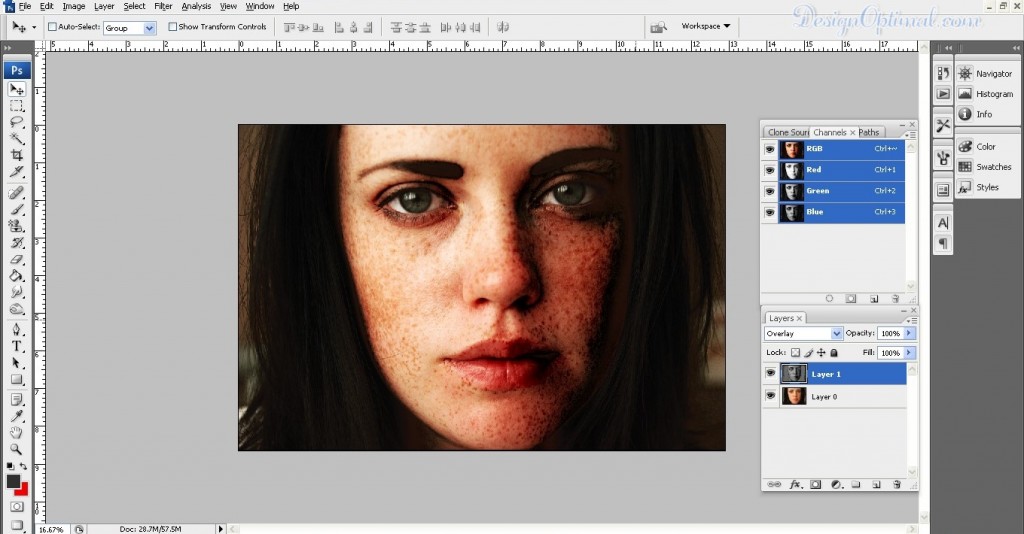
- Change the blending mode to Overlay. You’ll see the effects immediately and you can reduce the effect by reducing the opacity.
Step 06
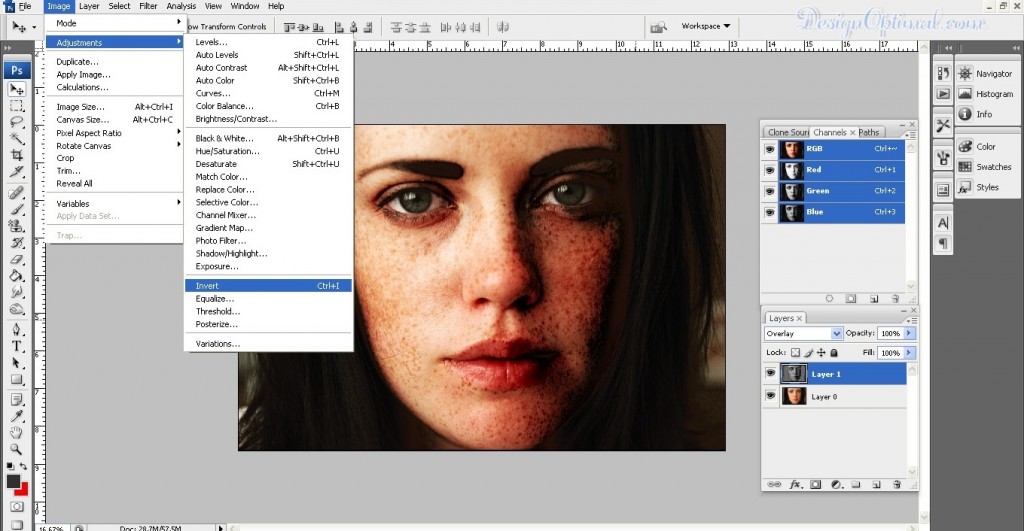
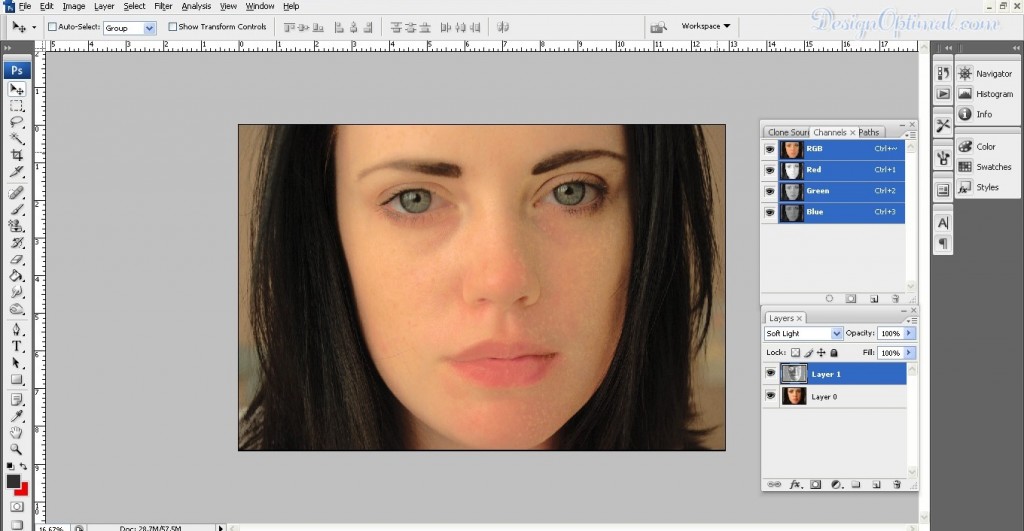
- If you want to hide the skin flaws instead of revealing it, invert the layer by going to Image > Adjustments > Invert.
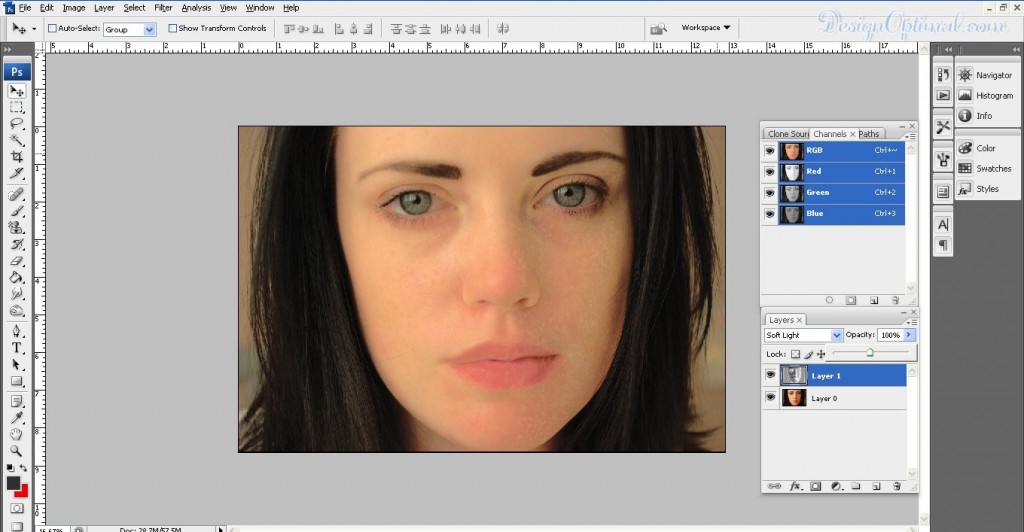
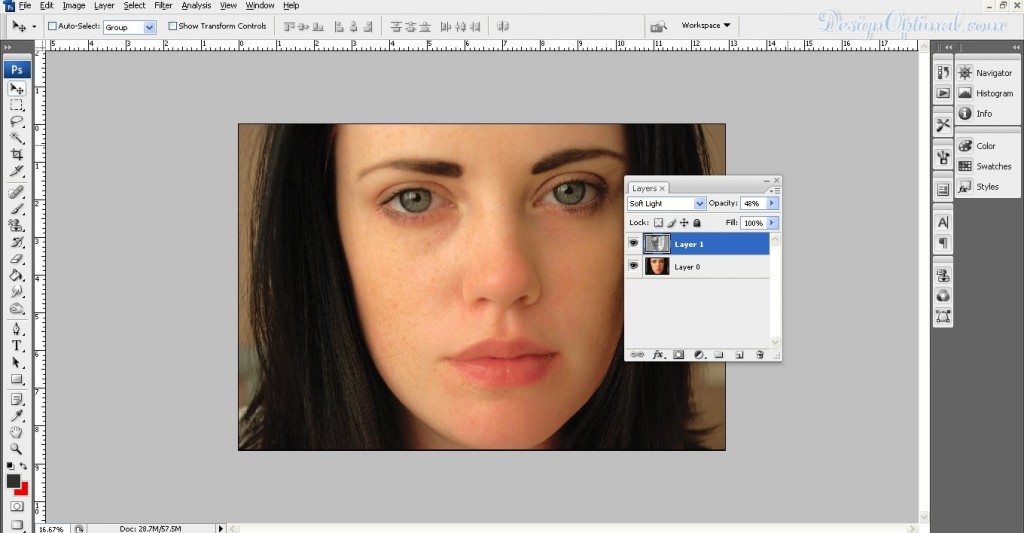
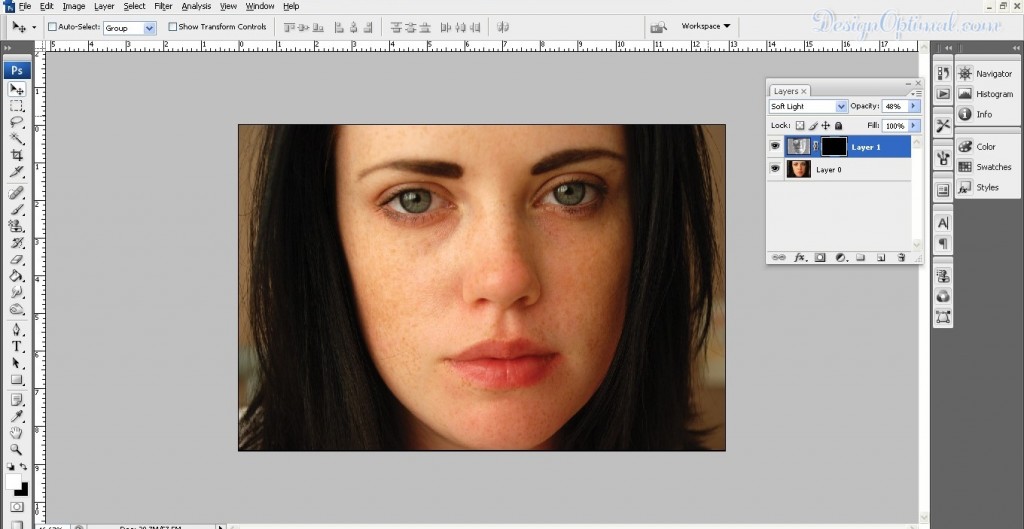
- Change the blending mode to Soft Light then reduce the opacity until it looks about right.
Step 07
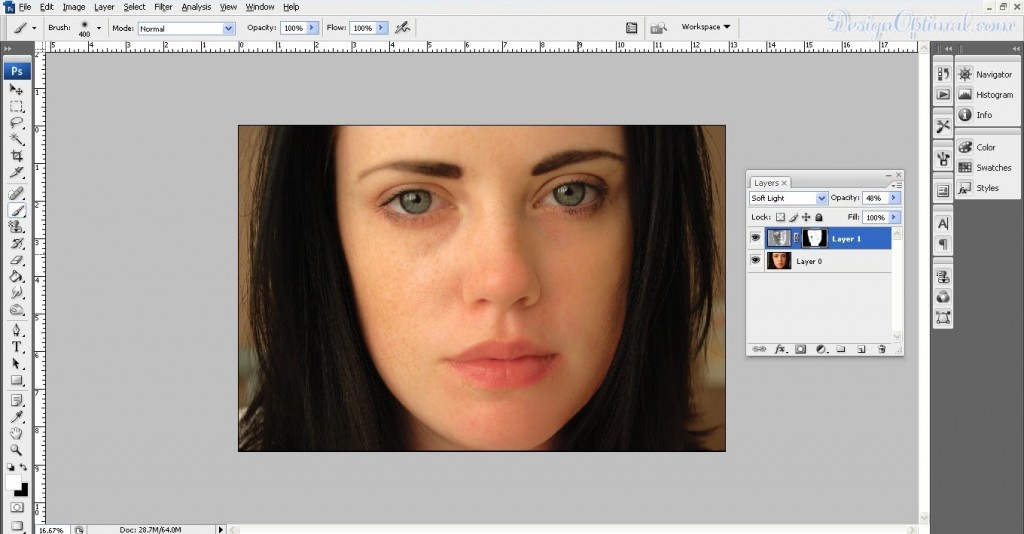
- You can also add a layer mask so that this layer only affects the skin tones. This is an optional step because your image will look fine most of the time without any masking. However, should you need to create a layer mask, you can do this by going to Layer > Layer Mask > Hide All.
- Select the Brush tool (make sure your foreground color is white), then paint with a soft-edge brush around the skin.
- If you’re using Photoshop CS6, you can also use the skin tone feature in the Color Range tool. To do this, go to Select > Color Range. Select “Skin Tones” from the dropdown menu and enable Detect Faces. Click OK and Photoshop will create a selection of the skin tones for you.
Step 08
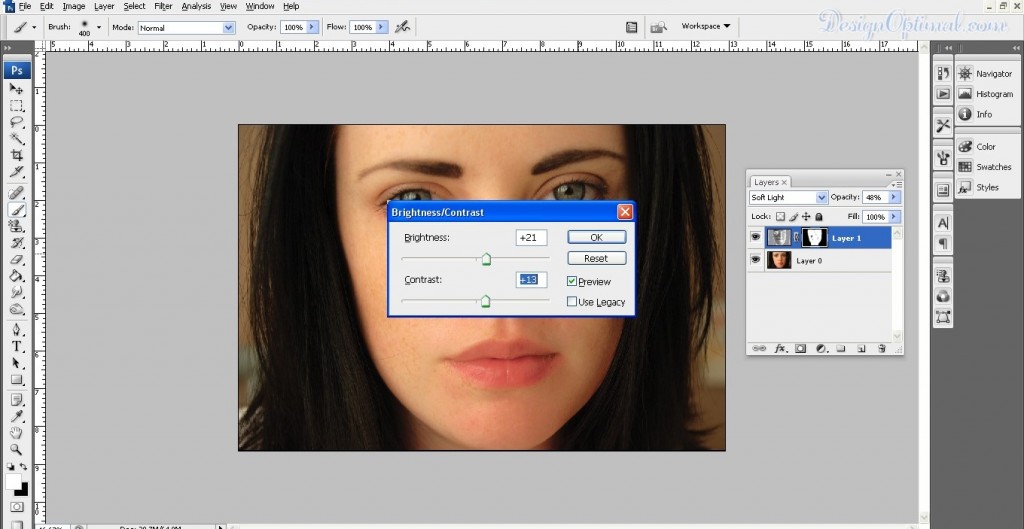
- As for the final touches I will duplicate the main image layer and make some brightness contrast adjustment keep it top of the original layer make the blending mode in to darken.
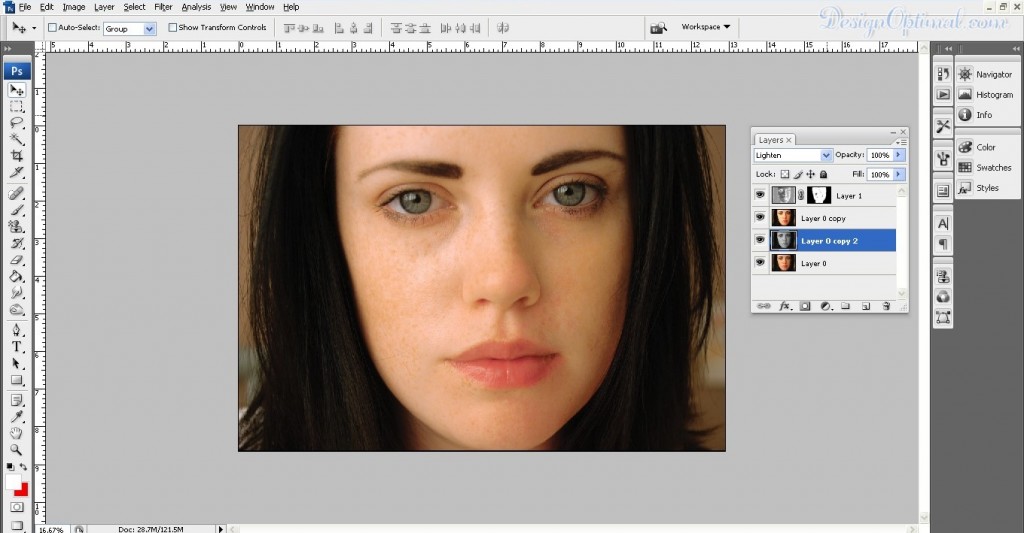
- Now again duplicate the main image and change the color in to black and white and change blending mode in to lighten.
