Technology is wonderful, until it stops working as expected. Computers have a nasty habit of developing glitches or just going belly up altogether at the worst possible times. There's nothing that can prevent that, but a couple of open source tools can help mitigate disaster and maybe even save the day altogether. With Clonezilla you can create a perfect copy of your system. Using the System Rescue CD, you'll have all the tools you need to recover from many system crashes.
To thy data be kind
It might be tempting to rely on system troubleshooting skills to save the day, but the only guaranteed way to keep your data safe is to do regular system backups. Never ask "should I be paranoid about losing my data?" Ask "just how paranoid should I be about losing my data?"The answer to that question, if you have any files that can't be easily replaced—especially things like family photos or documents that you've created—is very paranoid.
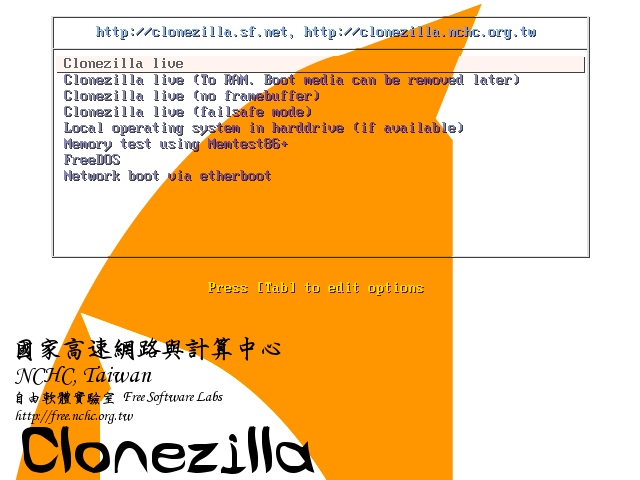
So let's start with Clonezilla, an open source clone system. That is to say, it's a system for creating a clone of your existing system. Clonezilla is designed to do more than just back up your data—it's actually designed to create a fully working copy of an installed system. Clonezilla comes in two editions: Clonezilla Live and Clonezilla Server. The server edition is geared towards massive clone/restore scenarios and it requires a server to receive the cloned partitions and a system or systems booted off of PXE or Etherboot.
That's probably overkill for most users, so I'll focus here on Clonezilla Live. What you'll need, aside from the the CD itself, is a system to clone and a target system or hard drive to receive the image or images. Using Clonezilla you can copy images over SSH, Samba, NFS, or to a USB disk.
Clonezilla isn't just for Linux systems, either. You can create clone images of Linux machines, sure, but also Microsoft Windows systems, and even Intel-based Mac OS X systems. Clonezilla supports Ext2, Ext3, Ext4, ReiserFS, FAT, NTFS, and HFS+. If your filesystem isn't on that list, Clonezilla can still tackle it with the dd utility, but it loses a bit of flexibility. With supported filesystems, Clonezilla can save space by copying only the used blocks on partitions. With unsupported filesystems, Clonezilla has to do a total copy of the filesystem regardless of space used.
As an example, if you're backing up an Ext3-based system with a 90GB partition that has 45GB of space used, Clonezilla should only copy 45GB of data (give or take). In the same scenario with an unsupported filesystem, Clonezilla would copy the whole partition, even the empty space.
Using Clonezilla
The simplest way to use Clonezilla, and my preference, is to boot a system using the Clonezilla Live CD with an attached USB drive. Note that you'll want to have the USB drive partitioned beforehand.
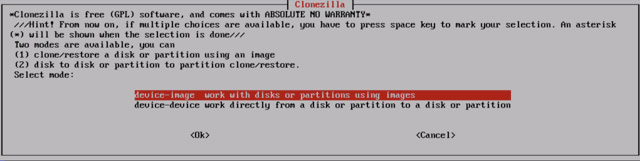
Truth be told, Clonezilla isn't quite as user-friendly as its proprietary counterparts. Tons of functionality, but it does suffer from a few rough edges. Case in point, when you start walking though the Clonezilla startup the first time, it requires you to mount an image as /home/partimag — but the language in the Clonezilla dialogs makes it murky as to whether /home/partimag is the target device or the device being backed up. You'll want to mount /home/partimag as the target device to receive the clone image.
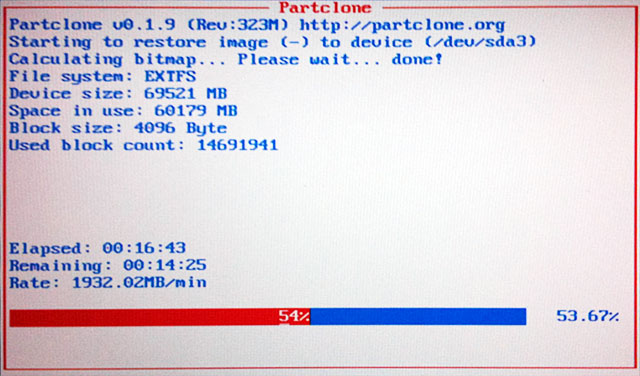
Clonezilla uses Partclone to copy the system images. As soon as the process is underway, there's not much to do but watch the status messages tick by. Once you've kicked off the process, it's time to go get a cup of coffee, a slice of pizza, and maybe read a goodly chunk of War and Peace. To put it another way, the process of copying a relatively large system image can take a whlie. Using a recent vintage laptop with two Ext3 partitions weighing in at 69GB and an external USB drive, Clonezilla took more than two hours to run the process.
Once you've got a cloned image, you can restore by booting into Clonezilla and following the same steps, but choosing the "restore image" option and choosing the cloned images you created the first time. Again, this will take some time, but it beats having to re-install a system by hand.
Aside from being somewhat slow, the other downside of Clonezilla is this: it's an all-or-nothing proposition, and it doesn't support live imaging. This means that the system being cloned is going to be offline while Clonezilla is working. Not so bad for home desktop systems, laptops, workstations, etc. Not so good when you're looking at backups for servers. Clonezilla Server is still a great solution for creating and deploying production images, but not for regular backups.
Because of these limitations, I recommend a dual strategy of cloning your system on a weekly or monthly basis, and daily (if not hourly) backups of your data using rsync or another system backup tool. You don't want to restore your entire system just to recover a few files deleted by accident.
But having a full system clone can get you up and running in an hour or two with all your apps intact in the event of a disaster. Having a recent backup of your data means not losing any work due to disk crashes or hardware disasters.
If at all possible, it's also a very good idea to do a trial run or two to test restoring your system before disaster strikes. There's nothing like attempting a restore after a system crash to find out that the backups are useless!
reader comments
40