Skip to Content

The Inside Secrets to a Freshly Painted Room

There are lots of small details that move the needle from a good paint job to one that's great.

By
painting secretspinterest
Roy Berendsohn

Gear-obsessed editors choose every product we review. We may earn commission if you buy from a link. Why Trust Us?

A freshly painted room looks crisp and clean. But there's a lot more to getting that look than just the paint and your ability to roll and brush neatly. There are lots of small things that professional painters know to do, and they possess a lot of institutional knowledge about how to get that look. They give little thought to these details, because to them it's all second nature. You may not even find out some of this stuff by asking them. It's not that they're trying to be evasive. No. These things are so ingrained in them, they may not even think to convey it when you ask.

Of course, you start by knowing how to paint a room and know how to avoid making costly mistakes.

But in the world of paint craft, the only way you're going to learn the small insider tips that move the needle from a good paint job to one that's outstanding is to carefully observe painters and how they go about their work, stay out of their way, and ask polite (and humble) questions.

I painted my first house in 1973. Since then, I've talked to countless painters, both union and non union. I've also been privileged to work with professional painters, study their technique, and ask questions. They've been very gracious and patient with me and my efforts to report this insider knowledge.

Decades later, here's what I've learned.

🔨You love badass DIY projects. So do we. Let's build something cool together.

More From Popular Mechanics:

    1

    Invest in 18-inch Rollers

    painting secrets
    Roy Berendsohn

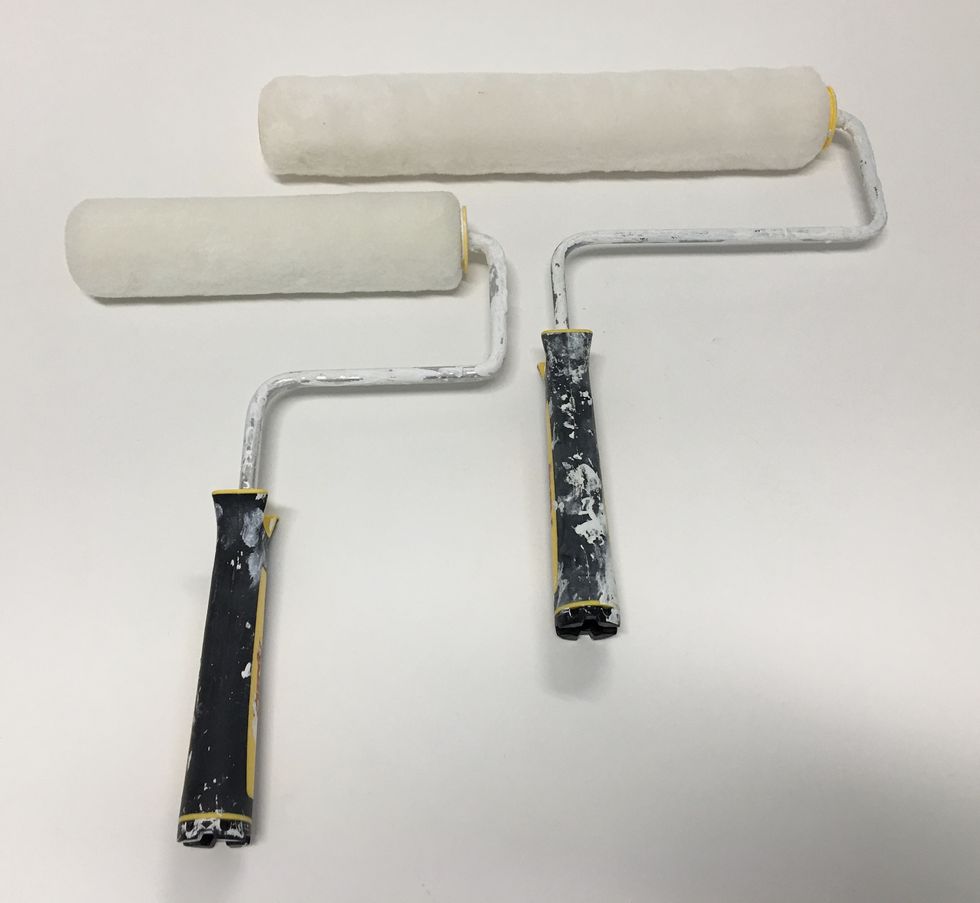
    You want to change your life in painting a large room or maybe an entire house? Invest in 18-inch rollers for walls and ceilings, along with a paint tub, grid, and disposable tub liners to match. The first time I watched a professional painter use one of these (I had never seen one), I was flabbergasted at how much faster the job went.
    There are some things you need to know, however.

    A. Reserve 18-inch rollers for big jobs. They are best suited when you have more than one room to paint and clear working space.

    B. You should know that these are more tiring to use than 9-inch rollers, particularly when it comes to painting ceilings.

    C. Like rolling any surface, good technique counts. Stand far enough away from the wall so that when your arm is fully extended (using a paint pole) there is no danger of the roller making contact with the ceiling. Start in the middle of the wall, roll up, stop, roll down, then move on to the next stripe. Finish by taking overlapping passes, only downward.

    2

    Treat Paint Cans Wisely

    room painting secrets
    Roy Berendsohnh

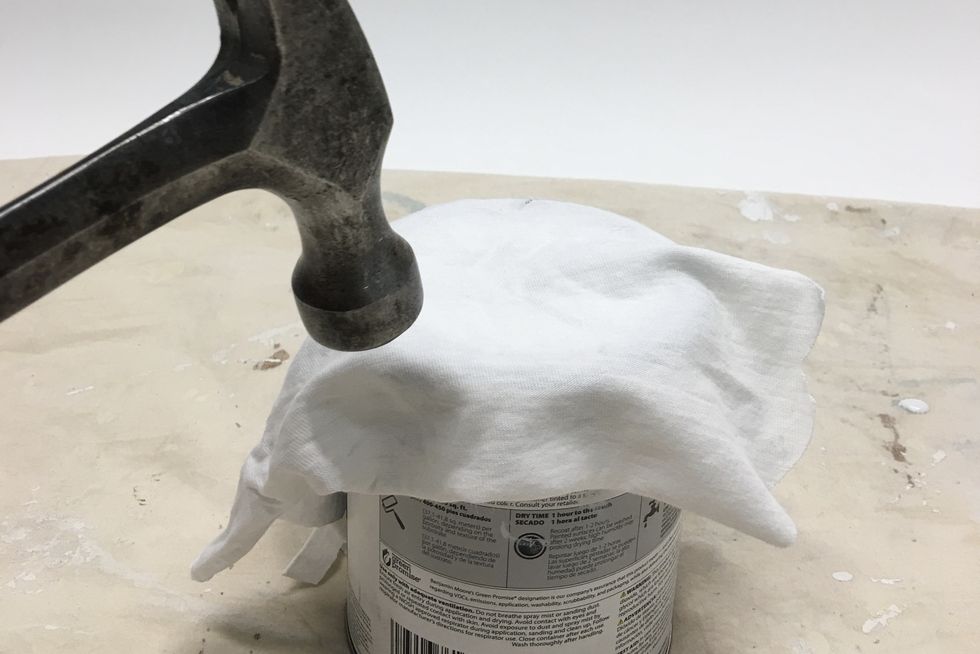
    Paint cans need to be sealed at the end of the job, whether that's at the end of the day or for short-term storage. Clean the lid rim carefully by brushing out excess paint, then follow these steps.

    A) Cover the lid with a clean cloth and use the heel of your hand to firmly press the lid down. In many cases, this is all that's necessary to seal the can.

    B) If the can won't seal with hand pressure, tap lightly around the lid's circumference with a small hammer. A plastic mallet is even better and is less likely to dent the rim.

    C) Always leave the cloth in place while you do this. It can prevent excess paint from oozing out or splattering from the hammer tap.

    3

    Keep the Workplace Clean

    house painting secrets
    Roy Berendsohn

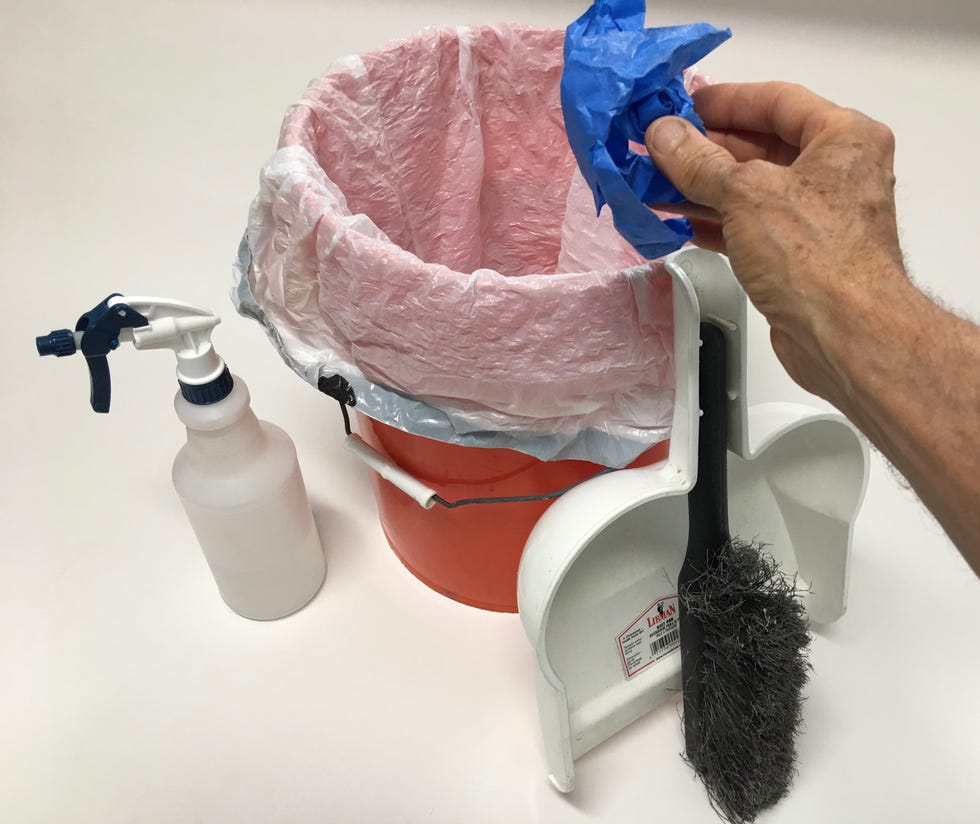
    Painting generates trash. There's everything from sanding dust, and chips of paint that have been scraped off the surface to small splatters (well, you hope they're small). The only way to keep the job neat, clean and moving forward is to stay on top of the trash. You need the following:

    A) A clean trash container: For small jobs, I use a 5-gallon bucket with a small trash bag liner. For large jobs, I use a large 20-gallon trash can reserved for paint jobs and remodeling work. I don't use the garbage cans in the garage that hold ordinary household trash. As clean as I try to keep them, they stink. I don't want to bring them into the house.

    B) Spray cleaner: I dust and clean before I paint, but sometimes I miss a spot or I need spray cleaner to deal with small drips and splatters.

    C) I also keep ready a dust pan, hand brush, and broom.

    D) For large jobs, I keep a shop vacuum standing by.

    E) I vacuum the floor of the room after I'm done.

    Advertisement - Continue Reading Below
    4

    Invest in Painter Poles of Varying Lengths

    house painting secrets
    Roy Berendsohn

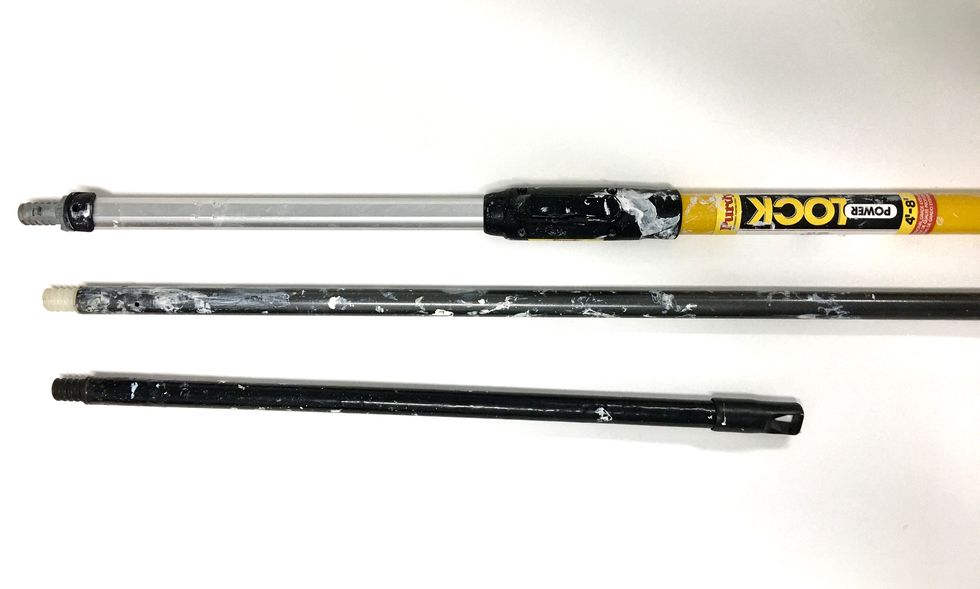
    You need reach when painting. This helps you stay off a ladder as much as possible and this greatly improves your efficiency and safety. To do this, you need paint poles of varying length and stiffness. At top is a pro-duty painter pole that expands from 4-feet long to approximately 8 feet. Below that is an ordinary broom handle and below that is a steel broom handle that I cut down to 2 feet long. It's particularly useful inside closets.

    5

    At Times, Double Up the Tape

    house painting secrets
    Roy Berendsohnh

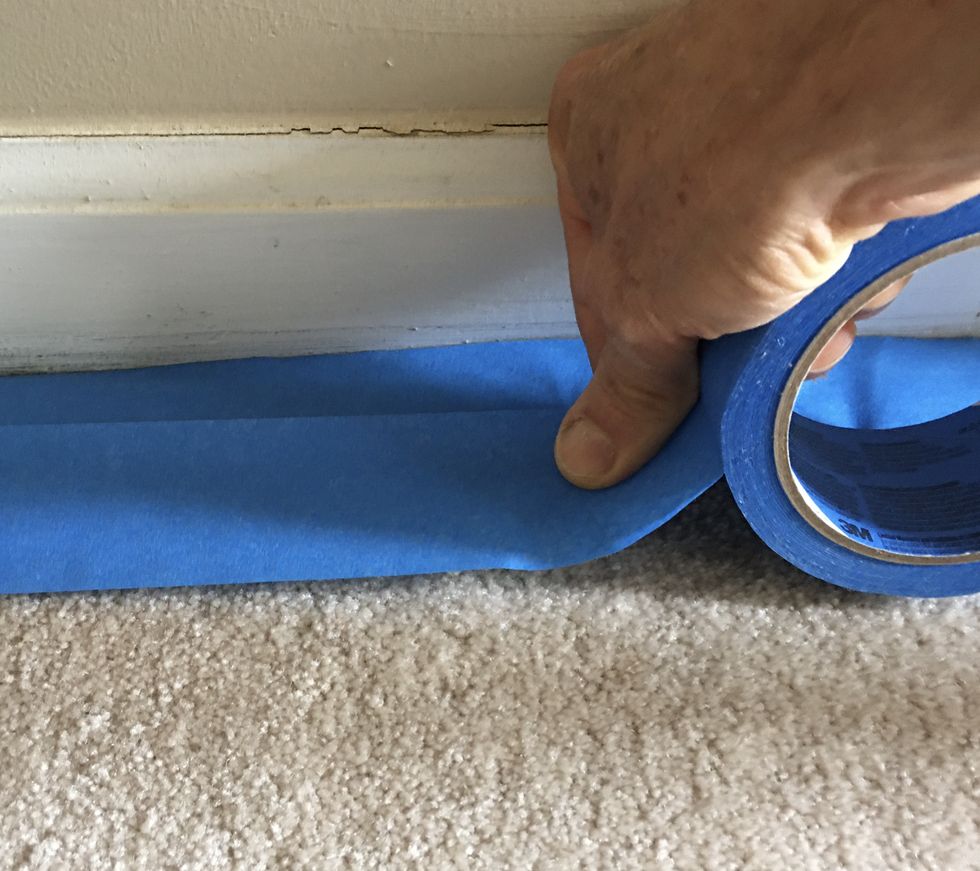
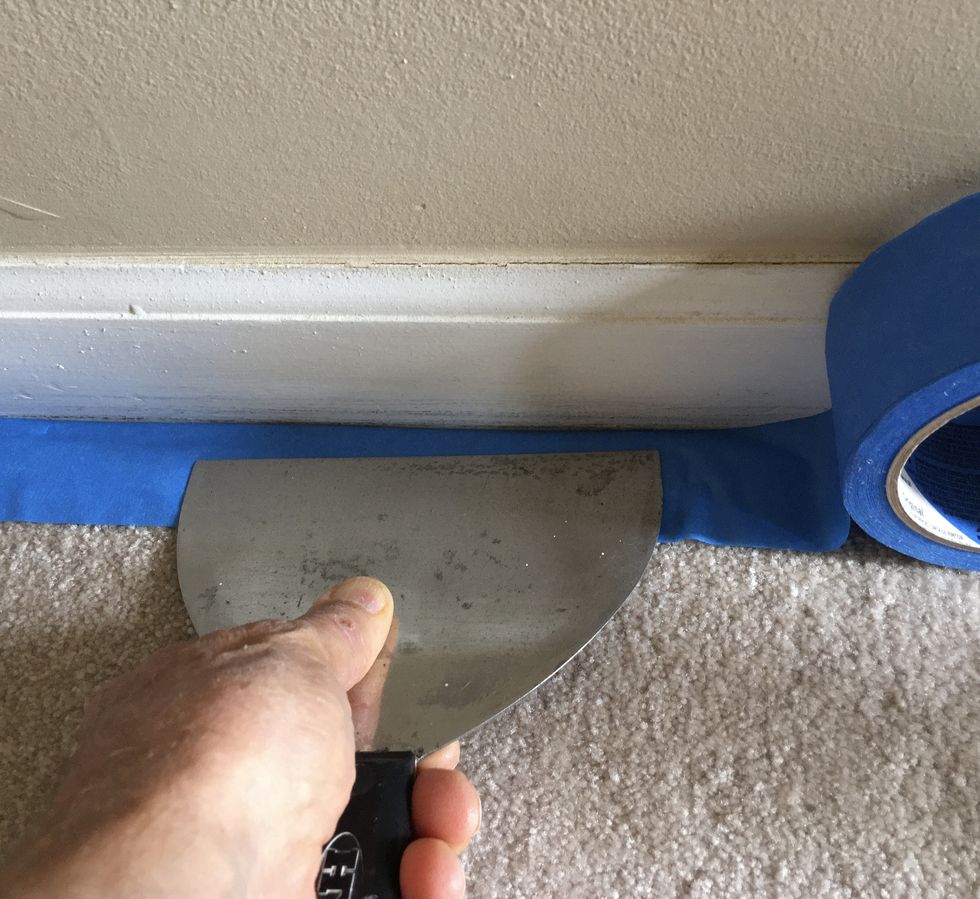
    I'm hyper careful when it comes to protecting the edge of the wall, particularly where the drop cloth may move away from the wall's edge. I am also careful to protect the floor when painting baseboard against carpet or flooring materials when a paint drip is difficult to clean up (slate floors and some tile floors do not clean very easily). Nothing wrecks an otherwise neat paint job like getting paint on carpet and these other flooring material.

    I don't take any chances here. I either use masking paper taped to the floor or I run two widths of good quality painter's tape. The first is pressed in tight to the corner, the second run of tape is applied to the first and pressed down.

    6

    Drop Cloths Must Overlap

    house painting secrets
    Roy Berendsohn

    Never butt drop cloths against each other. All drop cloths must overlap. When laying down drop cloths, I shoot for a minimum of 4 inches of overlap. Why? If the drop cloths move apart as you work, you can leave flooring exposed to a paint drip or (even worse) a spill. There's no sense in laying any drop cloth unless you are absolutely sure surfaces are completely protected.

    More drop cloth wisdom:

    A) I fold drop cloths into long rectangles and lay these along the perimeter of the room.

    B) I cover these with a drop cloth in the room's center.

    C) If a drop cloth has a wrinkle that can catch my foot or the ladder's foot, I tape it down with duct tape.

    D) I periodically take drop cloths outside and blow them clean with a leaf blower. You never know what dust and paint chips may be hiding in them.

    E) I keep drop cloths in good repair. See the separate tip on that subject.

    Advertisement - Continue Reading Below
    7

    A Hair Dryer Can Help

    house painting secrets
    Roy Berendsohn

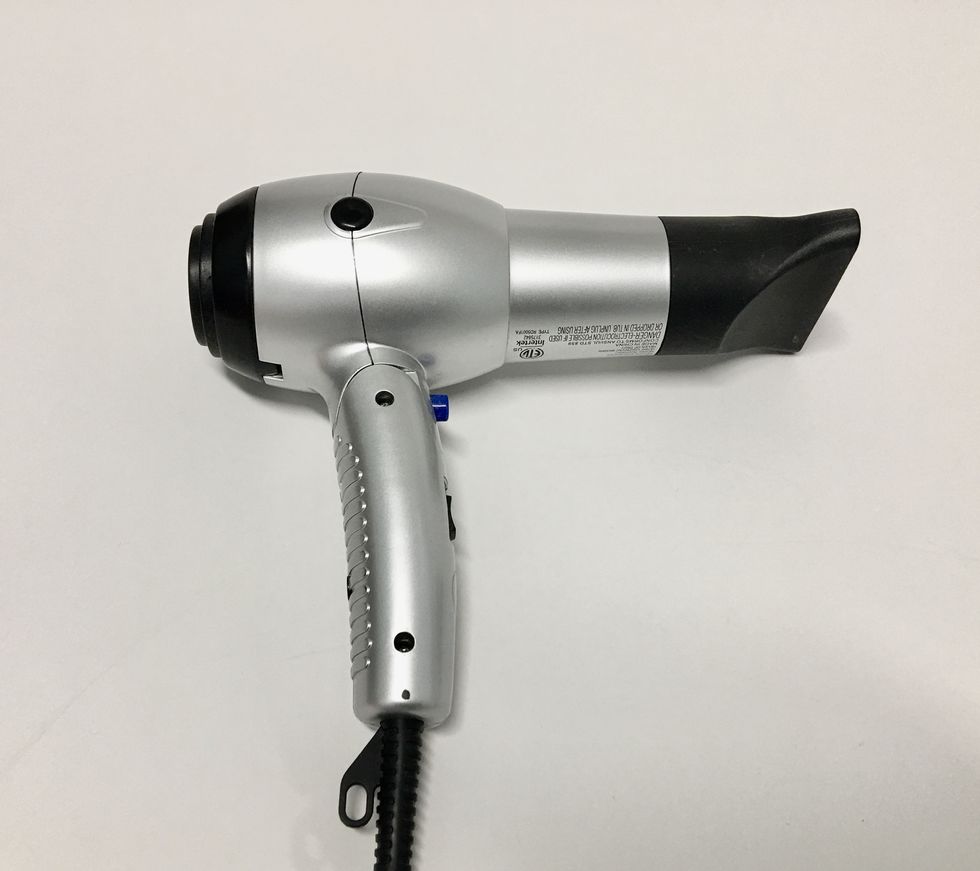
    When a room needs some drywall repair, do this work first so the spackling, plaster, or drywall compound has plenty of time to dry before painting. There are times, however, when you may need to speed up the drying of spackling or drywall compound. I keep one of my wife's old hair dryers in my painting tool kit. I break it out on those rare occasions when I have a patch to make and I need to dry it to keep the job moving. Set the dryer on high and work it gently over the patch to warm it up and increase the evaporation rate of the water from the repair material.

    Don't overdo it with a hair dryer, however. You can end up overdrying or too quickly dehydrate the repair material and crack it.

    8

    Load the Brush Properly

    house painting secrets
    Roy Berendsohn

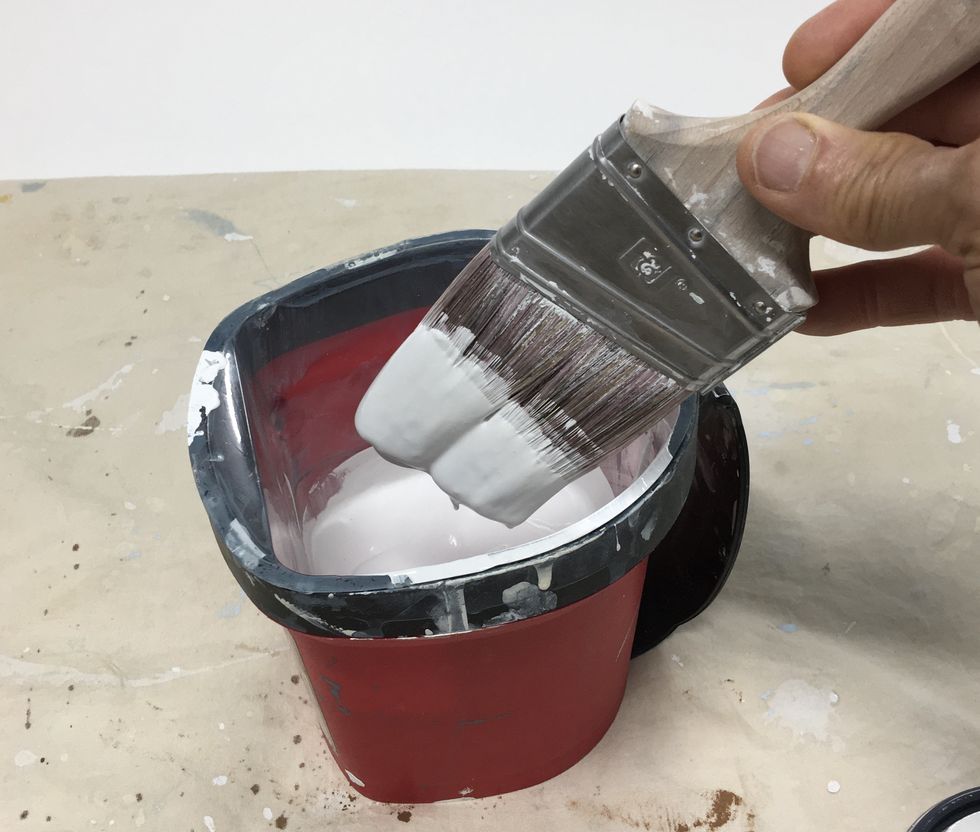
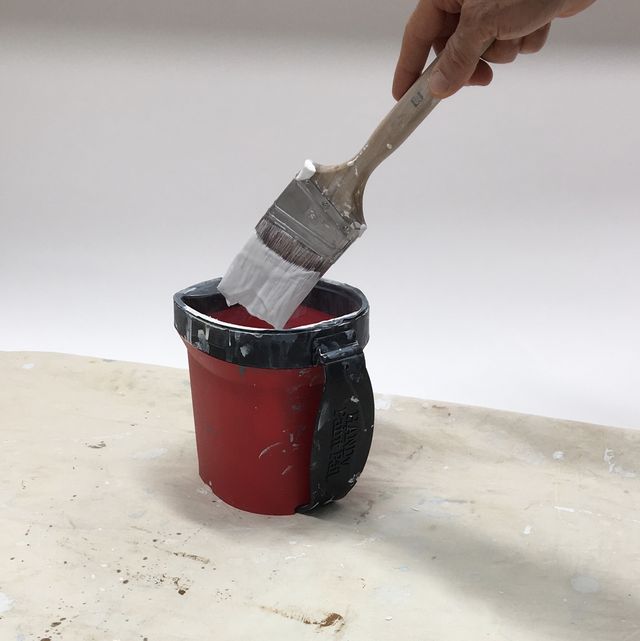
    Load a brush properly with paint. Don't tip it and wipe off excess paint, leaving one side of the brush overloaded and the other side underloaded. Dip the brush, then tap it gently against the side of the container to remove excess paint. As far as getting the hang of how much paint to carry on the brush, only experience can help you with that. And that differs from brush to brush and paint to paint. However, you can get a better sense of this by painting inside closets first. Work out your technique in less-visible places before working on more visible surfaces.

    9

    Buy a Roll of Masking Paper

    house painting secrets
    Roy Berendsohn

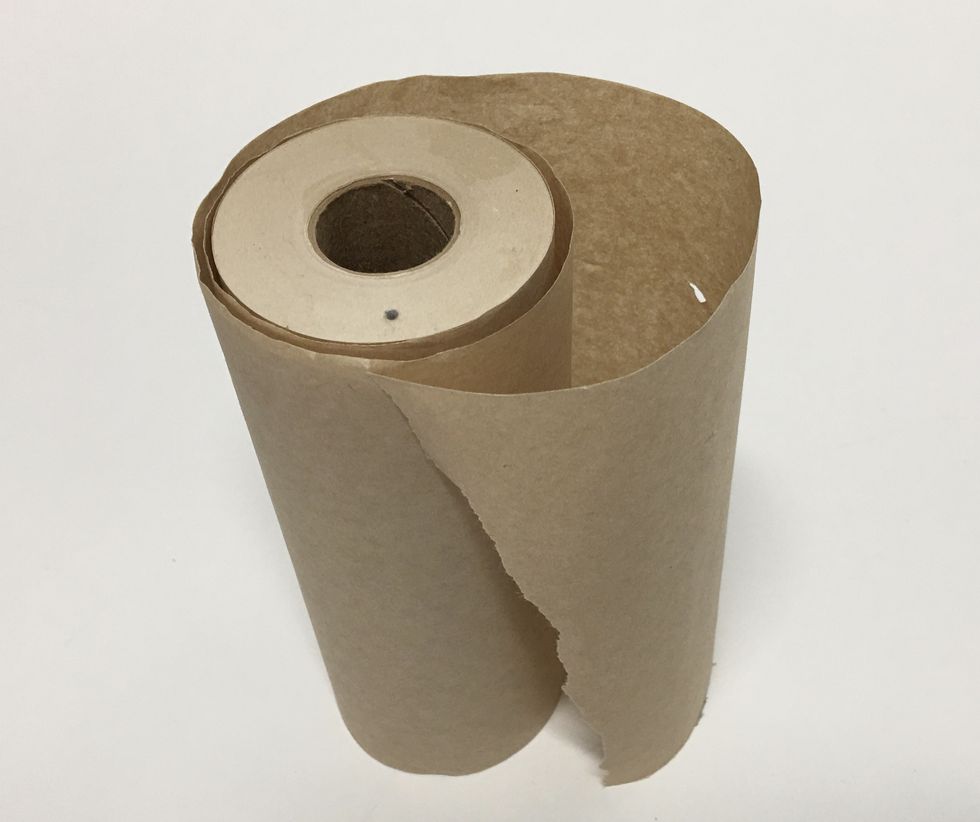
    As its name implies, masking paper is a disposable protective surface that covers large areas. It's meant to be applied with a dispenser that applies the paper and tape at the same time. However, even without the dispenser, the paper has at least a dozen uses in painting work. Example, I always set up a work bench of some type in the vicinity of where I'm painting, this is usually no more than two sawhorses with a piece of plywood or MDF spanning them. It keeps tools and supplies off the floor. I lay a sheet of masking paper down on that surface to keep the work surface clean. When I managed to get a fly in my paint brush recently, I set the wet brush down on a piece of masking paper, took out my painting rag and cleaned the brush. I temporarily left the brush and the rag where they were as I went to get a fresh painting rag. Then I disposed of both the rag and the piece of masking paper

    Advertisement - Continue Reading Below
    10

    Invest in Multiple Scrapers

    house painting secrets
    Roy Berendsohn

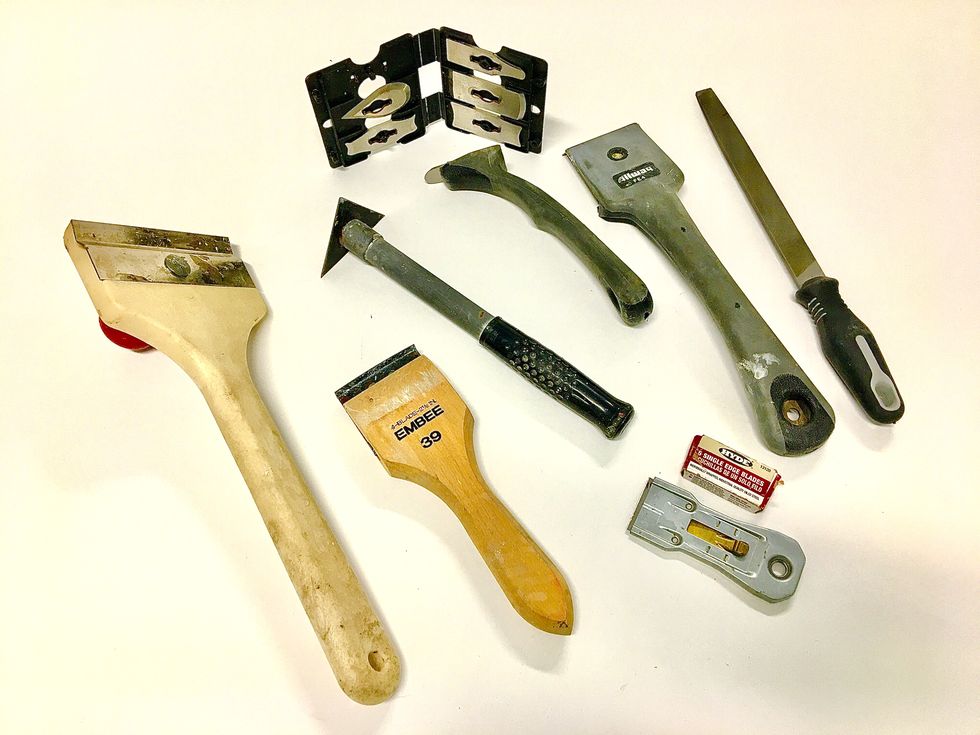
    For years, I struggled along with a single flat blade scraper and a Hyde razor scraper. I developed all kinds of work arounds for other shapes and situations. Then I invested in a decent scraper kit, and this is one of the best investments I've made in exterior painting tools. I've been particularly pleased with the Allway multi-blade scraper that has proven to be a lifesaver on some very difficult jobs when cleaning up paint-layered exterior moldings. You'll also need a file to sharpen scrapers.

    11

    Press and Sometimes Push Masking Tape

    house painting secrets
    Roy Berendsohn

    Everybody knows that masking tape has to be firmly pressed onto the edge which it is protecting. Even rookies know that. But there are times, particularly when protecting the edge of carpet where you have to press down and push forward, working the tape into the small corner where the carpet meets the baseboard.

    Other masking tape wisdom:

    A) Pull tape soon after painting, when the paint is still soft—not wet exactly, but soft enough to allow the tape to be pulled cleanly away from the edge.

    B) If you've never applied masking tape before, have a look at this 3M tutorial on the topic.

    C) If you have trouble pulling the tape cleanly off, stop. Very lightly score the edge where the tape meets the surface with a razor knife or even a sharp pen knife. After the line is scored, then pull the tape.

    12

    Take Care of Your Drop Cloths

    house painting secrets
    Roy Berendsohn

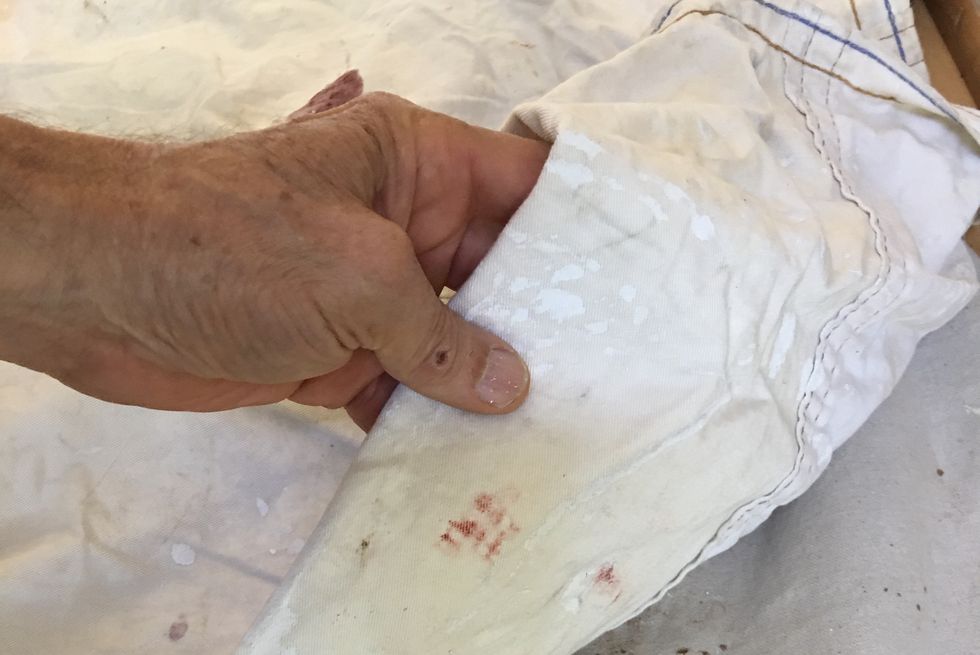
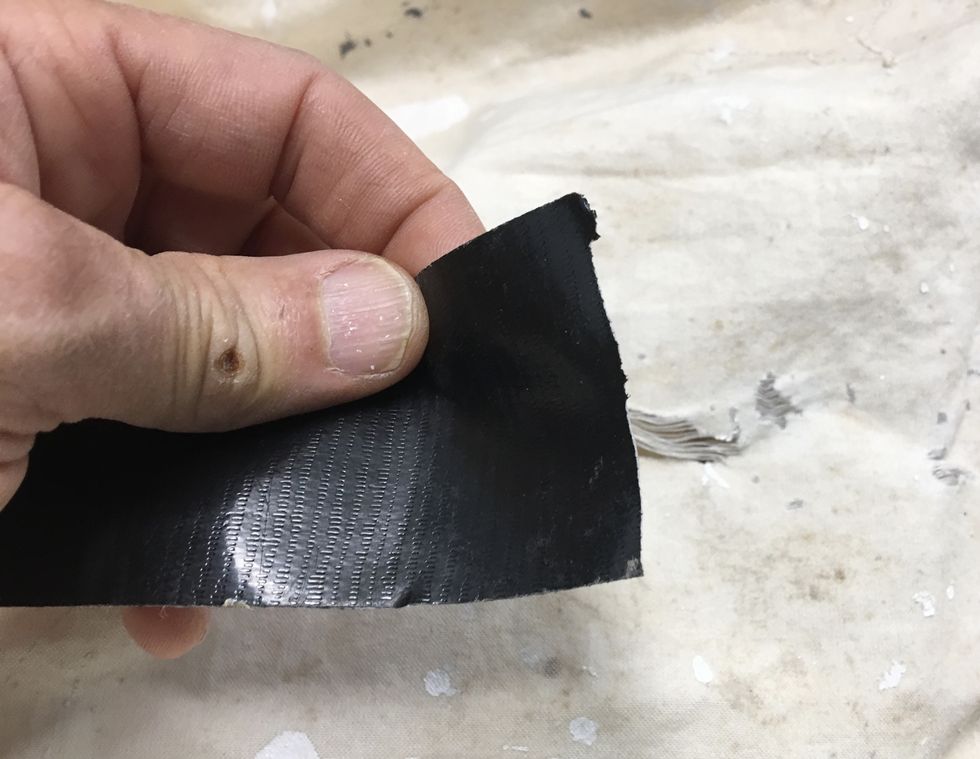
    A run or tear in a drop cloth only gets worse. When you cause one, usually by moving a ladder or repositioning the tarp, stop right there and use a piece of high-strength duct tape to patch the tear. It's even better if you can patch the tear on both sides.

    An un-treated tear will create a tripping hazard and can also let a spill, splatter, or paint on the bottom of your shoe through the cloth and onto the floor.

    Advertisement - Continue Reading Below
    13

    Buy Foam Sanding Blocks

    house painting secrets
    Popular Mechanics; Roy Berendsohn

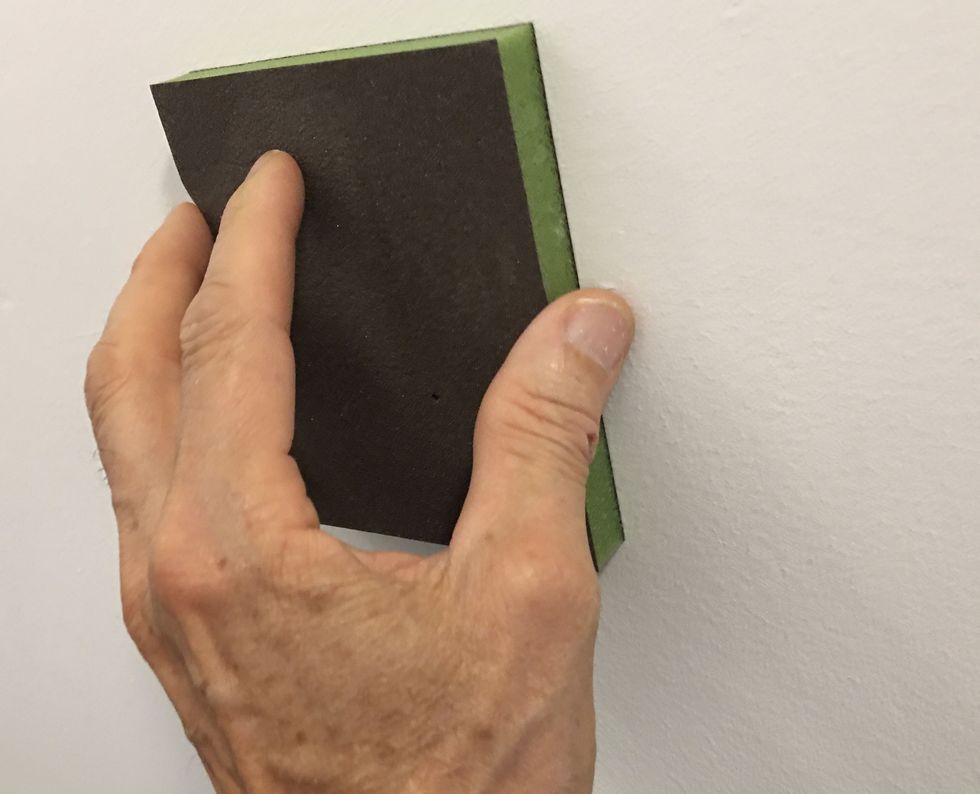
    Although I still keep an old-school 3M rubber sanding block in my painting tools kit, I find myself more often using disposable and washable foam sanding blocks. They're lighter and they're multipurpose. Some can be used on flat surfaces such as shown here, but they can also be used to wrap a handrail to degloss it, for example.

    14

    Store or Replace Hardware

    house painting secrets
    Roy Berendsohn

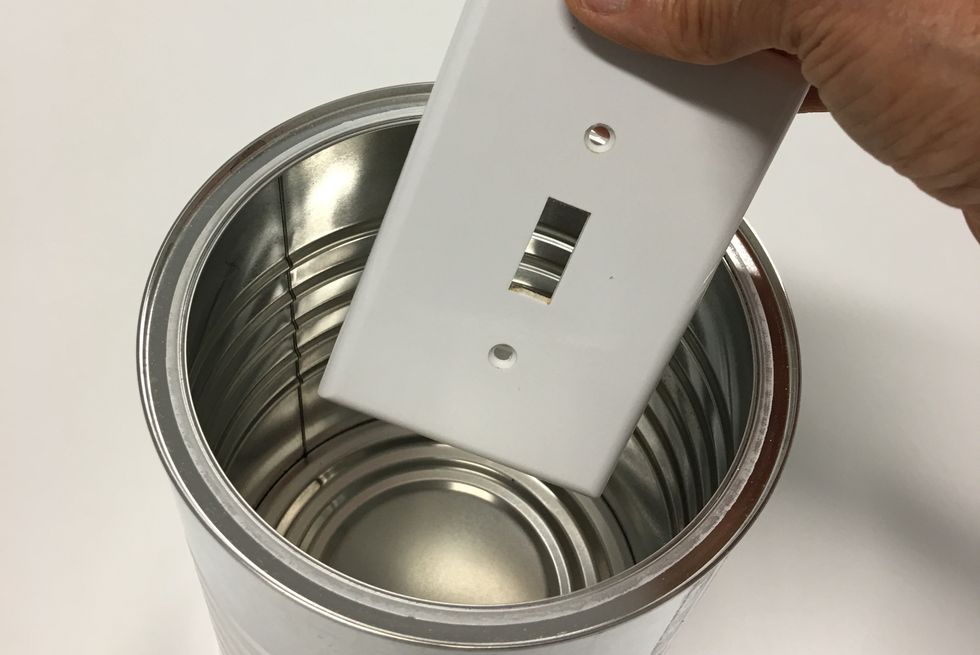
    I use a clean large coffee can or a clean painting pot to store removed hardware. Outlet and switch covers and their mounting screws go in one clean container. Larger items such as towel bars, and drapery hardware go into a 5-gallon bucket. This keeps the parts clean and organized and keeps them from getting lost.

    Here's more hardware-removal wisdom:

    A) I only remove and store plates, towel bars, toilet paper holders, and door bumpers if they are clean and fresh looking. If not, I replace them.

    B) I use a cotton swab and alcohol or hand wipes to clean dirty light switch toggles. A dirty light switch toggle emerging from a clean cover plate throws off the look of a freshly painted wall.

    C) Sometimes the switch plate itself is basically clean, but all it takes is a quick wipe with a hand wipe or a moist cloth to make it perfect, but the screws used to attach the plate have their paint chipped off. The solution there is to buy switch plate screws in bulk and replace ugly screws with fresh clean ones.

    15

    Trim Brushes

    house painting secrets
    Roy Berendsohn

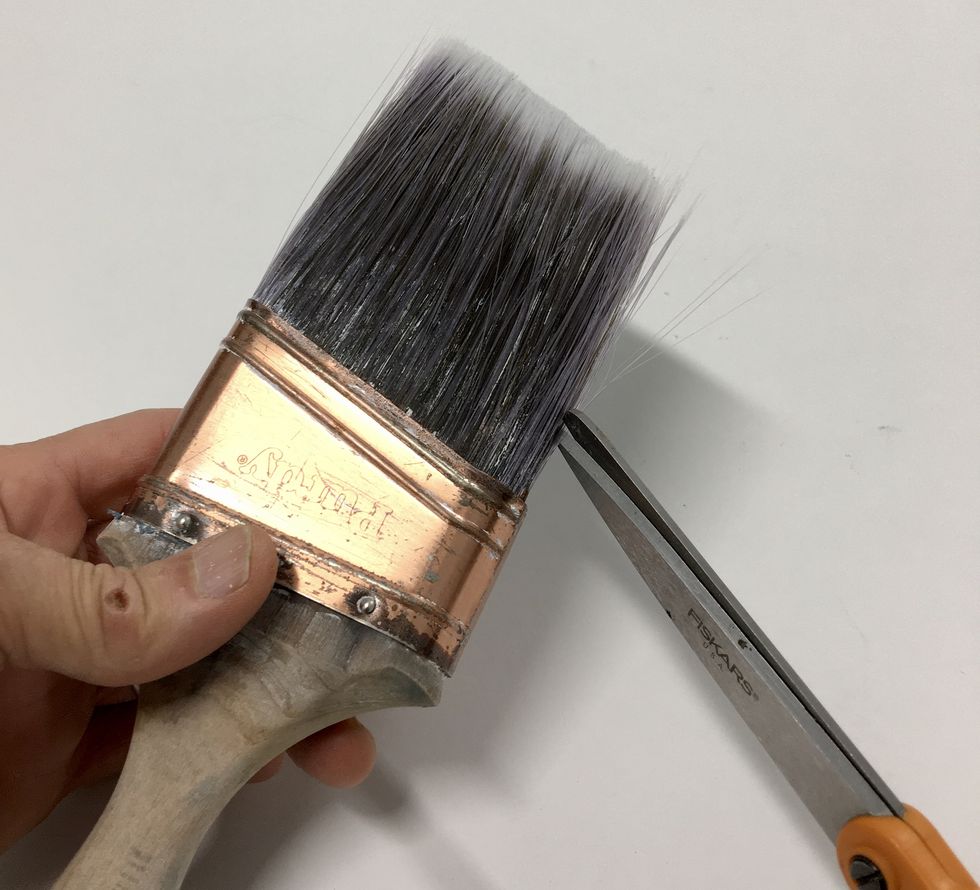
    A bent brush filament can leave behind an ugly smear of paint and wreck an otherwise properly protected and well-trimmed job. The solution is to closely inspect brushes and rollers and trim them when necessary with a small, sharp pair of scissors,.

    Advertisement - Continue Reading Below
    16

    Trim Rollers

    house painting secrets
    Roy Berendsohn

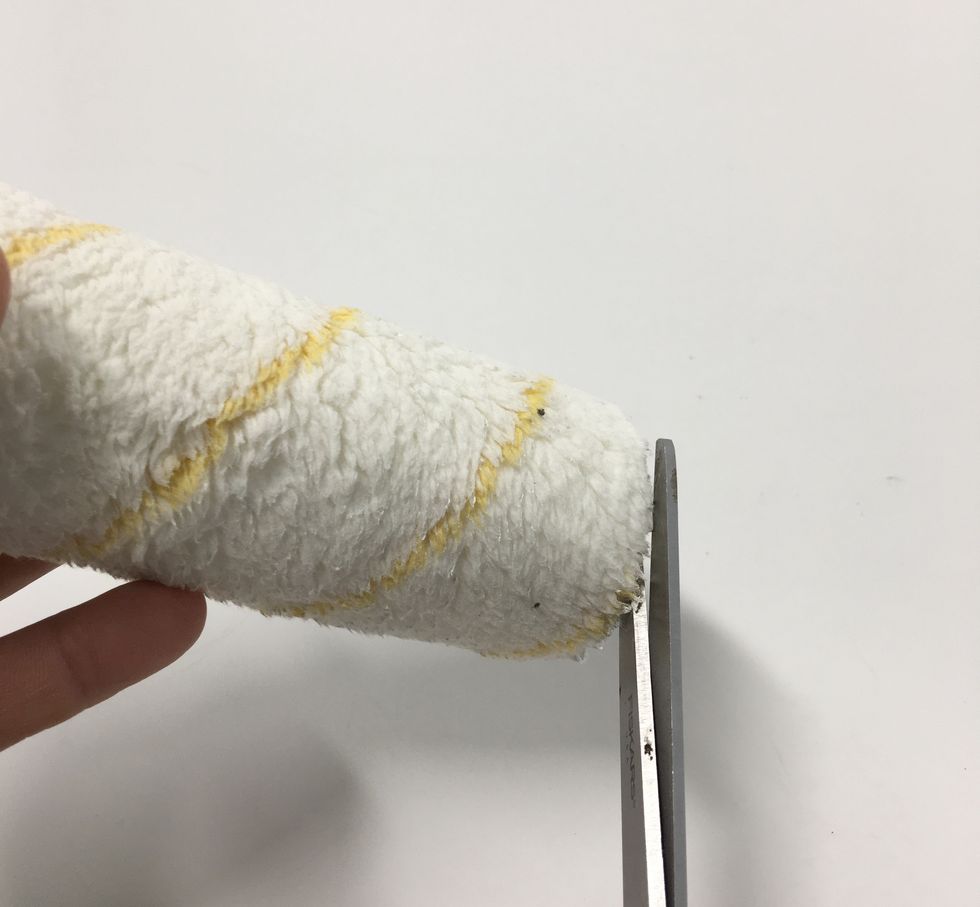
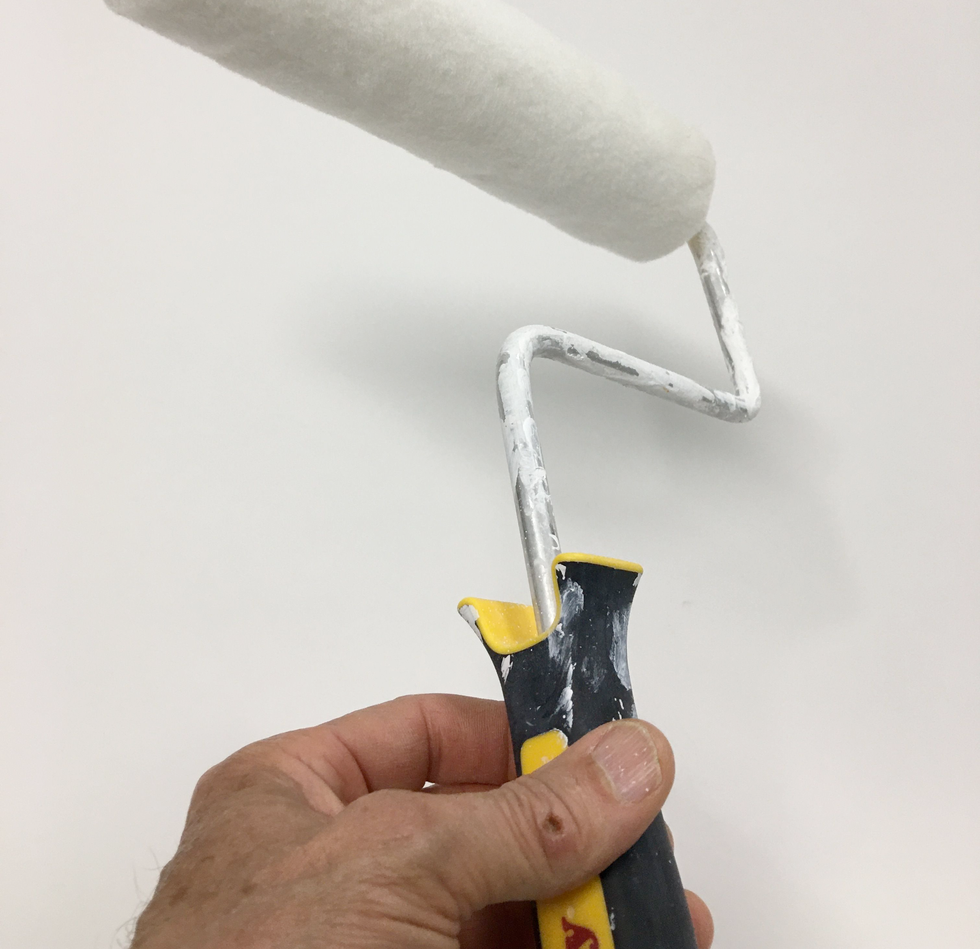
    Like a brush, a paint roller has to be more than clean—it needs to be trimmed. Rollers made of fibers may have an unusually tall fiber in the middle of the roller that needs to be trimmed off. Other rollers may need to have tufts trimmed off the end. Good quality rollers are expensive and keeping them clean and trimmed extends their working life. It also contributes significantly to a neater paint job.

    17

    Twirl the Roller, Slowly

    twirling the roller
    Roy Berendsohn

    An experienced house painter will load the roller thorougly and then twirl it slowly as he or she brings it up to the middle of the wall (or up to the celiling). This sets the paint on the roller and prevents paint from dripping off it as it's lifted toward the middle of the wall or up to the ceiling. This isn't urban myth. I've seen multiple painters, union and non-union alike, use a slow and rhythmic twirl to set the paint after the roller is loaded.

    18

    Use Two Putty Knives

    house painting secrets
    Roy Berendsohn

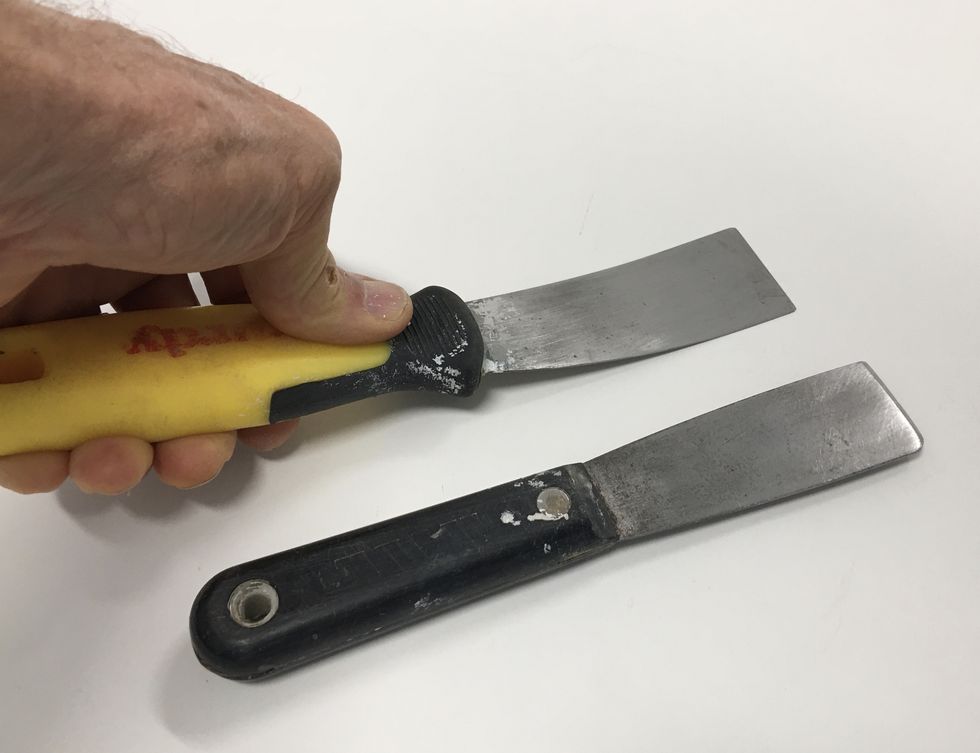
    I admit that I differ from professional painters here, but I carry two putty knives (many painters prefer only one). One of my knives is a flexible type. I use this for getting behind popped pieces of drywall tape and for pressing in small globs of spackle or putty. The other is a stiff putty knife (sometimes called a chisel type) that I use for scraping and cleaning out dirty channels as well as mixing stiff materials, like some two-part epoxies. I use both so regularly, I don't know what I would do without them. Many painters today carry neither type but use the 5-in-1 painter's tool.

    Advertisement - Continue Reading Below
    19

    Light the Work Area

    house painting secrets
    Roy Berendsohn

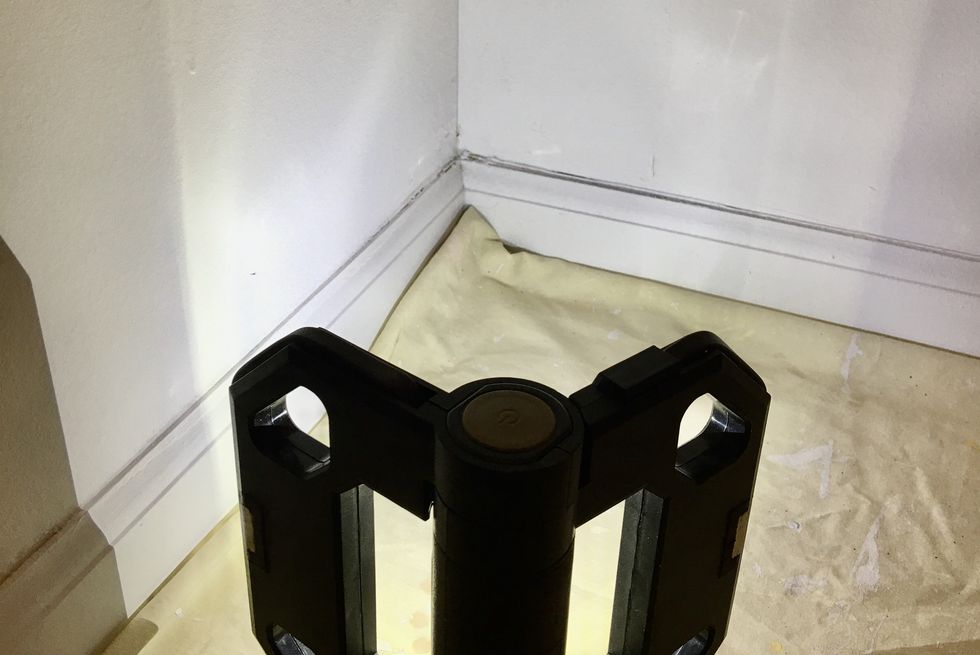
    I own a variety of worklights from the small model shown to those large enough to be run off portable power tool batteries. Even a well-lighted room, stairway, or closet will have dark corners that you need to illuminate to repair and paint correctly. A bright light will illuminate runs and flaws in the paint job (such as thin areas or misses, known as "holidays" to painters). Without being brightly lighted, these flaws would otherwise escape detection.

    20

    Set Nail Heads

    house painting secrets
    Roy Berendsohn

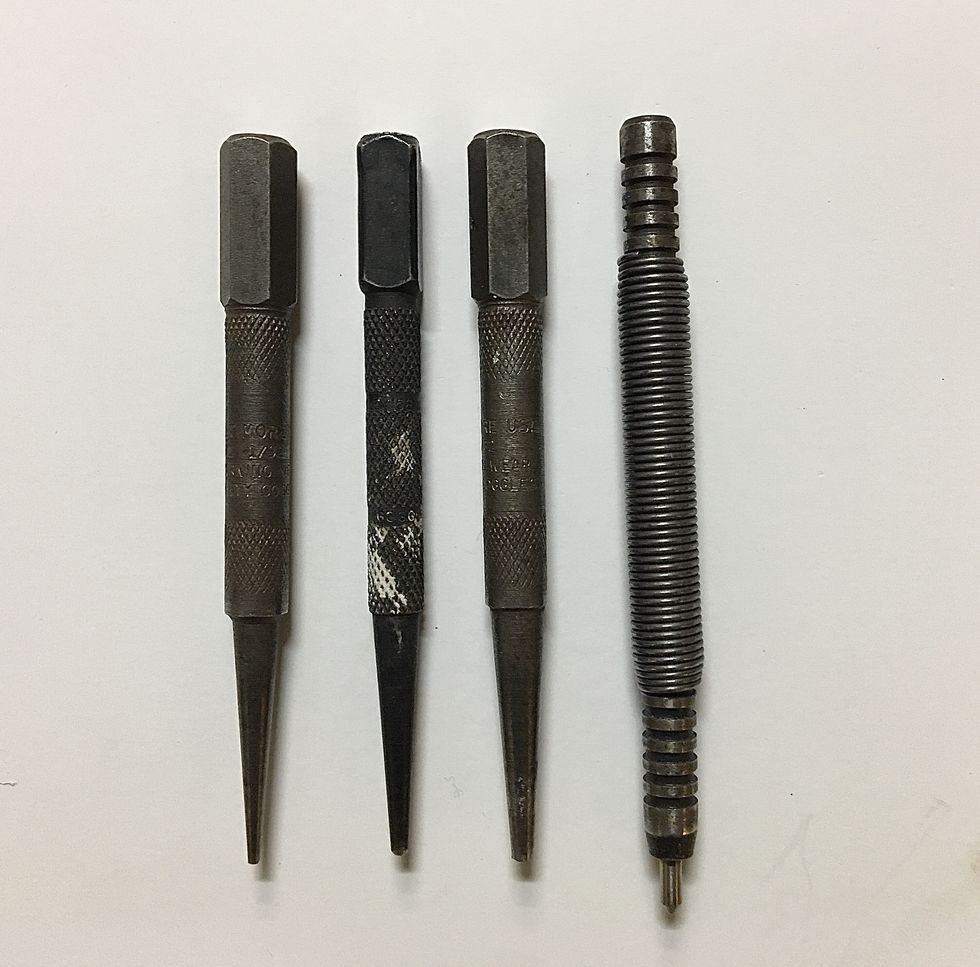
    It's amazing what I find when I'm painting trim: unset nail heads, remnants of staples and tacks, nail stubs and bent nails. Finish nails need to be set, along with nail stubs and, sometimes, bent nails. In other cases, you have to pull errant hardware.
    I take out my nail sets when I begin any painting job that involves wood trim, and that includes the spring tool center punch. With these tools I can set anything from the tiniest wire brad to the largest finish nail.

    Headshot of Roy Berendsohn
    Roy Berendsohn
    Senior Home Editor

    Roy Berendsohn has worked for more than 25 years at Popular Mechanics, where he has written on carpentry, masonry, painting, plumbing, electrical, woodworking, blacksmithing, welding, lawn care, chainsaw use, and outdoor power equipment. When he’s not working on his own house, he volunteers with Sovereign Grace Church doing home repair for families in rural, suburban and urban locations throughout central and southern New Jersey.

    Watch Next
     
    preview for Popular Mechanics All Sections
    Advertisement - Continue Reading Below

    DIY Home Projects for the Pros

    solar panels india
    Pop Mech Pro Pop Mech Pro

    8 Ways to Power Your Home With Renewable Energy
    brad pulling cord on honda generator

    The 12 Best Home Generators for 2024

    how to make dry ice  what is dry ice

    How to Make Dry Ice

    how to soundproof a room, soundproofed room

    8 Super-Effective Ways to Soundproof a Room
    Advertisement - Continue Reading Below
    Advertisement - Continue Reading Below